18
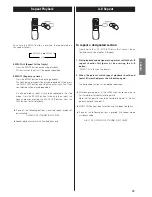
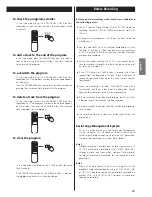
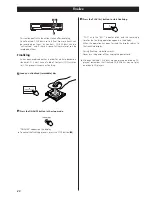
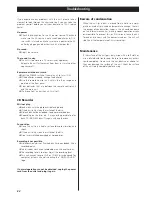
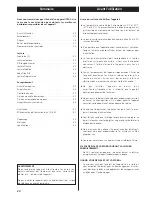
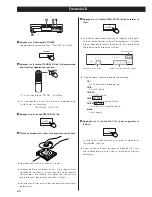
When the AUTO/MANUAL button is pressed once, the current
mode is displayed. Press the AUTO/MANUAL button
repeatedly to select any other mode.
<
The “A . TRACK” indicator lights when –60dB, –50dB, –40dB
or –30dB is selected.
MANUAL
A.TRACK
(–60 dB)
A.TRACK
(–50 dB)
A.TRACK
(–40 dB)
A.TRACK
(–30 dB)
Automatic Track Division
A.TRACK (–60, –50, –40 or –30 dB)
When recording digitally, the unit will automatically insert a
track division in the recorded material when an increment
signal is detected.
When the digital source doesn’t contain increment signals, or
when recording analogically, the unit will automatically insert
a track division in the recorded material when sound level has
dropped below the increment level (–60, –50, –40 or –30dB)
for more than 3 seconds and then sound has re-started.
You can add track numbers by pressing the RECORD button
during recording.
The increment level is also used to trigger analog synchronous
recording (see next page).
“–30dB” takes a louder signal to trigger the start of the
analog synchronous recording or a track division. “–60dB”
means that a relatively quiet signal will trigger the start of the
analog synchronous recording or a track division. “–60dB” is
suitable for recording a noiseless source such as a CD.
MANUAL
The unit doesn’t divide tracks.
Use the RECORD button to divide tracks.
MANUAL is recommended for recording an analog source
such as a record.
<
AUTO TRACK may not work properly with analog sources
that contain low-level noises.
<
The default setting is –60. When the POWER button or the
STANDBY/ON button is pressed, the setting is automatically
reset to –60.
(In case the INPUT SELECT is set to ANALOG, the default
setting is –50.)
<
The AUTO/MANUAL button doesn’t work during recording or
in the record pause mode.

