34
Initial Network Setup
When you use the network function for the first time, the
unit starts an initial setup procedure to connect to the
Internet.
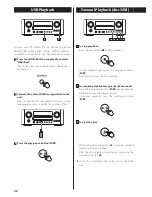
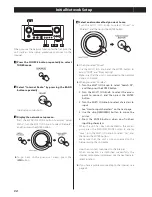
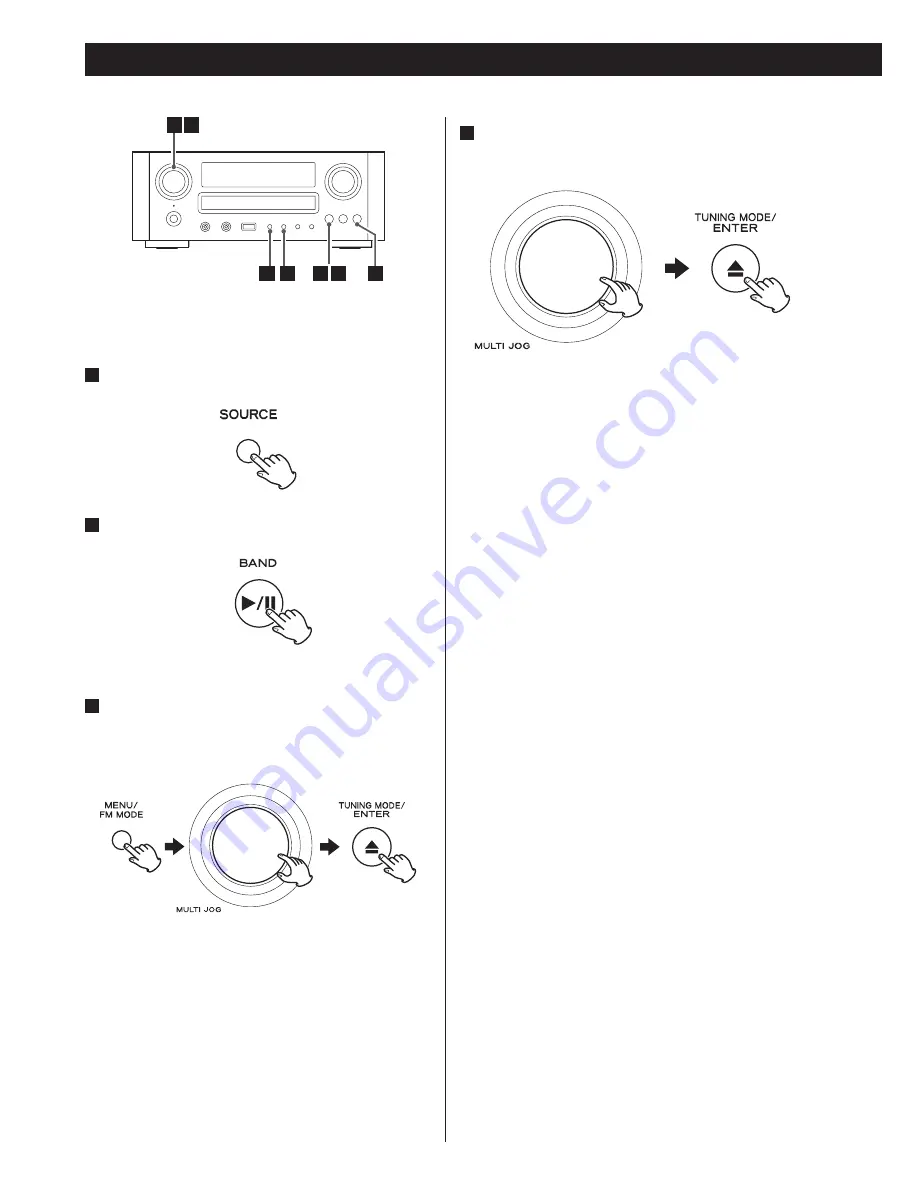
1
Press the SOURCE button repeatedly to select
TUNER mode.
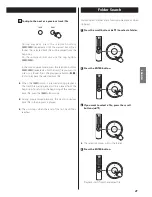
2
Select “Internet Radio” by pressing the BAND
button repeatedly.
Initial setup wizard starts.
3
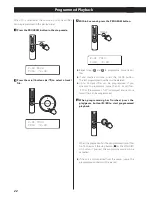
Display the network setup menu.
Press the MENU/FM MODE button to display “Setup
Menu”, turn the MULTI JOG knob to select “Network”,
and then press the ENTER button.
<
To go back to the previous screen, press the
.
button.
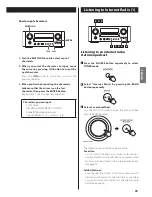
4
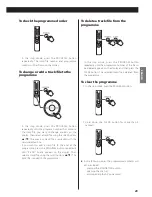
Select a network method you want to use.
Turn the MULTI JOG knob to select “Wired” or
“Wireless”, and then press the ENTER button.
<
When you select “Wired”:
Use the MULTI JOG knob and the ENTER button to
adjust “DHCP” and “Proxy Setting”.
Make sure that the unit is connected to the network
using a LAN cable.
<
When you select “Wireless”:
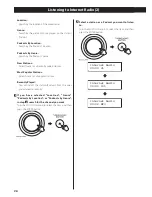
1. Turn the MULTI JOG knob to select “Search AP”,
and then press the ENTER button.
2. Turn the MULTI JOG knob to select the access
point to connect, and then press the ENTER
button.
3. Turn the MULTI JOG knob to select characters to
input.
See “How to input characters” on the next page.
4. Use the skip
(
.
/
/
)
button to move the
cursor.
5. Press the ENTER button when you finished
inputting characters.
When the unit has been connected to the access
point, press the MENU/FM MODE button to display
“Save”, turn the MULTI JOG knob to select “Yes”, and
then press the ENTER button.
Make sure that the unit is not connected to the
network using the LAN cable.
Now the unit starts to connect to the Internet.
When connection is established successfully, the
internet radio menu is displayed. See the next page to
select a station.
<
If you have a problem connecting to the Internet, see
page 50.
2
3 4
1 3
3 4

