12
A
Display
B
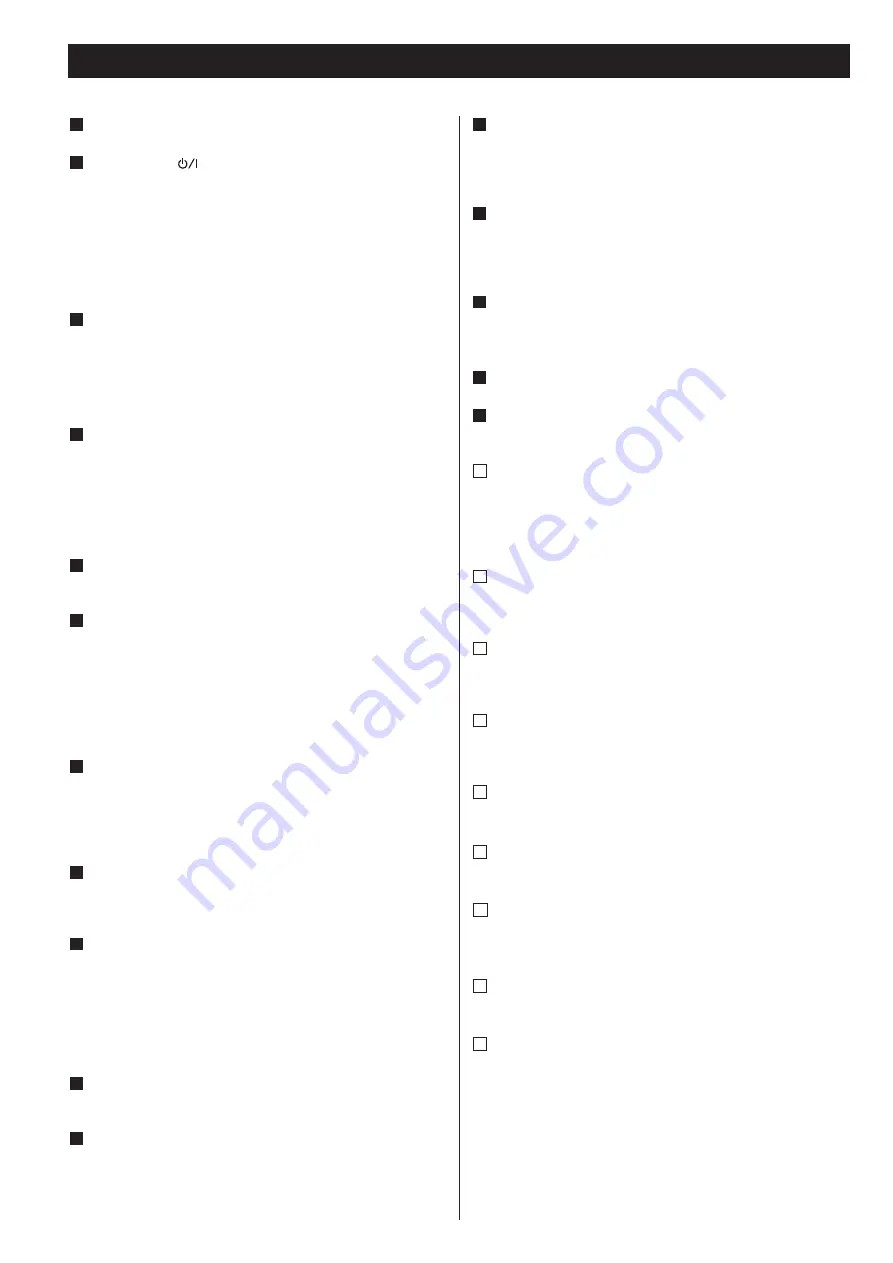
STANDBY/ON (
)
Use this button to turn the unit on or standby.
The main unit is powered via the subwoofer. You need to first
turn on the subwoofer.
When the main unit is in the standby mode, the power indicator
of the Subwoofer is orange.
When the unit is turned on, the indicator turns blue.
C
SELECT
In iPod mode, use this button to confirm a selection in a
menu. This button has the same functions as the Center
button of the Click Wheel of an iPod.
In DAB mode, use this button to confirm selections in menus.
D
MP3/ RDS/INFO
Durlin
g playback of MP3 disc, use this button to display the file
information.
In FM mode, use this button to select an RDS mode.
In DAB mode, use this button to choose the type of
information displayed.
E
FUNCTION
Use this button to select the source you want to listen to.
F
REPEAT / AUTO SCAN
In iPod or CD mode, use this button to set the repeat function.
In DAB mode, press this button to automatically locate all
available DAB services. Press once for UK services, or hold for
longer than 2 seconds to activate international search.
Hold the button for longer than 2 seconds to automatically FM
AUTO Searching.
G
DISPLAY/SHUFFLE
In iPod or CD mode, use this button to turn on and off the
shuffle playback.
In DAB mode, use this button to choose the type of information
displayed.
H
PLAY/PAUSE (
X
/
)
)/FM/DAB
In iPod or CD mode, use this button to start or pause playback.
Use this button to select DAB or FM
I
SKIP/TUNING (
/
)
In iPod or CD mode, momentarily press this button to skip tracks/
files. Hold down this button to search for a part of a track/file.
In TUNER mode, momentarily press this button to tune in
stations.
In Standby mode, these buttons are used to set or adjust the
clock and the timer.
J
OPEN/CLOSE (
+
)
In CD mode, use this button to open and close the CD door.
K
STOP (
'
)
In CD mode, use this button to stop playback.
This button doesn’t work in iPod mode.
L
MEMORY/TIME SET
In CD mode, use this button to program tracks.
In Tuner mode, use this button to preset stations.
In standby mode, this button is also used for clock adjustment.
M
Dock connector
Before use, insert an appropriate Dock adapter in the Dock (see
page 10).
Insert an iPod mobile digital device into this dock.
N
VOLUME
Press the up “+” or the down “–” button to adjust the
volume.
O
CD door
P
Remote Sensor
When operating the remote control unit, point it towards here.
Q
PRESET/SCROLL
In TUNER mode, use these buttons to select a preset station.
In iPod mode, use these buttons to scroll up and down the menu.
During playback of a MP3 disc, use these buttons to select a
folder in the disc.
R
MENU
This button is equivalent to the MENU button on your iPod.
In iPod mode, use this button to go back to the previous menu.
S
TREBLE
Use this button and the VOLUME buttons to adjust the level of
high frequency sound range.
T
BASS
Use this button and the VOLUME buttons to adjust the level of
low frequency sound range.
U
FM/DAB
Use this button to select DAB or FM.
V
SLEEP
Use this button to set sleep timer.
W
TIMER
Use this button together with the SKIP buttons to set the
timer.
X
MUTING
Use this button to mute the sound.
Y
FM MODE
In FM mode, use this button to select STEREO or MONO.


