24
TASCAM DR-100MKII
3 – Preparation for Use
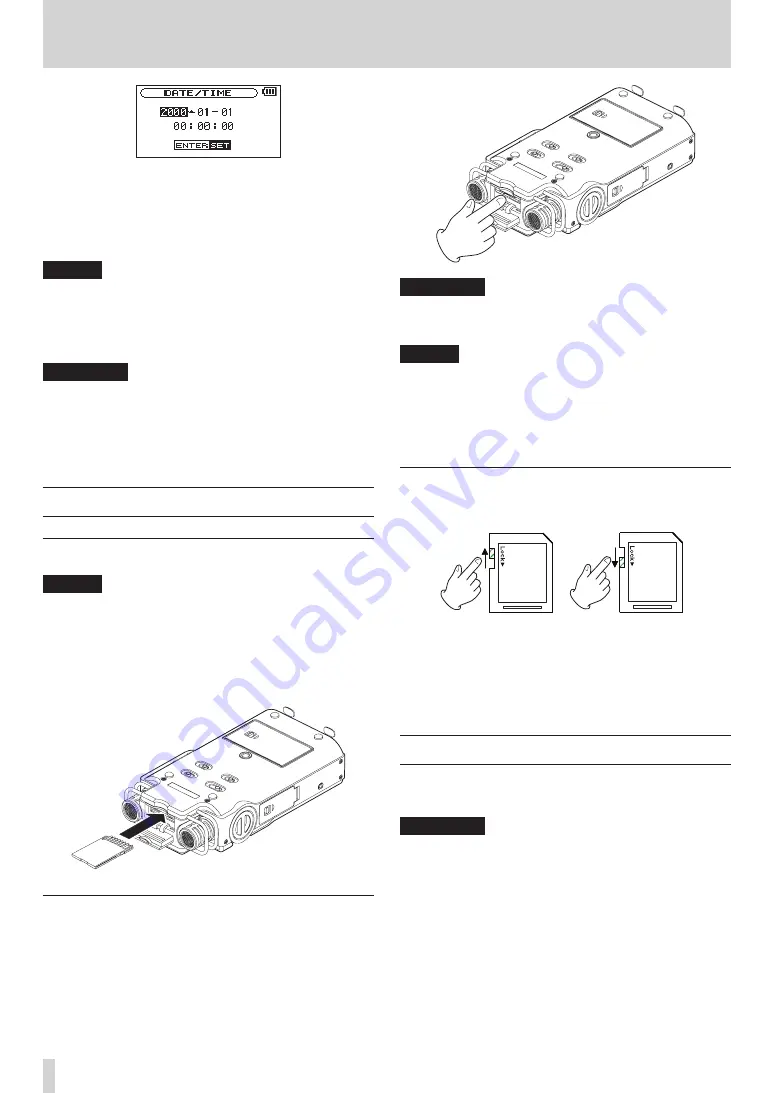
3 Press the
.
or
/
button to move the cursor
(highlighted area), and use the wheel to change
values.
4 Press the ENTER/MARK button to confirm the change
and return to the
MENU
screen.
NOTE
While setting the time, the time display stops changing.
•
You can set the unit to automatically add the date to file
•
names. (See “Setting the format of file names” on page
51.)
CAUTION
The date and time setting can only be maintained for a
few minutes if the unit is not powered from batteries or
through the TASCAM PS-P520 AC adaptor (sold separately).
When using batteries, replace them before they completely
lose power.
Inserting and removing SD cards
Inserting the card
NOTE
An SD card is already installed when the unit is shipped
from the factory. If you want to use this card to record and
play tracks, there is no need to reinstall it.
1 Open the SD slot cover on the rear panel.
2 Insert the SD Card into the slot as shown in the
following illustration until it clicks into place.
Removing the card
1 Open the SD slot cover.
2 Press the SD card in gently and then release it to
allow it to come out.
CAUTION
Do not remove the SD card from the unit when it is
•
connected to a computer by USB.
NOTE
SD cards that meet SD or SDHC standards can be used
•
with this unit.
A list of SD cards that have been confirmed to work with
•
this unit can be found on our website (http://tascam.
com/).
SD card write protection
SD cards have protect switches that prevent writing new
data to them.
Unprotected Protected
If you slide the protect switch to the “LOCK” position, file
recording and editing is not possible. Move the switch
to the unlocked position in order to record, erase and
otherwise edit data on the card.
Preparing an SD card for use
In order to use an SD card in this unit, you must format it
first.
CAUTION
Please use a PS-P520 AC adaptor (sold separately) or
•
make certain that there is sufficient remaining battery
power when formatting a card.
Formatting a card erases all the data on it.
•
1 Confirm that an SD card is installed and turn the
power ON.
2 The following message appears when a new card
or a card formatted for use with another device is
installed in the unit.


