Setup
TEAC DVD Duplicator User’s Manual
7
Chapter 2. Using the DVD Duplicator
This chapter explains how to set up the DVD Duplicator, as well as basic
operation and menu functions.
Setup
1.
Carefully remove the DVD Duplicator unit, AC power cord and user’s
manual from the shipping box.
2.
Connect one end of the included power cable to the back of the DVD
Duplicator. Connect the other end of the power cable to a three-prong
receptacle AC outlet.
3.
Turn on the power to the DVD Duplicator by pressing the power button
on the lower right-hand side of the unit.
During initialization, the DVD Duplicator performs a self-test in which the
unit’s internal buffer is tested, source and target drives are detected, and the
LCD display is tested. Once the initialization is complete, the DVD
Duplicator is ready for use.
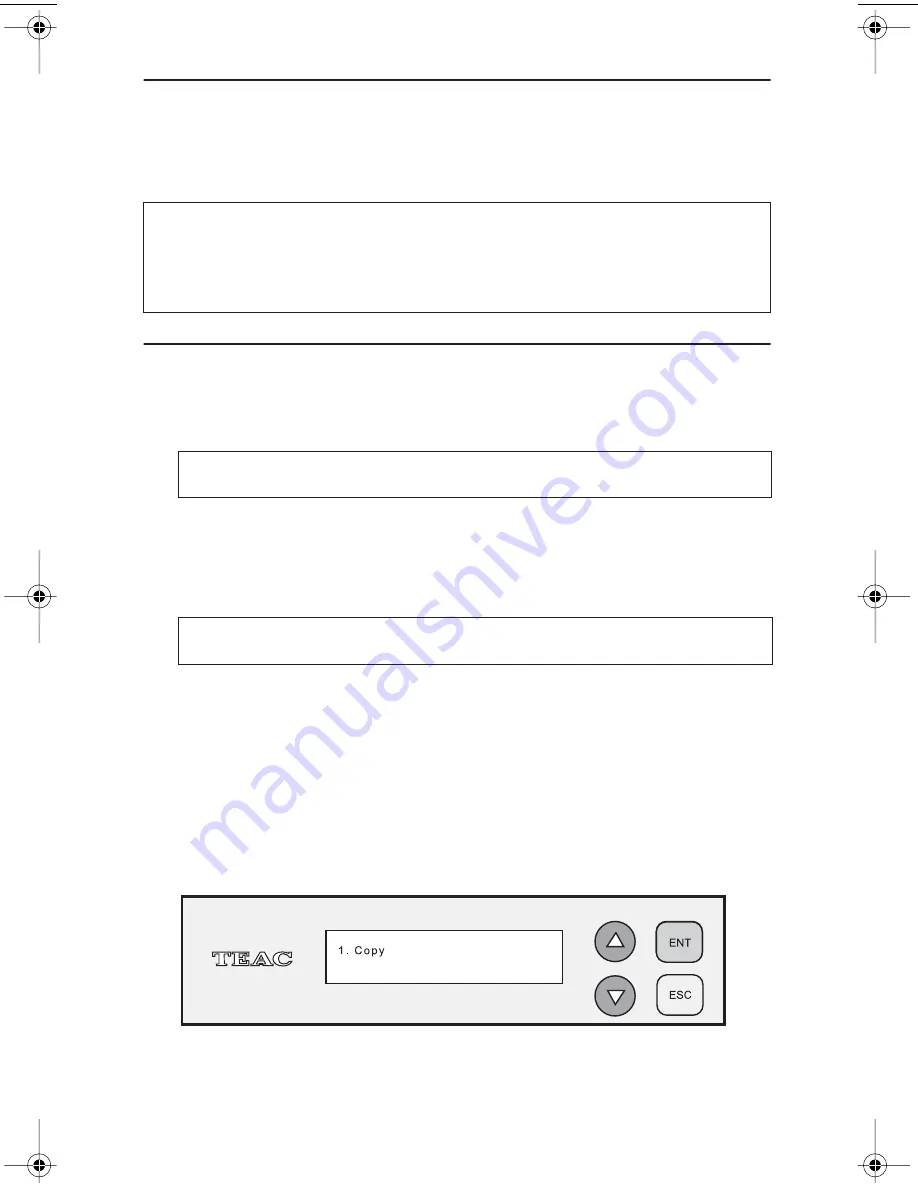
The LCD initially displays the Copy function by default.
Figure 5. Copy Function on LCD Panel
Note:
The following instructions are applicable to both DVD Duplicator models
DVW-D11 and DVW-D11H. Operational instructions for both models are
essentially the same. The primary difference between models is that the DVW-
D11H has an internal hard disk drive, which you can use as an alternate source
drive.
Note:
Please keep the original box and packaging materials for use in the
event of future storage or transportation of the unit.
Caution:
Do not attempt to bypass the grounding plug. Otherwise, you risk
damage to the unit and electrical shock.
TEACdvwd11.book Page 7 Sunday, May 1, 2005 6:04 PM


