3 ADJUSTMENT AND SETTING
−
6
−
調整と設定
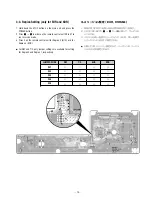
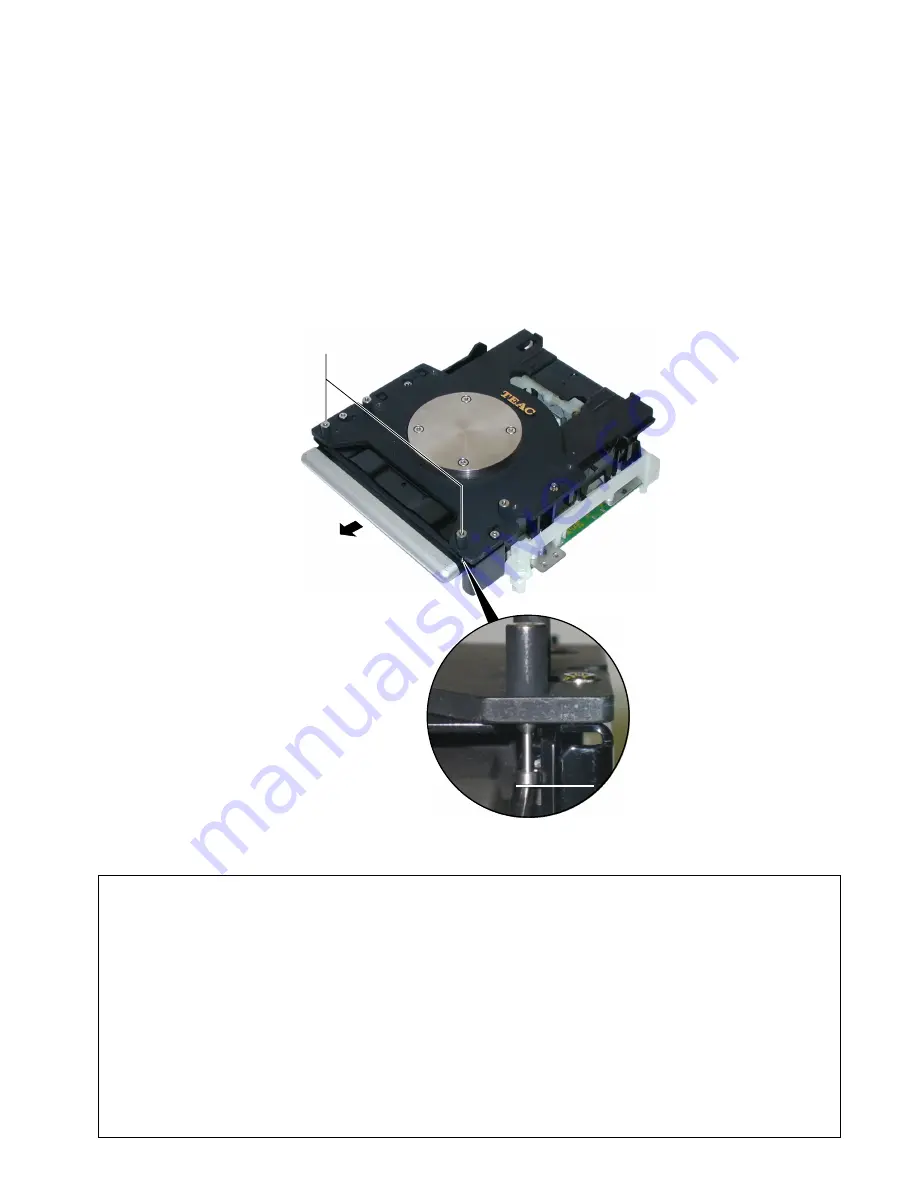
3-1 Tray Adjustments
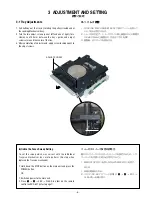
1. Pull halfway out the tray by rotating the pulley situated under
the Loading Mechanism Assy.
2. Turn the two adjust screws (one at left and one at right) for a
clearance of 0.2mm between the tray's guide and adjust
screws at around the center of the tray.
3. After completion of adjustments, apply screw locking agent to
the adjust screws.
3-1 トレイ調整
1. LOADING MECHANISM ASSY下部のプーリーを回して、
トレイを半分程引き出す。
2. トレイ中央付近で、トレイのガイド部と調整ネジとの隙間が
0.2mmになるよう調整ネジ(左右2ケ所)を回す。
3. 調整後、ネジロックを塗布する。
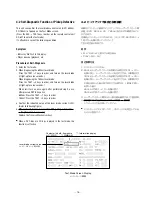
ADJUST SCREW
0.2mm
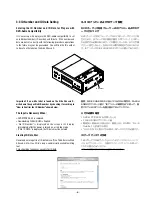
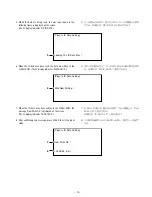
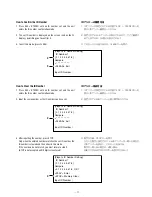
Initialize the Focus Sweep Setting
To set the sweep which was correct with the individual
Traverse mechanism, be sure to perform this step when
replaced the Traverse mechanism.
1. Hold down the STOP button on the main unit and press the
POWER button.
OR
1. Switch on power to the main unit.
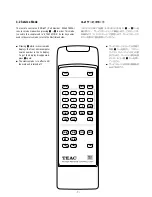
2. Press
1
→
2
→
ESC
→
CLEAR in order on the remote
control unit RC-627 (refer to page 7).
フォーカススイープ設定の初期化
個々のトラバースメカに合ったスイープを設定するため、トラ
バースメカを交換した時は必ず実行すること
1. 本体のSTOPボタンを押しながらPOWERボタンを押す。
または
1. 本体の電源を入れる。
2. リモコンRC-627(7ページ参照)の
1
→
2
→ ESC →
CLEARキーを順に押す。
Summary of Contents for Esoteric DV-50
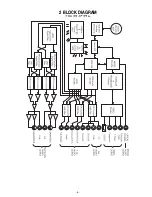
Page 5: ...2 BLOCK DIAGRAM 5...
Page 38: ...38 7 PC BOARDS AND PARTS LIST DVDM PCB SIDE A...
Page 39: ...39 DVDM PCB SIDE B...
Page 40: ...40 MAIN PCB SIDE A This PCB is a four layered board...
Page 41: ...41 MAIN PCB SIDE B This PCB is a four layered board...
Page 42: ...42 DAC PCB This PCB is a four layered board SCART PCB...
Page 43: ...43 FRONT PCB TOGGLE PCB LED PCB V UP PCB...
Page 44: ...44 OUTPUT PCB PSW PCB INLET PCB POWER PCB REG PCB...


