52
DVD System Setup
This is the place where you can arrange all important settings for the cooperation of the DVD with the TV
set and other audio equipment.
General Operating Steps
1.
Press the INPUT button to change to DVD mode. Press the SETUP button on the remote control, the
settings menu will appear. It includes the options “General Setup Page“, “Audio Setup Page“, “Video
Setup Page“ and “Preference Page“. Use
◄►
to select the desired main menu.
2.
Select the desired submenu using the direction buttons
▲▼
on the remote and press ENTER to
confirm. Select an option value to be set using the
▲▼
direction buttons on the remote and press
ENTER to confirm, or press
◄
to cancel setting. After ENTER; you return to the main menu using
◄
.
3.
SETUP takes you back out of the setup menu.
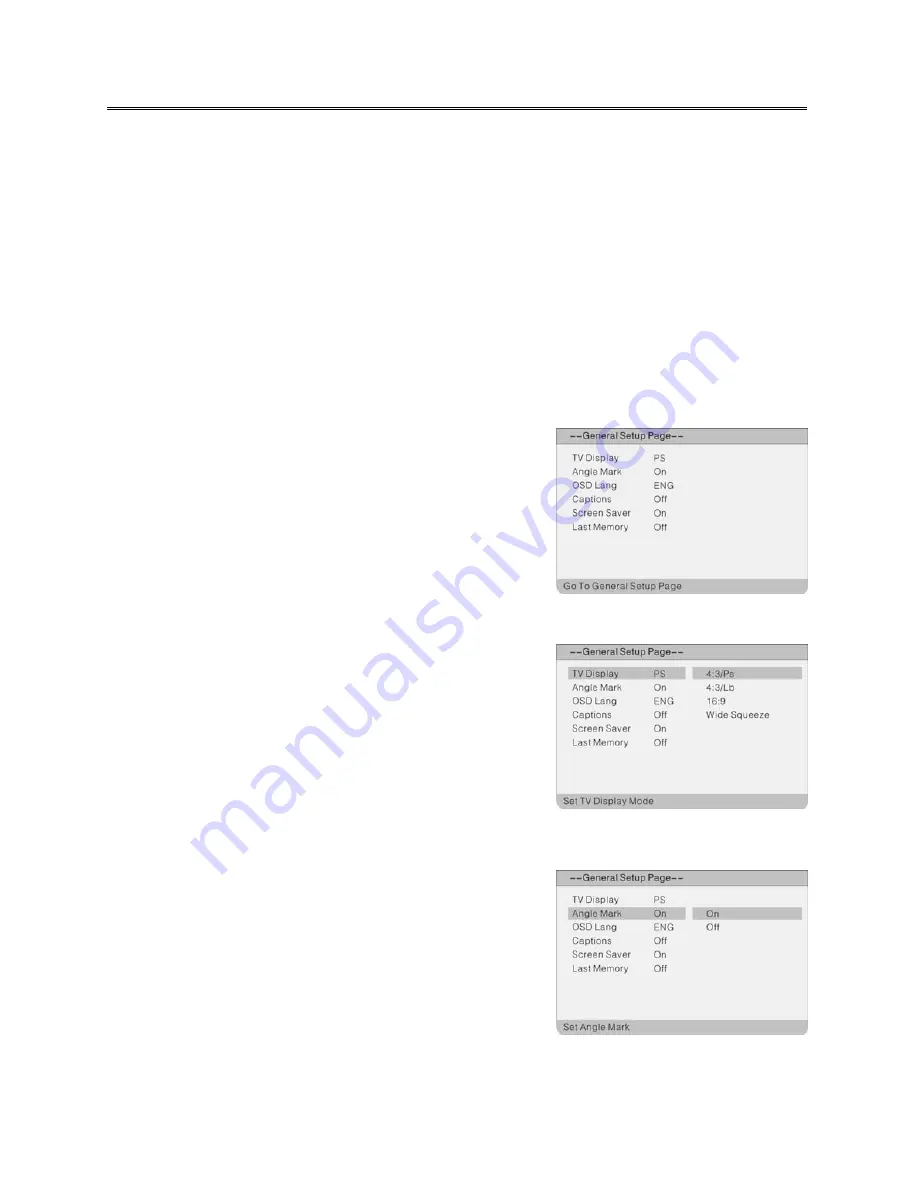
General Setup Page
Press the SETUP button in DVD mode. The General Setup menu
will appear.
Select the desired submenu using the direction buttons
▲▼
on
the remote and press ENTER to confirm. Select an option value
to be set using the
▲▼
direction buttons on the remote and
press ENTER to confirm, or press
◄
to cancel setting. After
ENTER; you return to the main menu using
◄
.
TV Display
Used for setting the screen mode. 4:3/Ps, 4:3/Lb, 16:9 and Wide
Squeeze are available.
Select 4:3/Ps (Pan Scan) or 4:3/Lb (Letter Box), when a 4:3 TV is
connected.
Select 16:9 and Wide Squeeze, when using a 16:9 screen on the
unit.
Angle Mark
This is where you can change the camera angel of the scenes
being played if the DVD this function is available.
“On“: A camera symbol appears on the screen. If there are
alternative view angles, a corresponding message
appears.
“Off“: No camera symbol is displayed.


