Starting Program
2-19
For LX-10L/20L LAN version
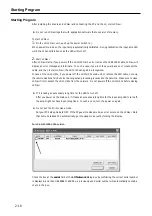
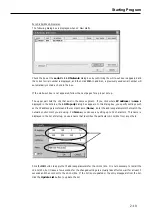
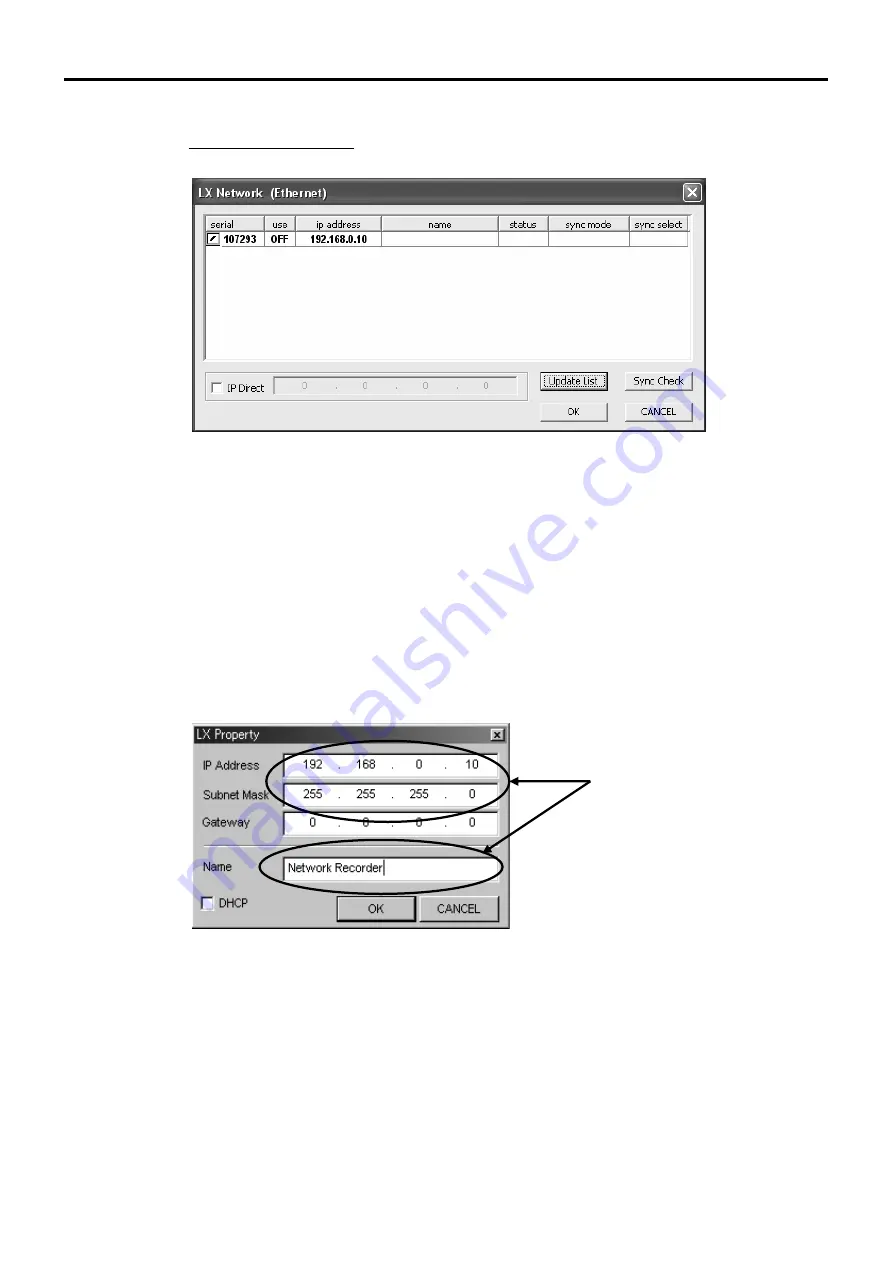
The following dialog box is displayed when LX Navi starts.
Check the box at the serial field LX Network dialog box by confirming the white-out box is appeared and
the correct serial number is displayed, and then click OK. In addition, a previously used serial number will
automatically contain a check in the box.
If the white-out box is not appeared, follow the next pages for a proper set up.
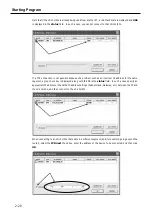
The upper part lists the LXs that exist in the same segment. If you click where IP address or name is
displayed in the list area, the LX Property dialog box appears. In this dialog box, you specify settings such
as the IP address parameters and the recorder name (Name). Enter the address parameters that match the
network environment you are using. For Name, you can use any string up to 32 characters. This name is
displayed in the list at startup, so use a name that identifies the particular LX-10L/20L from any others.
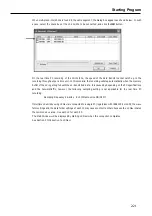
Click the OK button to apply the IP address parameters for the LX-10L/20L. It is not necessary to restart the
LX-10L/20L, but it takes a few seconds for the changed settings to actually take effect so wait for at least 5
seconds and then connect to the LX-10L/20L. If the list is not updated or the entry disappears from the list,
click the Update List button to update the list.
Summary of Contents for LX Series
Page 2: ......
Page 10: ...Contents viii...
Page 26: ...Sampling Frequency and Number of Channels 1 16...
Page 117: ...Main Unit Specifications 6 3 External Dimensions...
Page 142: ...Recording Synchronization Specifications 6 28...
Page 146: ...Note 7 4 Note...
Page 147: ......

