7
ENGLISH
INSTALLING AND REPLACING REMOTE BATTERIES
1.
Slide open battery compartment cover back of Remote.
2.
Insert the supplied CR2032 button cell. Make sure batteries are inserted with their positive and negative poles posi-
tioned correctly.
3.
Close cover until it clicks.
Remarks:
(i)
When remote is not going to be used for more than 30 days, remove batteries to prevent them from leaking.
If they leak, wipe away the liquid inside battery compartment and replace with new batteries.
(ii)
Donít heat or disassemble batteries, and never dispose of old batteries by throwing them into a fire.
CLOCK SETTING
1.
From off mode, LCD will be displayed the clock time. Press SET/PGM button and the hour digits will flash on the
display.
2.
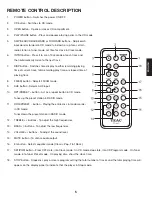
Press the or buttons to set the hour and then press SET/PGM button to confirm and hours stop flashing.
3.
Minute digits begin to flash. Press or buttons to set the minute and then press SET/PGM to confrim.
4.
The time stops flashing and your clock is set.
Remarks :
The unit can be displayed 12 hour mode clock.
The clock can be set only in the POWER OFF mode.
POWER ON
When you press the POWER button, main unit will turn on at the last selected play mode.
*
If it’s in Tuner mode when you turn it on, the radio will play. Display will show the radio band and frequency.
*
If it’s in CD mode when you turn it on, display will show the total number of tracks and total play time of the disc.
Note: System will start in Tuner mode when system is reset.

