51
10. SYSTEM settings
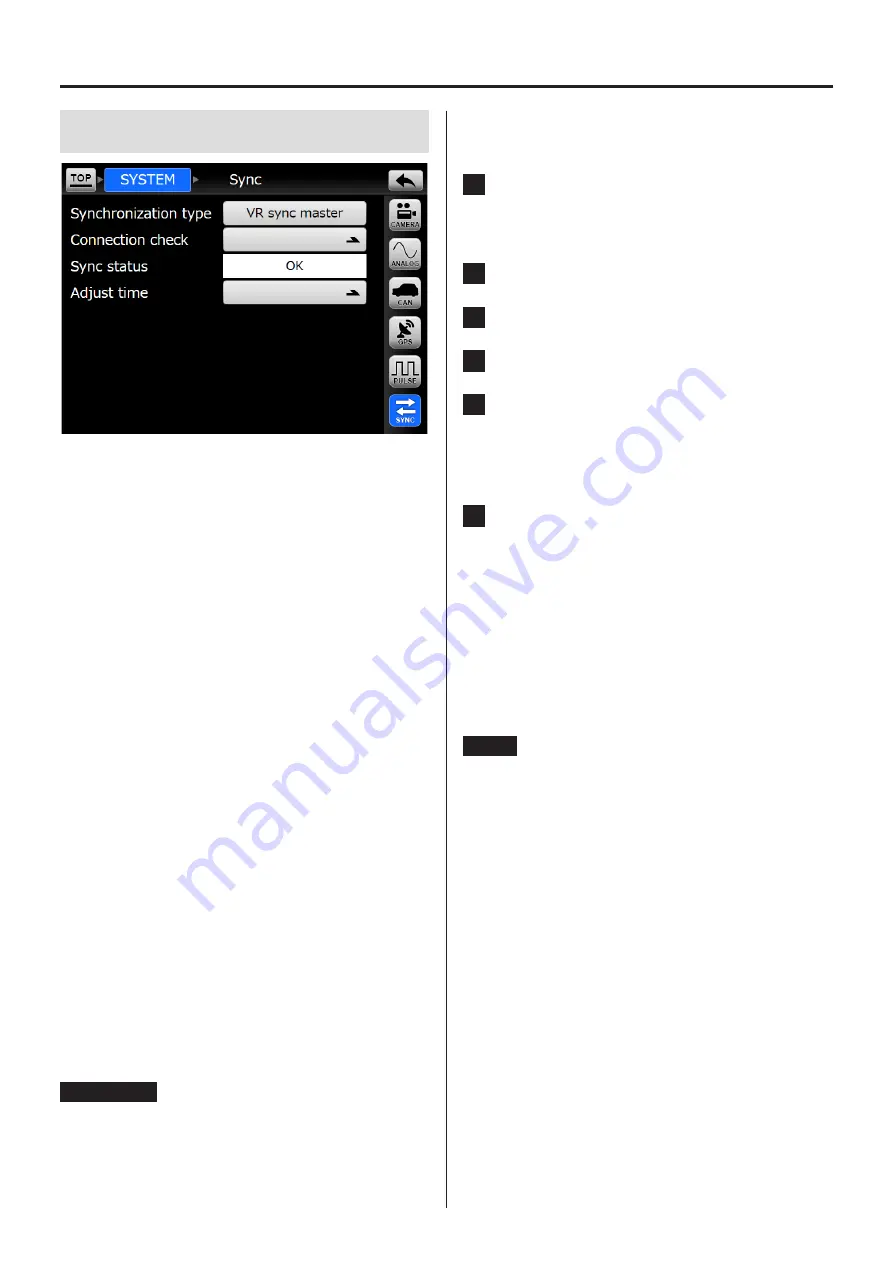
10-6. Sync
Synchronization type
OFF:
The unit will operate independently
without recording synchronization.
VR sync master: When using two VR-24 units for syn-
chronized recording, use this setting
for the VR-24 that will be used as the
master unit.
VR sync slave: When using two VR-24 units for syn-
chronized recording, use this setting
for the VR-24 that will be used as the
slave unit.
WX sync:
Use this setting when using a
WX-7000 and a VR-24 for synchro-
nized recording.
The VR-24 will operate as the slave
unit.
LX sync:
Use this setting when using a
LX-110/120 and a VR-24 for synchro-
nized recording.
The VR-24 will operate as the slave
unit.
Connection check
Sync status
Adjust time
ATTENTION
Playback is not possible when set to synchronize.
Set synchronization to OFF in order to play back
recordings.
10-6-1. VR sync
Preparation
1
Use a synchronization cable to connect the
VR-24/WX SYNC connectors of the master and
slave units.
2
Turn each VR-24 on.
3
Set the slave unit to “VR Sync slave”.
4
Set the master unit to “VR Sync master”.
5
Touch the “Connection check” button on the
master unit.
If there are no connection problems, the “Sync sta-
tus” will be “OK”.
6
Touch the “Adjust time” button to set the time
used by the slave unit to that used by the mas-
ter unit.
o
The error is ±1 second.
Recording
When recording operations are conducted with the
master unit, the same operations will automatically be
conducted on the slave unit.
NOTE
o
When the following settings are made on the mas-
ter unit, they will also be made on the slave unit
automatically.
u
Sampling series
u
Sampling frequency
u
Bit depth
o
Event marks can only be set on the master unit.
Summary of Contents for VR-24
Page 1: ...Analog Visual Recorder Owner s Manual Z VR 24 D01255010D...
Page 67: ...67 15 Exterior drawings 260 77 12 5 186 Unit mm...
Page 70: ...70...
Page 71: ...71...


