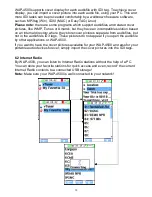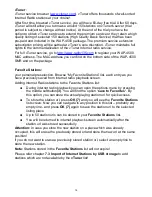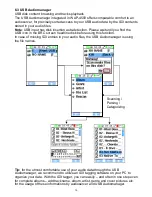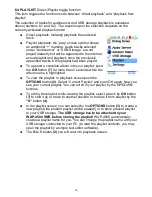
7.3 Import of Internet Stations by USB storage
Create/Add your own Internet radio URL entries.
This function needs Windows™ Media Player or WinAmp™ application program.
●
Download and install Windows Media Player or WinAmp onto your PC.
●
Run Windows Media Player or WinAmp.
●
Plug your USB storage into a USB connector on your computer.
●
Follow the procedures below to export Internet radio URL entries to your
USB storage.
Using
Windows Media Player:
●
Run Windows Media Player.
●
Choose
Guide
>
Radio Tuner
.
●
Select an Internet radio station.
●
Choose
File
>
Add To Library
>
Add Currently Playing Playlist
●
Save the current station URL entry to USB storage.
●
Repeat steps 3~5 to collect more URL entries.
●
Remove the USB storage from the computer.
●
Plug your USB storage into the USB port on the WAP-4500.
Using
WinAmp
●
Run WinAmp
●
Click the
PL and ML
buttons. Three windows should open:
WINAMP
,
PLAYLIST EDITOR
, and
MEDIA LIBRARY
.
●
On the
MEDIA LIBRARY
window, choose
Internet Radio
under
Streaming Media
. WinAmp lists all Internet radio stations at the right-
hand side panel.
●
Double click the station you want; WinAmp plays the station and adds
it to the
PLAYLIST EDITOR
window.
●
Repeat above steps to collect more URL entries.
●
On the
PLAYLIST EDITOR
window, click
Manage Playlist
and choose
Save Playlist
to save the current station at M3U file format. Save this
file to USB storage.
●
Remove the USB storage from computer.
●
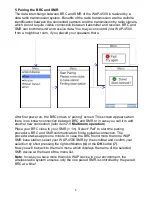
Plug your USB storage into WAP-4500 USB port. WAP-4500
automatically shows the flash drive contents. Otherwise go to
Music
>
USB Disk
to search for the M3U format files to play.
●
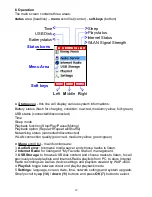
Acess your USB directory now via
USB Storage - ... - Files
, to show up the
stored files (extension WPL - WindowsMediaPlayer or M3U - WinAmp).
●
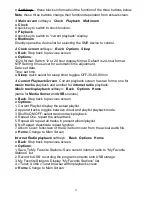
Now you can browse the WPL/M3U files by WAP-4500 and select them for
playback: scroll on the file and press
OK (7)
. The included internet radio
station will be called for playback.
●
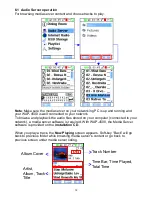
As final step you can easily - as usual - store the station to your
My
Favorite Stations
list in your WAP-4500. To do this, just press the middle
softkey (3)
for options, as described in
section 6.2
.
19
Summary of Contents for WAP-4500
Page 1: ...WAP 4500 INSTRUCTION MANUAL...
Page 2: ...2...
Page 4: ...4...
Page 30: ...14 Warranty request card 30...
Page 31: ...31...

