19
:: Tuning Tips
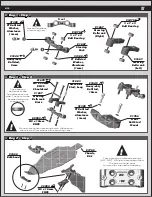
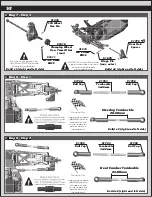
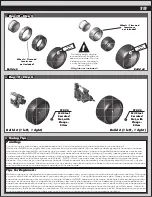
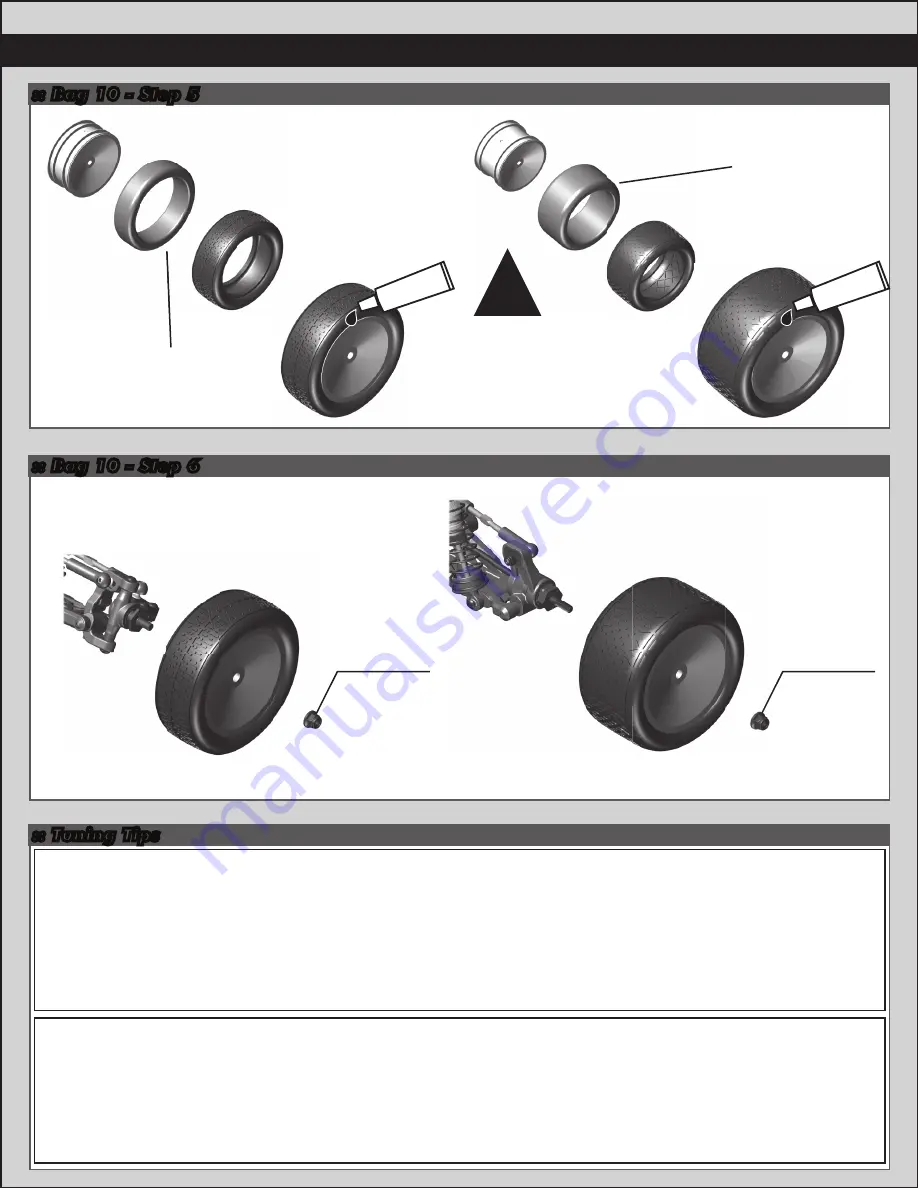
:: Bag 10 - Step 5
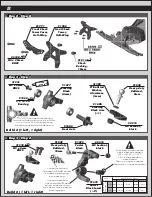
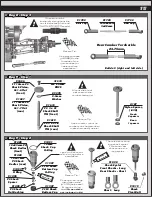
:: Bag 10 - Step 6
Tips for Beginners:
Before making any changes to the standard setup, make sure you can get around the track without crashing. Changes
to your vehicle will not be beneficial if you can’t stay on the track. Your goal is consistent laps. Once you can get around
the track consistently, start tuning your vehicle. Make only ONE adjustment at a time, testing it before making another
change. If the result of your adjustment is a faster lap, mark the change on the included setup sheet (make adddtional
copies of the sheet before writing on it). If your adjustment results in a slower lap, revert back to the previous setup and
try another change. When you are satisfied with your vehicle, fill in the setup sheet thoroughly and file it away. Use this
as a guide for future track days or conditions. Periodically check all moving suspension parts. Suspension components
must be kept clean and move freely without binding to prevent poor and/or inconsistent handling.
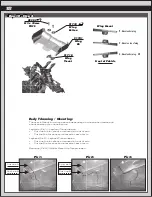
Painting:
Your Kit comes with a clear polycarbonate body. You will need to prep the body before you can paint it.
Wash the INSIDE thoroughly with warm water and liquid detergent (do not use any detergents with scents or added
hand lotion ingredients!). Dry the body using a clean, soft, lint-free cloth. Use the supplied window masks to cover the
windows from the INSIDE of the body (RC cars get painted on the inside). Using high quality masking tape, apply tape
to the inside of the body to create a design. Spray (use either rattle can or airbrush) the paint on the inside of the body
(preferably dark colors first, lighter colors last). NOTE: ONLY use paint that is recommended for (polycarbonate)
plastics. If you do not, you can destroy the body! After the paint has completely dried (usually after 24 hours), cut the
body along the trim lines. Make sure to drill or use a body reamer to make the holes for the antenna if needed! Use hook
and loop tape to secure the body to the side rails of the vehicle.
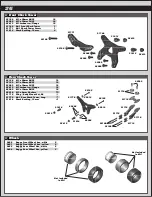
Wheels / Tires and
Inserts are
not included!
Wheels / Tires and
Inserts are
not included!
#1597
ca glue
#1597
ca glue
Carefully apply ca glue
(tire adhesive) to the tire
bead on the side. Do one
side at a time, allowing it
to dry before gluing the
other side!
CA glue not included!
!
Build x2
Build x2
Build 2 (1 left, 1 right)
Build 2 (1 left, 1 right)
91826
M4 Steel
Serrated
Nut, with
Flange -
Silver
91826
M4 Steel
Serrated
Nut, with
Flange -
Silver

