Copies of the I/B. Please reproduce them without any
changes except under special instruction from Team
International BELGIUM. The pages must be reproduced
and folded in order to obtain a booklet A5 (+/- 148.5 mm
width x 210 mm height). When folding, make sure you
keep the good numbering when you turn the pages of
the I/B. Don’t change the page numbering. Keep the
language integrity.
11
TKG CHM 1000 - 100831
Assembly page 11/40
Fax +32 2 359 95 50
SHORT CORD INSTRUCTIONS
A short power supply cord is provided to reduce the risk resulting from becoming entangled in,
or tripping over a longer cord. Extension cords may be used if care is exercised in their use.
The longer cord should be arranged so that it will not drape over the counter top or tabletop
where it can be pulled on by children or tripped over.
BEFORE THE FIRST USE
•
Remove all packaging material and wipe out the bowl of the base with a slightly damp
cloth and then dry the bowl. Make sure no water penetrates in the motor unit.
•
Clean the auger and the tower with soapy water, rinse and dry thoroughly.
ASSEMBLY
Make sure that the switch is in off-position and that the appliance is unplugged before
assembling.
Never attempt to place the auger or the tower on the base while the motor is running.
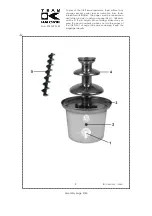
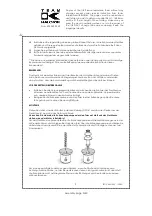
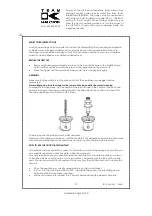
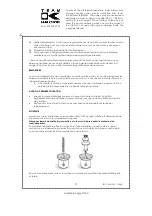
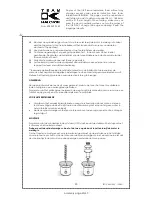
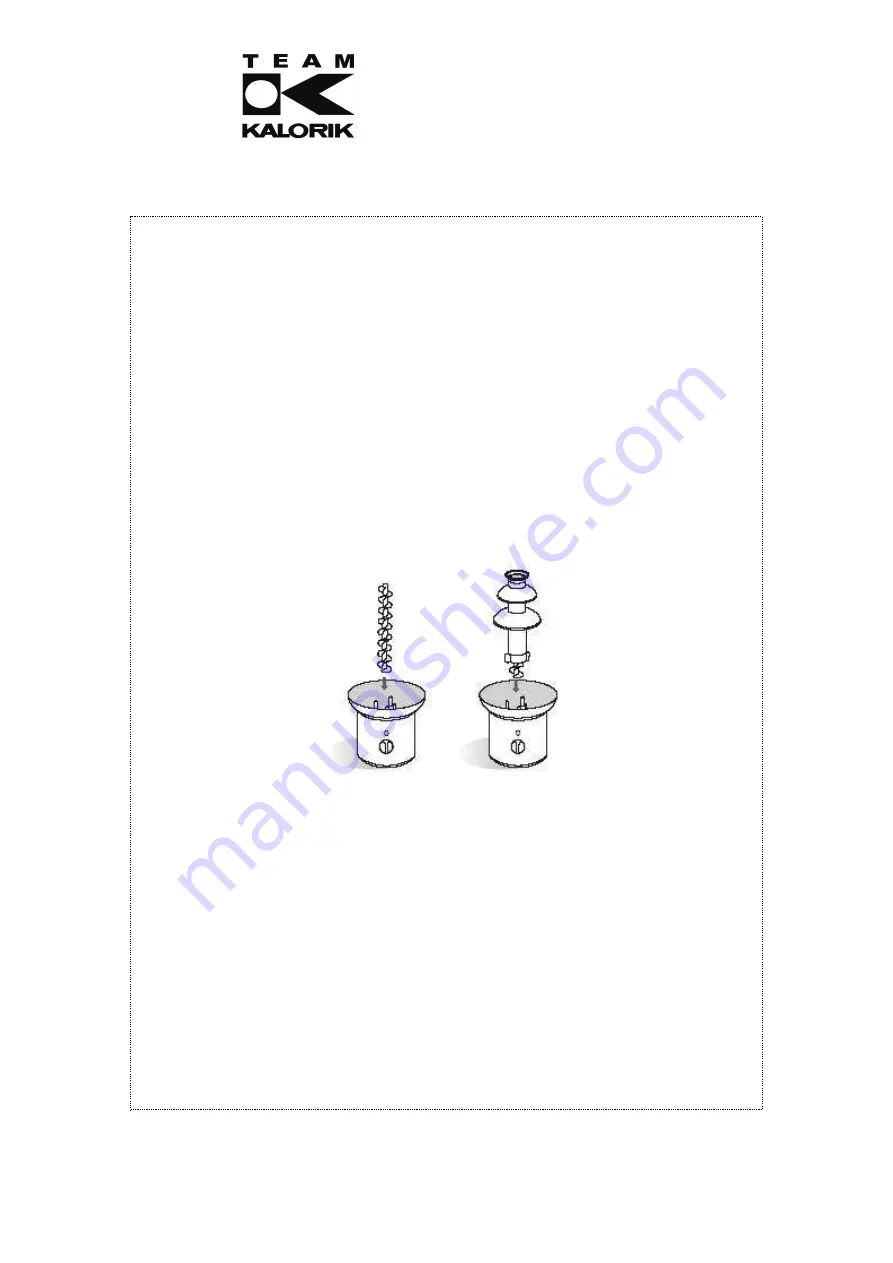
To assemble the appliance, put the auger on the metallic axle in the centre of the bowl, and
pass the tower over the auger, making sure that the three pins in the centre of the bowl fit in
the three openings on the bottom of the tower.
To work properly, the surface must be firm and level.
Attention: if the surface on which you put the fountain is not perfectly horizontal, the chocolate
will not flow in all directions in the same way and so you will not obtain a nice fountain.
HOW TO USE THE CHOCOLATE FOUNTAIN
This fountain can be used with a variety of chocolates or sauces. Depending on your taste, you
can use milk chocolate, dark chocolate, white chocolate etc.
For your preparation you can use either special chocolate for chocolate fountains, or normal
chocolate which you will have to cut into small pieces. Depending on the type of chocolate
used, the necessary quantity of cooking oil may vary from the standard amount to double this
amount.
•
Once the appliance is correctly assembled, plug it into a wall socket.
•
To start, turn the switch to position “HEAT” to activate the heater. The pilot light goes on,
indicating that the appliance is heating.
•
Let the unit warm up for at least 3 to 5 minutes before adding the melted chocolate.

