Page 3
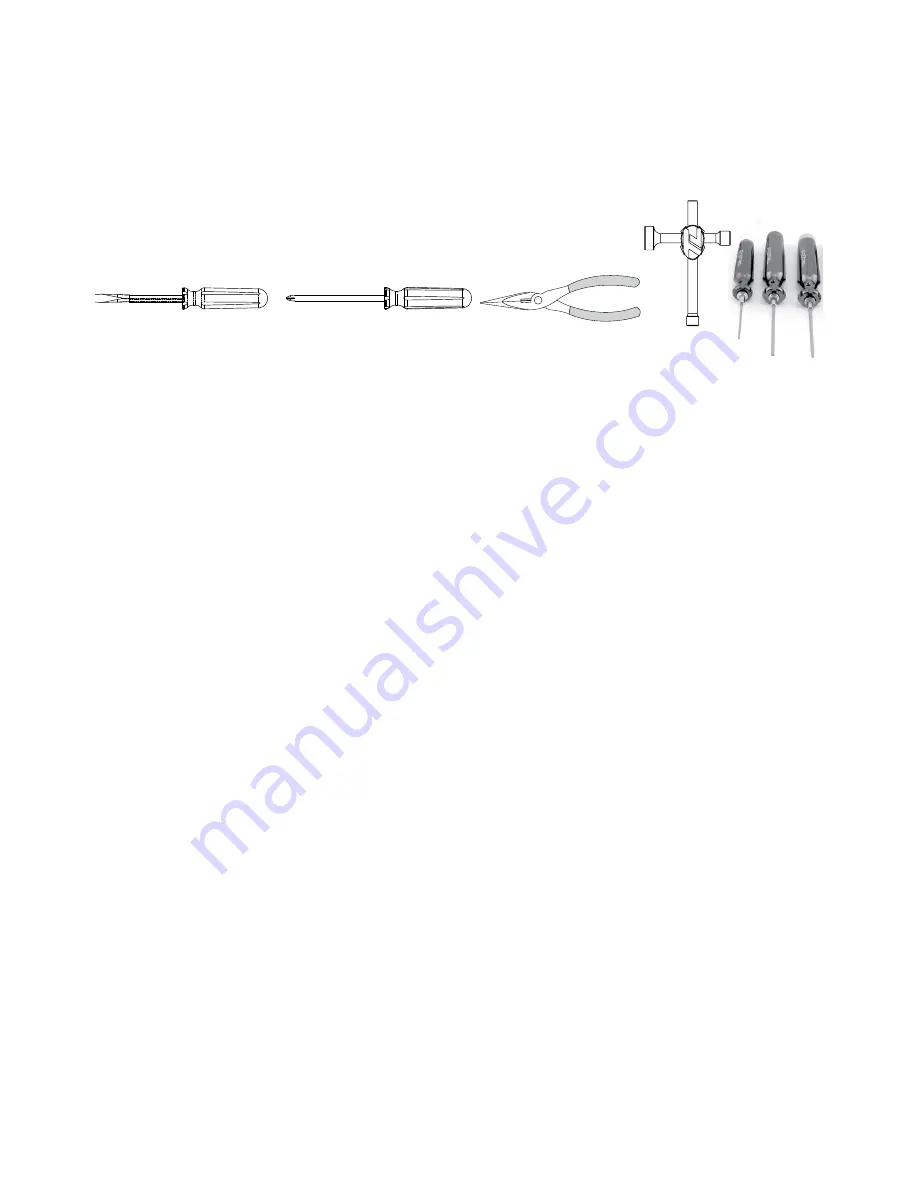
Tools You Will Find Handy
In addition to the tools included with your vehicle, you will find the following both useful and in some cases
necessary.
•
Small flat blade screwdriver
•
Phillips screwdrivers
•
Needle-nose pliers
•
Quality .050-inch, 1/16-inch, 5/64-inch, and 3/32-inch, hex (Allen) drivers (LOSA99104)
Engine Break-In and Adjustments
Breaking in your new engine is critical for proper performance. Failure to follow the break-in procedures can cause
damage and shortened engine life. During break-in and when running, always use Losi Nitrotane 20% Sport Fuel.
Although the carburetor is pre-adjusted at the factory, you must be familiar with the following adjustments and
break-in procedure. If you change fuel or run in dramatically different environments (hot/cold, high/low elevation,
etc.) you will probably have to adjust at least the high-speed needle to prevent overheating and maintain proper
performance. Never, under any circumstances allow the engine to rev freely with the wheels off the ground.
Break-In Procedure
1. The first three tanks of fuel should be run with the high- and low-speed needles noticeably rich (see
explanation below). There should be a slight sluggishness and thick smoke when accelerating, with the smoke
decreasing as the model gains speed. At speed, there should still be a noticeable trail of smoke from the
exhaust pipe. Run the model on a flat surface in an oval pattern. Ease into the throttle as you accelerate on
the straight sections, easing off as you approach turns—letting the model roll through the turn before easing
back on the throttle. This will also allow you to get a feel for the steering response and handling characteristics
of the model.
2. You can also break in the engine by placing the model against a wall or fixed object (on top of the starter box)
and allowing the engine to idle through two full tanks of fuel. You may have to lean the low-speed mixture
(slightly) as noted below.
Understanding Rich and Lean Fuel Mixture
Adjusting the carburetor is one of the most critical facets of running a nitro powered RC vehicle. The fuel mixture
is referred to as being rich when there is too much fuel and lean when there is not enough fuel for the amount of
air entering the engine. The amount of fuel entering the engine is adjusted with high- and low-speed threaded
needle valves. The low-speed needle is located in the front of the moving slide. The high-speed needle sticks
straight up at the back of the carburetor. Both feature a slotted head that is used as a reference and receptacle for
a flat blade screwdriver for adjustments. The mixture is made richer by turning the needle counterclockwise and
leaner by turning clockwise. An overly rich mixture will yield sluggish acceleration and performance with thick
smoke from the exhaust. A lean mixture can cause the engine to hesitate before accelerating or, in some cases, to
lose power momentarily after the initial acceleration. A lean mixture also makes the engine run hotter than desired
and does not provide enough lubrication for the internal engine components, causing premature wear and
damage. It is always advisable to
run the engine slightly rich
and
never lean
to avoid overheating and possible
damage.
Engine Tuning
After the engine is broken in, you can tune it for optimum performance. When tuning, it is critical that you be
cautious of overheating as severe damage and premature wear can occur. You want to make all carburetor
adjustments in “one hour” increments.


