EN
6
control test
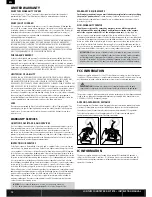
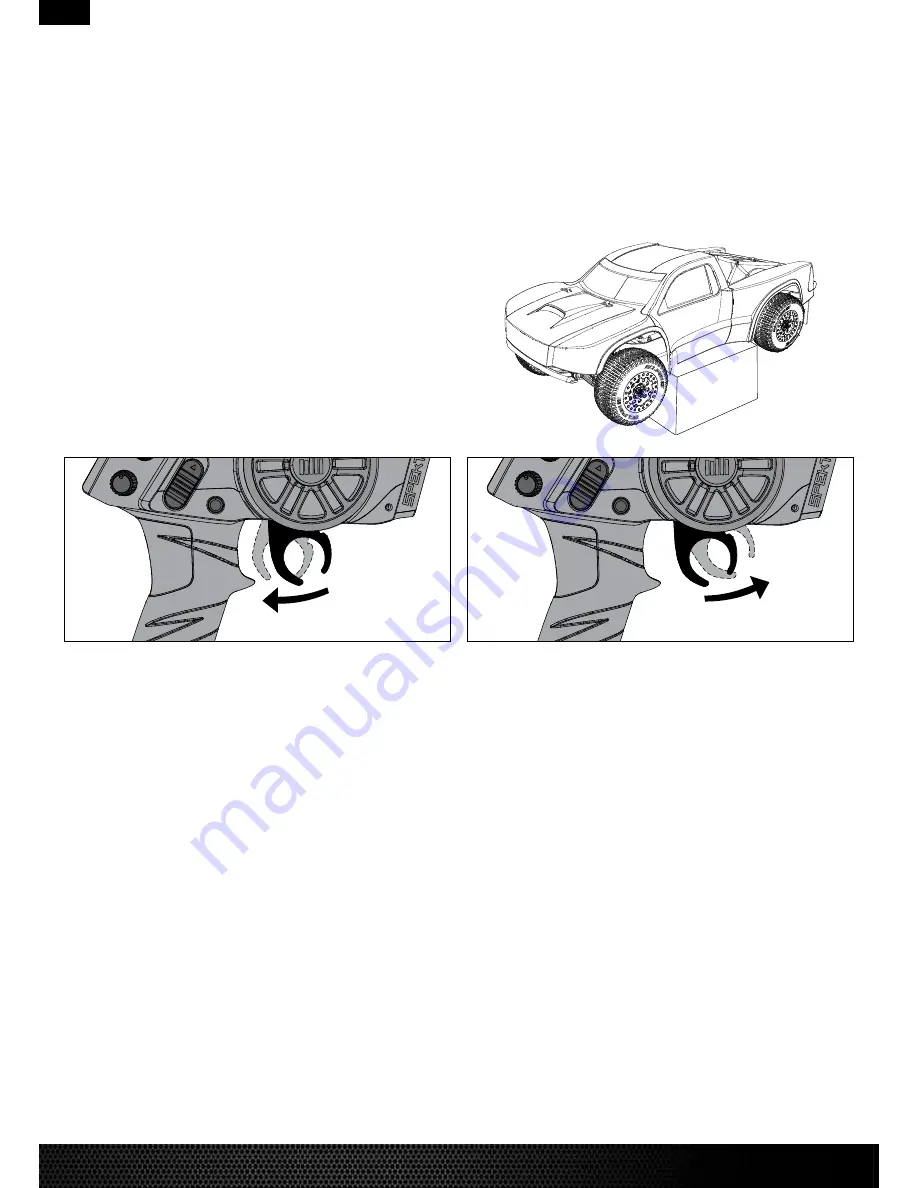
Perform a control test with the vehicle wheels off the ground. If the wheels rotate after the
vehicle is powered ON, adjust the “TH. Trim” knob until they stop. To make the wheels move
forward, pull the trigger. To reverse them, wait for the wheels to stop, then push the trigger.
When moving forward, the wheels should maintain a straight line without any steering
wheel input. If not, adjust the “ST. Trim” knob, so the wheels maintain a straight
line without having to turn the steering wheel.
Before runnIng your VehIcle
1. Break in the differential. While holding the chassis with only the left rear tire firmly on the
ground, give the vehicle about 1/8 throttle for 30 seconds. The right rear tire should spin
freely during this time. Do this with only the right rear tire firmly on the ground, allowing
the left to spin freely. Repeat this 2–3 times.
2. Check for free suspension movement. All suspension arms and steering components
should move freely. Any binds will cause the vehicle to handle poorly.
3. Set the ride height. Set the ride height of your truck with all components installed
so that the bottom of the chassis is 29.5mm from the ground in the front and
29.0mm in the rear by adjusting the shock collars.
4. Set the camber. Adjusting the camber tie rod length changes the camber.
Set the front tires to have 1 degree of negative camber at ride height.
Set the rear tires to have 1.5 degrees of negative camber at ride height.
5. Set the front toe-in. Adjust the steering tie rods so that when the servo
is centered on the transmitter, the front tires are both pointing straight.
6. Charge the battery.
7. Check the calibration of the ESC. If recalibration is required, follow the setup instructions.
8. Check the steering endpoints of the vehicle by turning the steering wheel with the front
tires off the ground. When turning left, the left front tire should reach full steering throw
as the steering wheel reaches the end of its motion (and vice-versa for turning right).
If it does not, use the steering endpoint dials to adjust.
fOrWard
BraKe/reVerSe
transMItter and receIVer BIndIng
Your Spektrum DX2L comes prebound to the vehicle.
1. Make sure the transmitter and vehicle are both powered OFF.
2. Install a bind plug in the receiver battery/bind port. You do not need to remove
any of the other plugs to re-bind.
3. With the bind plug installed, power ON the vehicle. The receiver LED will flash green.
4. With the steering and throttle in the desired preset failsafe positions (neutral), press and
hold the bind button and power ON the transmitter. The transmitter's red LED will flash
after 4 seconds when the transmitter is in bind mode. Release the bind button once
the red LED flashes. Continue holding the failsafe positions until the binding
process is complete.
5. When the receiver binds to the transmitter, the receiver LED will turn solid.
6. Power OFF the vehicle, then the transmitter.
7. Disconnect the battery from the ESC. Remove the bind plug from the receiver.
8. Safely store the bind plug in the bind plug compartment in the transmitter.
9. The receiver will keep the binding to the transmitter until another binding is done.
If you encounter problems, obey binding instructions and refer to the transmitter
troubleshooting guide for other instructions. If needed, contact the appropriate
Horizon Product Support office.
LOSI Tuff COunTry XXX-SCT rTr • InSTruCTIOn manuaL
6


