Installing the 2
nd
unit EPROM
1.
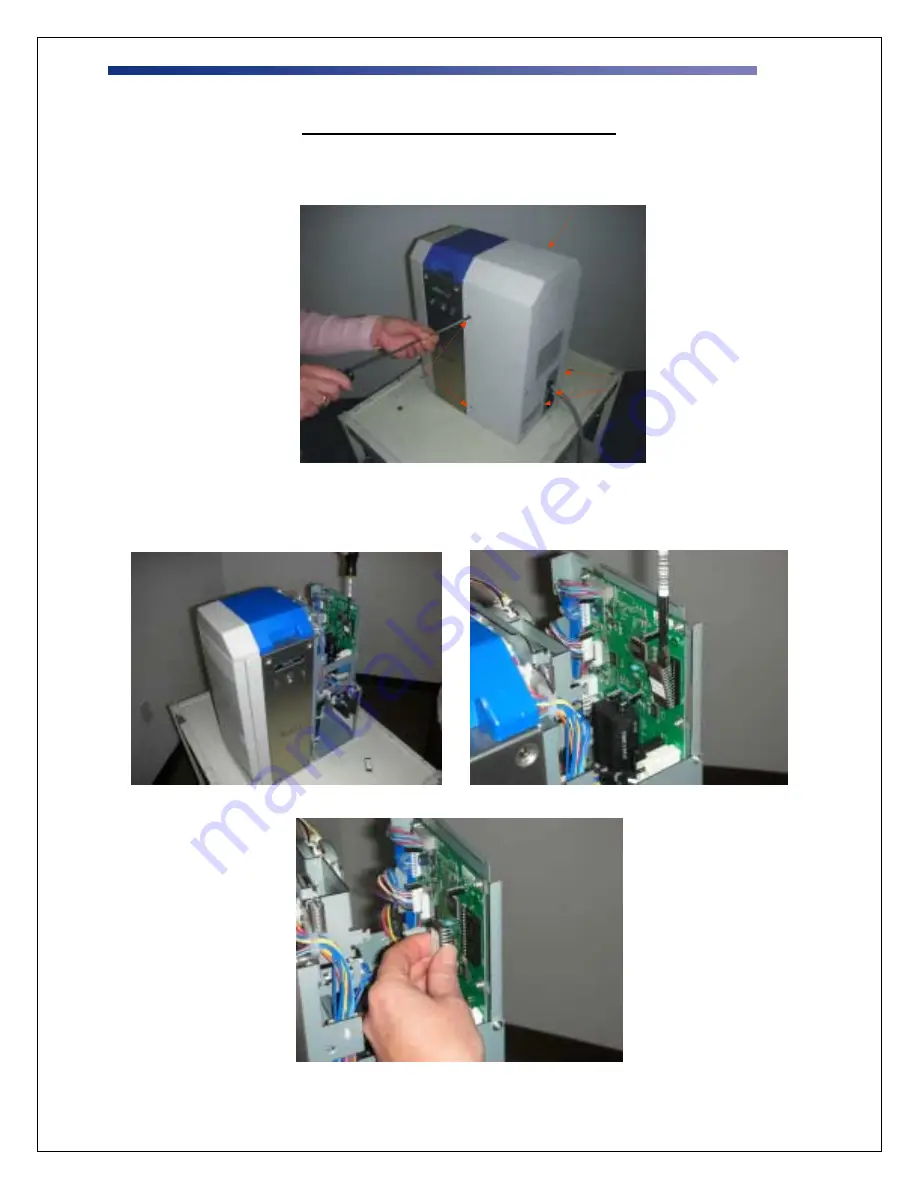
First, turn off the printer and unplug the laminator’s power cord. Remove the back cover by removing the 6
screws, 2 on each side and 2 on the back (Fig 1).
Fig 1
2.
Remove the standard ver 1.5 EPROM from the socket (Fig 2) and insert the 2
nd
unit EPROM (Fig 3). Replace
rear cover after EPROM insertion.
Fig 2
Fig 3


