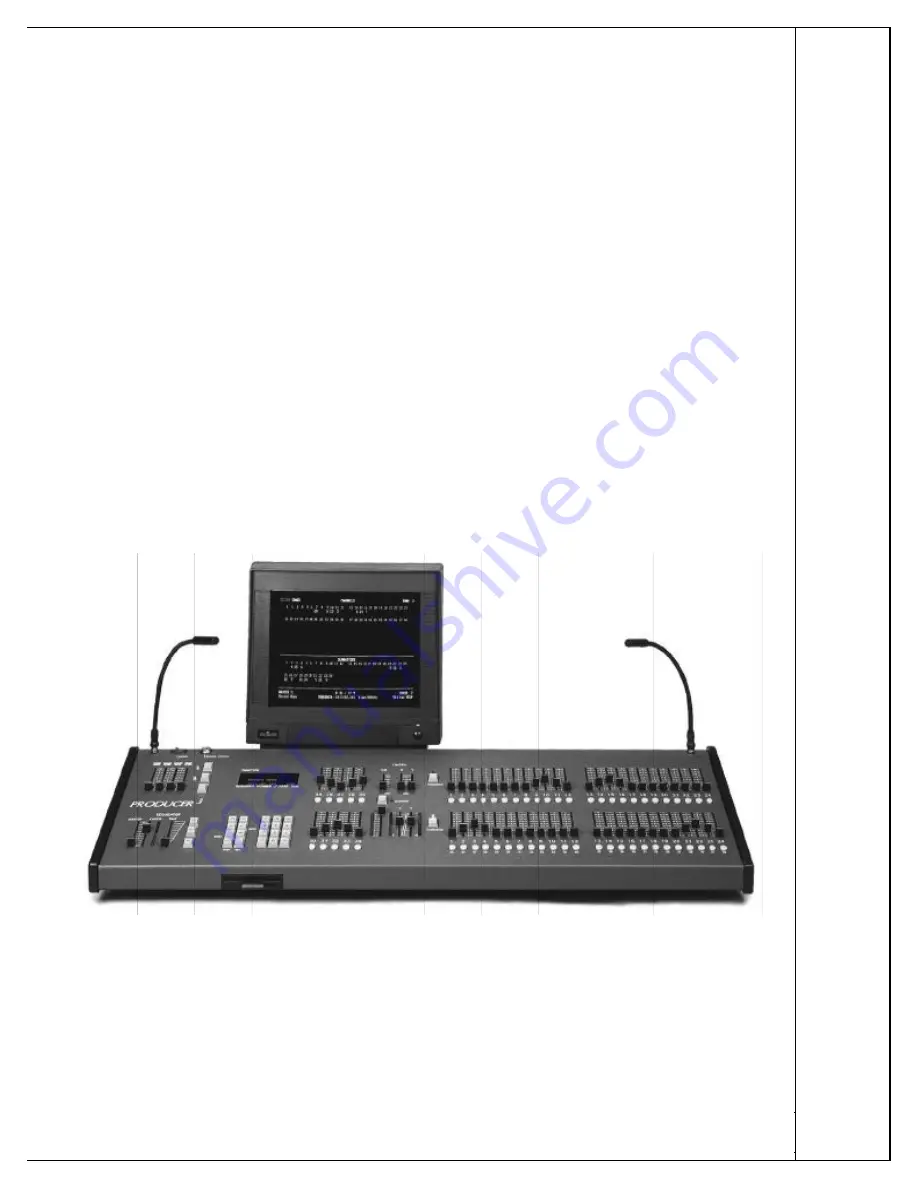
PRODUCER 3
06/18/97
Lighting Control Console
page
TEATRONICS LIGHTING CONTROLS,
TEATRONICS LIGHTING CONTROLS,
INC.
INC.
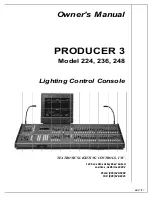
TEATRONICS LIGHTING CONTROLS, INC.
1236 Los Osos Valley Road Suite G
1236 Los Osos Valley Road Suite G
Los Osos , California 93402
Los Osos , California 93402
Phone: (805) 528-6900
Phone: (805) 528-6900
FAX: (805) 528-9345
FAX: (805) 528-9345
06/17/97
Owner's Manual
PRODUCER 3
Model 224, 236, 248
Lighting Control Console


