TEC
AR
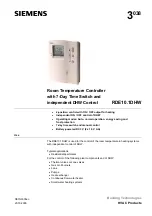
T. 950S
Power supply
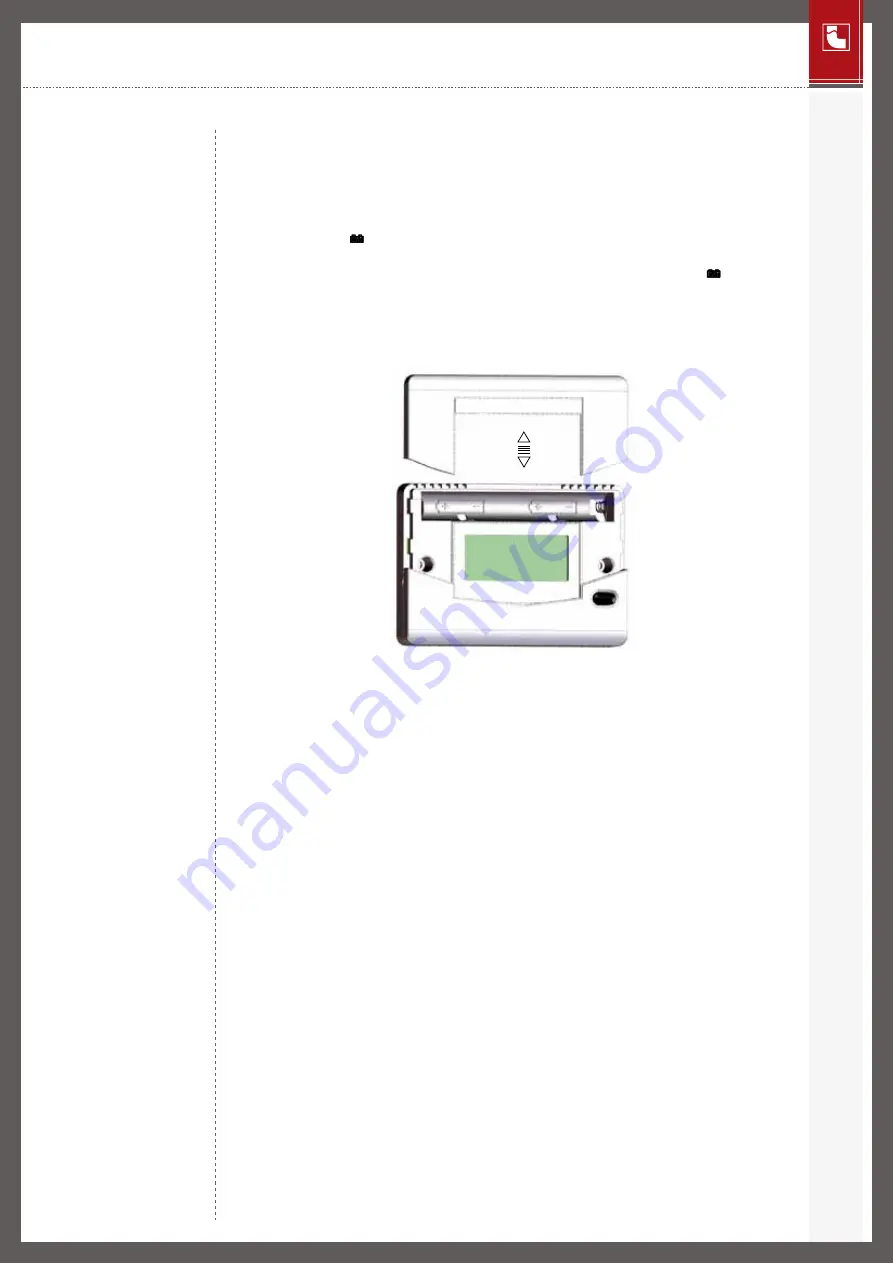
950S is powered by two AA 1.5V alkaline batteries that ensure the chronothermostat operates for at least
two years.
To insert the batteries, slide out the BATTERY COVER and position the batteries in the correct polarity
direction as indicated inside the compartment (Fig. 4).
905S is equipped with two battery warning discharge levels. When the first level is superseded the
symbol
BAT
appears ( ) whilst the chronothermostat continues to function correctly.
On reaching the second level, the chronothermostat completely blocks its functions of thermoregulation
whilst the display shows the hour, day and the flashing symbol of the discharged battery ( ).
Whilst substituting the batteries, the data remains memorized for 30 seconds in the absence of power.
Digital electronic room chronothermostat
Fig.4
Initialisation
As soon as
950S
is fed power it carries out a control cycle switching on all segments of the display and
activating the charge for a few seconds.
If the initialization might prejudice the correct functioning of the charge, power up the chronothermostat
before carrying out the electrical connections.
Functioning and programming
A fundamental part of the chronothermostat is the backlight graphic display that shows a diagram of 24
columns representing the 24 hours of the day and the height of each column indicates the programmed
temperature for that hour.
The segment at the top on the right (A in Fig.5), in correspondence to the overprinted writing indicates
the day to which the programme refers. The programmed temperature (B in Fig.5) is visualised at the top
on the right whilst programming and is identified by the day flashing and the symbol “
C
” indicating the °C.
During normal functioning, the hour or the ambient temperature are alternately visualised by pressing the
°C/h
key (Fig.5).
A standard utilization diagram is shown once the
950S
chronothermostat is powered on; the clock starts
at 00.00 of Monday (LU).
To modify the programme, move to the desired day using the
DAY
key (Fig.5) and adjust the daily graphic
utilizing the four central keys designed in the shape of a cross. The
+h
and
-h
keys (Fig.5) shift the cursor
horizontally along the HOUR axis, whilst the
+°C
and
-°C
keys (Fig.5) adjust the set temperature.
The weekly temperature programme can be modified at any moment by utilising the four central keys
designed in the shape of a cross (+h, -h, +°C and -°C) and the DAY key.
The minimum increase/decrease of the set temperature using the
+°C
and
-°C
keys is
0.1°C
. Keeping
+°C
or
-°C
key pressed the increase/decrease becomes 0.2°C.
After programming the first day, the following days can be programmed in two different ways:
- Pressing the
DAY
key (F in Fig.5), the following day is visualized displaying the memorized programme (if
the previous programmed day does not exist, the standard graphic is visualized) that can be modified as
previously described.
- Copying the day previously programmed into the successive day using the
COPY
function.


