November, 99
All Rights Reserved
37
B-443 Bar Code Printer
Service Manual
4.3 DC Motor Replacement
1. Turn off the printer power.
2. Remove the power cord and RS-232 and/or parallel port cable.
3. Open the top cover of the printer.
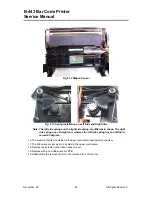
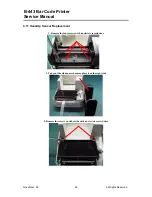
4. Remove the printer front panel. (Cf. Fig. 3.14)
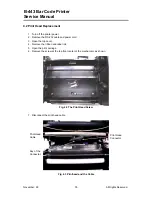
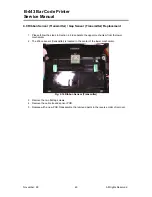
5. Remove the two screws and the metal cover. (Cf. Fig. 3.15)
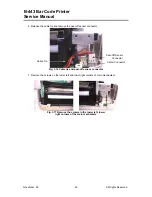
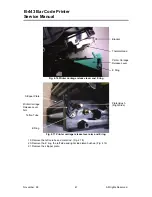
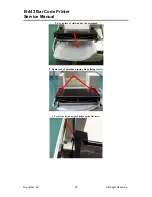
6. Release the cable tie and remove the peel-off sensor connector. (Cf. Fig. 3.16)
7. Remove the screw on the PCB of peel-off and cutter connector.
8. Remove the screws in the lower left, lower right corners of the main mechanism.
9. Remove all four screws of the internal label roll mount. (Cf. Fig. 3.18)
10. Move the mechanism in the label feed direction about 5 mm.
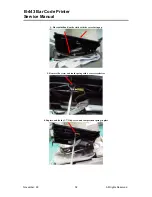
11. Take out the internal label roll mount and remove connector JP1. (Cf. Fig. 3.19)
12. Remove the screw of ground wire on the mainboard.
13. Remove all connectors on the mainboard.
14. Take out the mechanism.
15. Remove the cable tie.
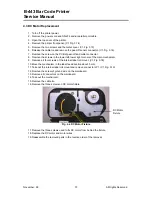
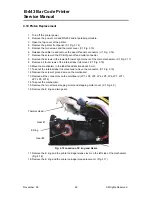
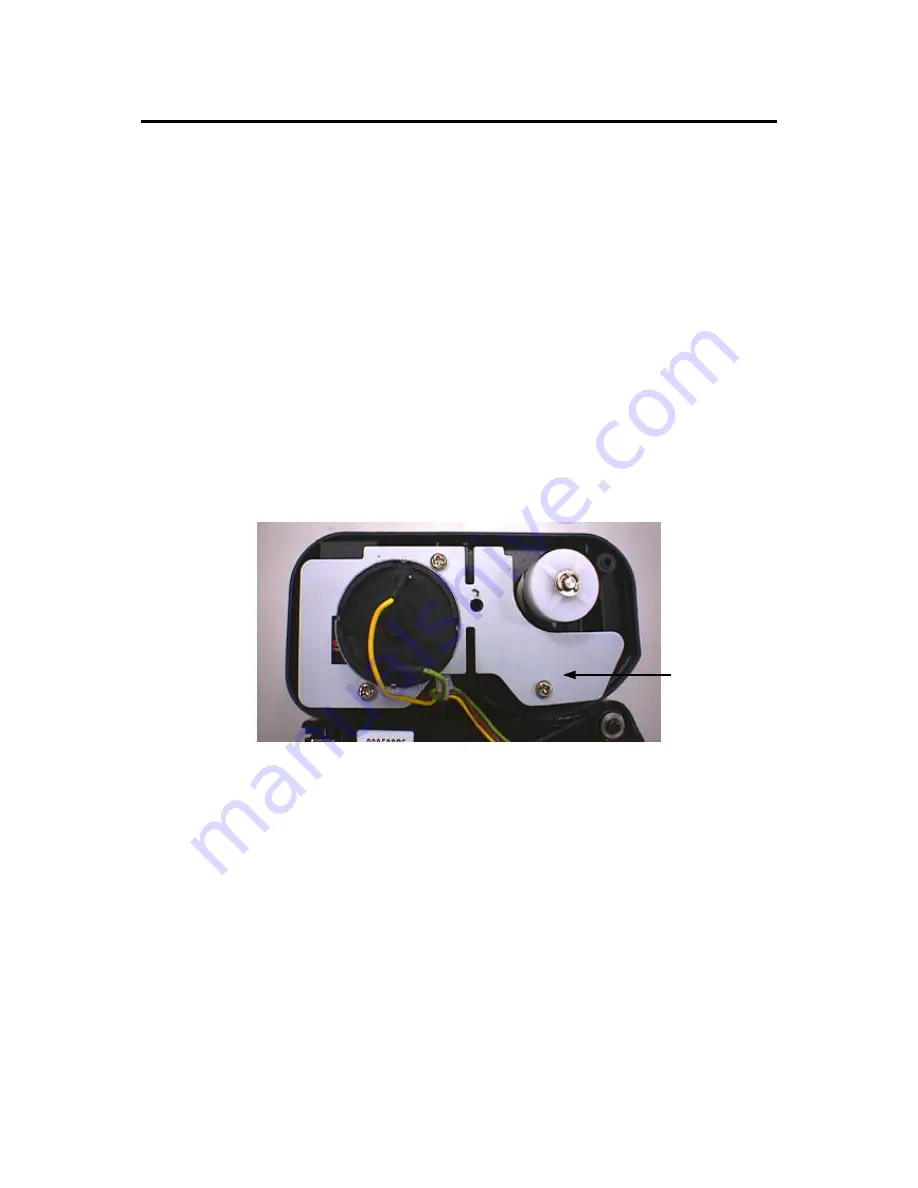
16. Remove the three screws on DC motor fixture.
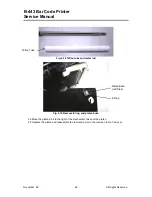
Fig. 4.4 DC Motor Fixture
17. Remove the three screws used to fix DC motor from behind the fixture.
18. Replace the DC motor and motor wires.
19. Reassemble the removed parts in the reverse order of the removal.
DC Motor
Fixture
Summary of Contents for B-443
Page 61: ...November 99 All Rights Reserved 58 B 443 Bar Code Printer Service Manual...
Page 63: ...November 99 All Rights Reserved 60 B 443 Bar Code Printer Service Manual...
Page 65: ...November 99 All Rights Reserved 62 B 443 Bar Code Printer Service Manual 11 12...
Page 67: ...November 99 All Rights Reserved 64 B 443 Bar Code Printer Service Manual...
Page 69: ...November 99 All Rights Reserved 66 B 443 Bar Code Printer Service Manual...

