background image

6

7

2.1  Time / Date Mode - Setting

• In Time / Date mode press and hold the Set/+ button [s/+] for 

two seconds.

• The 12 H / 24 H indicator will flash. Press [o/-] button to select 

between a 12 or 24 hour clock feature. Press the [o/o] button 
to confirm.

• The hours indicator will flash. Press [s/+] and [o/-] buttons to 

select the correct hour. Press the [o/o] button to confirm.

• The minutes indicator will flash. Press [s/+] and [o/-] buttons to 

select the correct minutes. Press the [o/o] button to confirm .

• The month indicator will flash.Press [s/+] and [o/-] buttons to 

select the correct month. Press the [o/o] button to confirm.

• The days indicator will flash. Press [s/+] and [o/-] buttons to 

select the correct day. Press the [o/o] button to confirm .

• The year indicator will flash. Press [s/+] and [o/-] buttons to 

select the correct year. Press the [o/o] button to confirm.

• Date / Time Mode quick set is now complete.

3.0  Daily Alarm Mode - Display

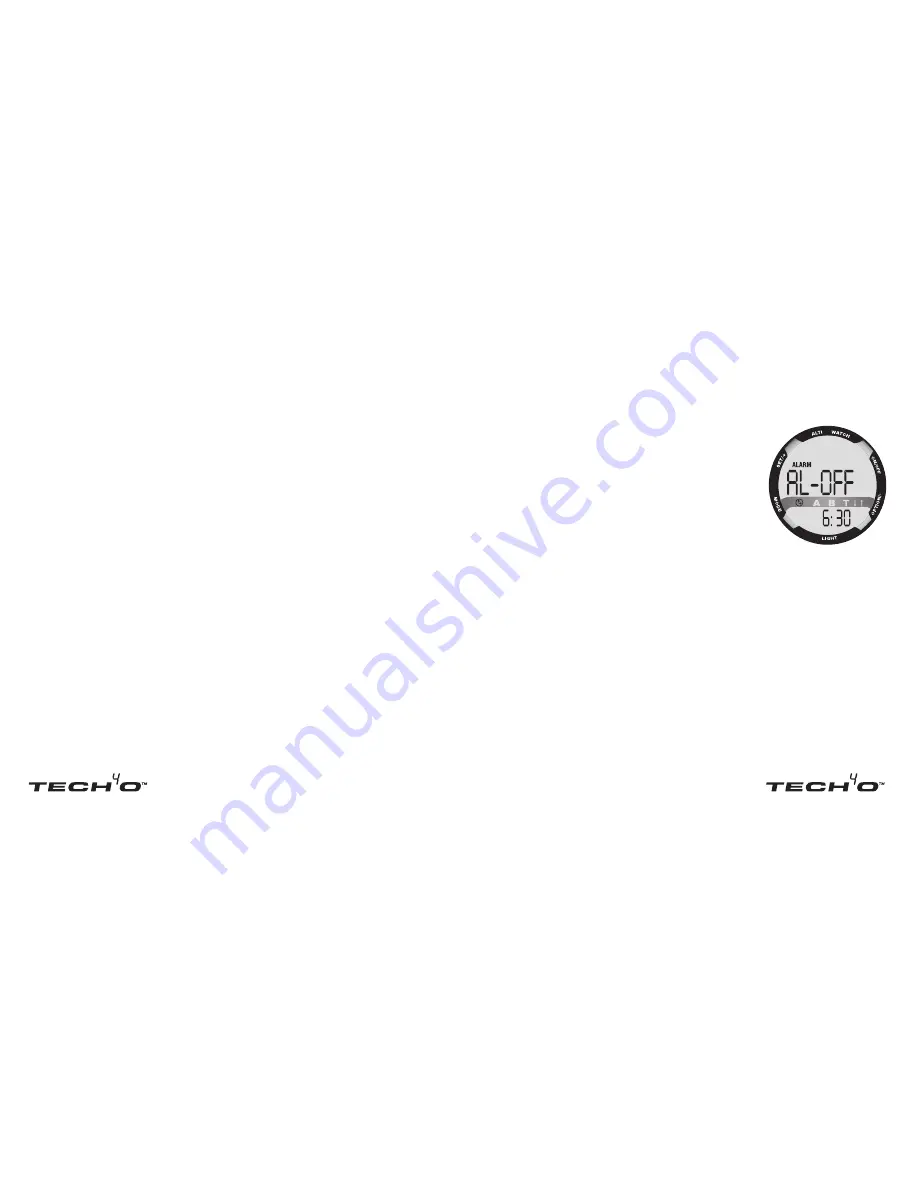
This watch includes a daily alarm. When the 

daily alarm is ON, the alarm will sound for 
30 seconds at the alarm time every day.

• To view the daily alarm display, press the 

[o/-] button once while in time/date mode.

• When the daily alarm is turned on, the 

watch will display alarm on the main 
screen.

3.1  Daily Alarm Mode - Setting

• To set the daily alarm, press and hold the [s/+] button for 2 

seconds. When in the alarm sub-mode the hour will flash. Press 
[s/+] and [o/-] buttons to adjust the hours. Press the [o/o] 
button to confirm.

• At this time, the minutes will flash. Press [s/+] and [o/-] buttons 

to adjust the minutes. Press the [o/o] button to confirm.

• Press the [o/o] button again to turn the alarm on or off.

Summary of Contents for Altimeter Watch

Page 1: ...1 A L T I M E T E R W A T C H ...

Page 2: ...nual Content 1 0 Introduction Features 1 1 Button Functions 1 2 Major Function Modes 2 1 Time Date Mode Setting 3 0 Daily Alarm Mode Display 3 1 Daily Alarm Mode Setting 4 0 Countdown Timer Mode Display 4 1 Countdown Timer Mode Setting 4 2 Countdown Timer Mode Using the Countdown Timer 5 0 Stopwatch Mode Display 5 1 Stopwatch Mode Setting 5 2 Stopwatch Mode Using the Stopwatch 6 0 Stopwatch Histor...

Page 3: ...gits during setting display and browse through sub modes Light Button L Illuminates the watch face for use during low light conditions 1 2 Major Function Modes Press any button to wake the watch from sleep mode Press the M button to toggle among the main function mode 2 Time Date Mode Display To view time mode press the m button until the mode indicator displays the clock symbol When Time Date mod...

Page 4: ...tton to confirm The year indicator will flash Press s and o buttons to select the correct year Press the o o button to confirm Date Time Mode quick set is now complete 3 0 Daily Alarm Mode Display This watch includes a daily alarm When the daily alarm is ON the alarm will sound for 30 seconds at the alarm time every day To view the daily alarm display press the o button once while in time date mod...

Page 5: ...adjust the seconds Press the o o button to confirm The countdown timer is now set 4 2 Countdown Timer Mode Using the Countdown Timer When in countdown timer mode press o o to start the countdown Press the o o button again to stop the countdown Press the o o button again to resume the countdown When the countdown timer expires the alarm will sound for 30 seconds and timer will reset to the last cou...

Page 6: ...e press the o o button to start the stopwatch The top row will now display and the bottom row will display the current stopwatch time Press the o o button again to stop the stopwatch The top and bottom rows will now display current stopwatch time Press the o o button again to resume the stopwatch The top row will now display and the bottom row will display the current stopwatch time While the stop...

Page 7: ...ending on your selection 6 1 Stopwatch History Mode Navigating Saved Data How to retrieve saved stopwatch information To view saved stopwatch information press the o o button in stopwatch history mode to view the desired history log St1 St2 Press the o button to confirm and view the desired data Continue pressing the o button to scroll through the different lap int times for that stopwatch log Pre...

Page 8: ...TREND and the current altitude on the top row and the current home time or temperature in the bottom row For more on interpreting the barometric TREND graph please refer to section 9 Barometer Mode 8 1 Altimeter Mode Setting Proper calibration is important to ensure accurate altimeter readings To set a reference press and hold the s button for 2 seconds Note Reference altitude is a know value that...

Page 9: ...ly reset at midnight In the daily ascent mode the word DAY will be displayed to the left of the trend graph and the up arrow will be displayed in the mode indicator Proceed to the Daily Descent feature by pressing the o button Daily Descent 3rd sub mode This feature displays the user s total descent for the day The daily descent feature will automatically reset at midnight In the daily descent mod...

Page 10: ...2 hours ago and has leveled off in the last 12 hours The graph also shows that in the last two hours the pressure was relatively flat for the first hour and has begun to rise again in the last hour Barometer mode displays several useful features Current Barometric Pressure The default display in barometer mode This feature displays the actual current barometric pressure Press the o button to advan...

Page 11: ... 1 Temperature Mode Setting In temperature mode press and hold the s button for 2 seconds The unit of measure will flash Press o button to select between F and C Press the o o button to confirm The time in the bottom row will flash Use o button to select between displaying current time or current temperature along the bottom of the watch in all other modes 10 2 Temperature Mode Reading the Tempera...

Page 12: ...e not waterproof Damage resulting from excessive exposure to water heat or cold is not covered under this warranty Additionally the battery is not covered under the warranty Always have the battery replaced by an authorized repair center or jewler Should you do the work yourself you will void this warranty How to obtain warranty service or repair of your watch Should a defect covered by this warra...

Page 13: ...Binghamton NY 13902 Phone 607 779 2222 Toll Free 1 800 572 8822 Fax 607 779 2293 Canada Johnson Outdoors Canada Inc 4180 Harvester Road Burlington Ontario Canada L7L 6B6 Phone 905 634 0023 Toll Free 1 800 263 6390 Fax 1 800 661 1170 www tech40 com REV A 10 06 ...

Reviews: