Setup
•
IPv4/v6 both: Select to use this connection in both IPv4 and IPv6 protocols.
•
IPv6 only: Select to use IPv6 protocol.
Name — Enter your desired connection name.
NAT — Select whether to enable or disable NAT (Network Address Translation).
Enable this setting to share one WAN IP address with multiple computers on your
network.
External IP Address — Enter the IP address provided by your ISP.
Subnet Mask — Enter the subnet mask provided by your ISP.
Default Gateway — Enter the default gateway provided by your ISP.
DNS Enabled — Select whether to enable or disable DNS (Domain Name System).
DNS Override Allowed — Select whether to enable or disable DNS override.
DNS Server 1 and DNS Server 2 — If provided by your ISP, enter the DNS server.
Otherwise, leave these fields blank.
MAC Address — Displays the cloned MAC address. Click the Clone Mac button to
clone the MAC address of your computer.
As system default route — Check this box to set the current setting as the default
route.
ICMP Reply Enable — Check this box to enable ICMP (Internet Control Message
Protocol) messages to be sent back to the host that sent the message.
Proxy ARP Enable — Check this box to enable proxy ARP function.
Click the Apply button to save your changes or click the Cancel button to discard your
changes.
NOTE:
If the IPv6 protocol is selected, the web utility may prompt for you to configure the
IPv6 connection settings. See “IPv6 WAN” on page 48.
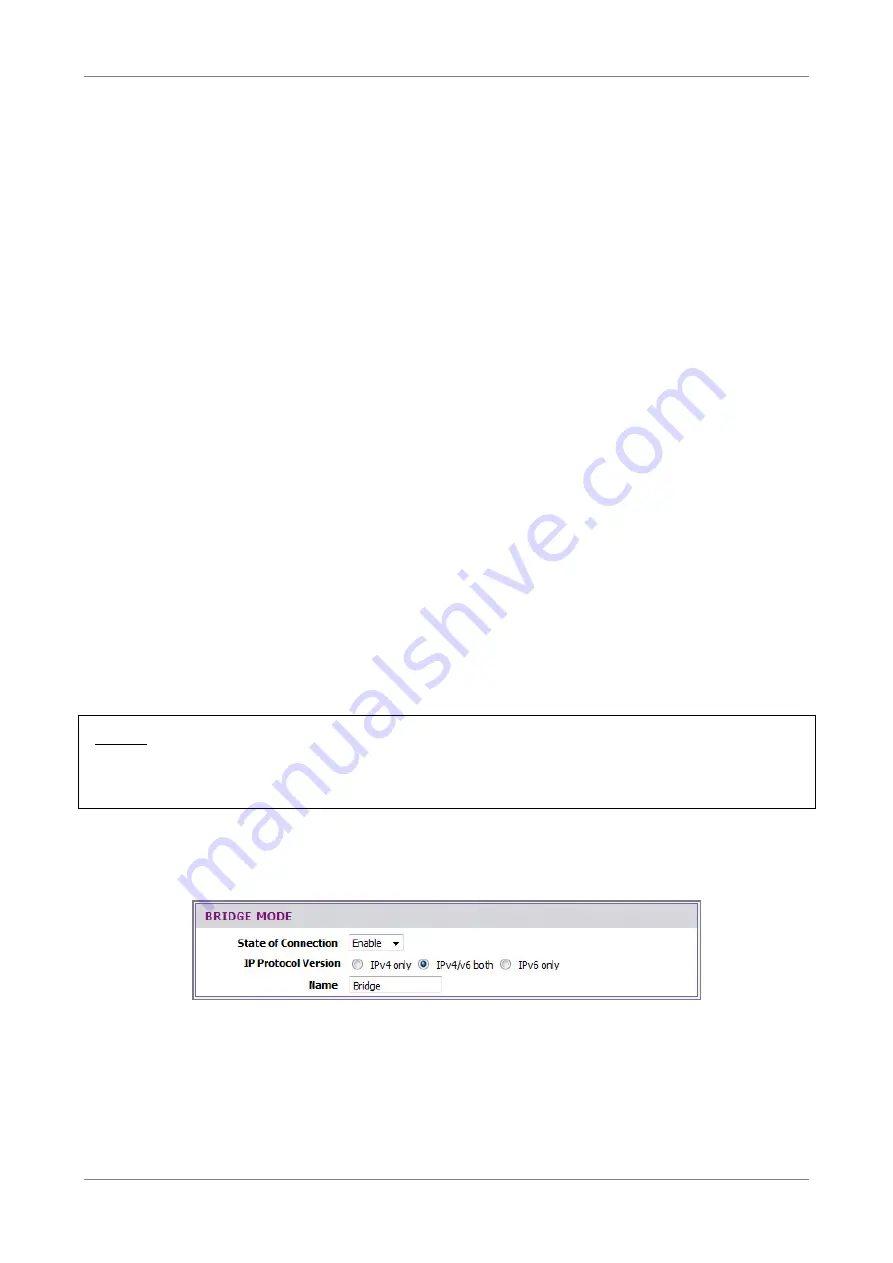
Bridge Mode
If you select Bridge mode (RFC-1483 Bridged), the screen below is displayed.
State of Connection — Select whether to enable or disable this connection.
IP Protocol Version — Select the type of IP protocol to use with this connection:
•
IPv4 only: Select to use IPv4 protocol.
•
IPv4/v6 both: Select to use this connection in both IPv4 and IPv6 protocols.
•
IPv6 only: Select to use IPv6 protocol.
Wireless ADSL2+ Gateway
29
Summary of Contents for TD5130
Page 1: ......


