background image

PRESET STATIONS

10

To select FM reception, press the remote control

button to select the tuner and switch between

between DAB and FM reception. FM can also be selected
from the front panel by repeatedly pressing the
button.

The display will show the station frequency or RDS
station name above scrolling radio text. If radio text is
not available, the display will read 'NO RT'.

To scan the band for stations from the remote control:

Press the

or

button to set the tuning

direction.
Press the

button.

To scan the band for stations from the front panel:

Press the

or

button to set the tuning

direction.
Press the front panel

button.

To tune manually from the remote control:

Press the

or

button repeatedly to tune by

steps in the required direction.

To tune manually from the front panel:

Press the

or

button repeatedly to tune by

steps in the required direction.

The radio is set up to auto-detect Stereo or Mono
transmissions, depending on the mode in which the
programme is being broadcast.

You can change the information displayed while
listening to FM.

To change the display mode:

Press the

button repeatedly to cycle through

the options listed below.

You can store up to 10 FM stations in presets for quick
recall.

To store a preset station:

Select the station to store.

Press the

button.

Choose the preset location you wish to store with
the

buttons.

To store the station in this location, press the

button.

To play a preset station:

Press the

or

button to choose a

preset number.

DAB/FM

SOURCE

AUTOTUNING

SCAN

SCAN/STOP

MANUALTUNING

STEREO AND MONO

FM DISPLAY MODES

DISP

STORING AND RECALLING A PRESET STATION

MEM/PROG

/-

MEM/PROG

 PRESET -

$

$

$

$

$

$

$
$

$

$

$

The radio will scan the band. Every time it senses a usable
stationitwillstopandplaythestation.

The preset number will be shown on the bottom line of the
display.

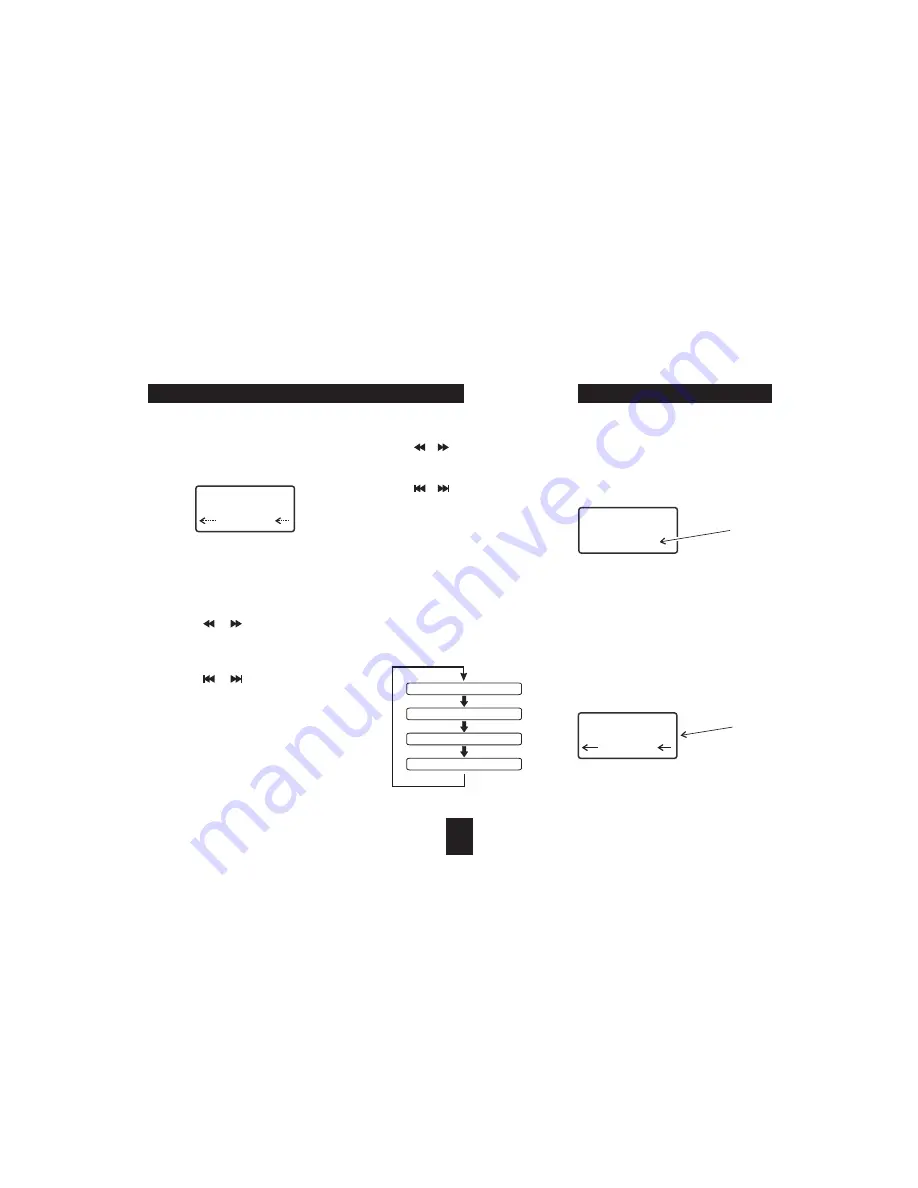
Thepresetnumberisshownonthedisplay.

$

FM RECEPTION

BBC R2

Select CH: 1

STEREO

BBC R2

Radiotext

STEREO

M2

Preset
number
playing

Preset
number
to store

STATION FREQUENCY

RDS PROGRAM TYPE (PTY)

RDS TIME

RADIO TEXT

BBC R2

Radiotext

STEREO

Summary of Contents for MC-807

Page 1: ...MC 807 DAB FM CD Micro System with iPod dock User Handbook ...

Page 2: ......

Page 3: ...er frequency energy and if not installed and used in accordance with the instructions may causeharmfulinterferencetotunercommunications However thisisno guarantee that interference will not occur in a particular installation If this equipment does cause harmful interference to tuner or television reception whichcanbedeterminedbyturningtheequipmentoffandon the user is encouraged to try to correct t...

Page 4: ...l If any items are missing or damaged contact your nearestTESCOstoreforareplacement Haveyourreceipt ready when you call Retain the packaging If you dispose of it do so having regard to any recycling regulationsinyourarea Place the main unit on a sturdy table or shelf where it cannot get knocked over and where there is a clear line ofsighttotheremotehandset Theloudspeakersmaybe placed either side o...

Page 5: ... 6 DISPLAY CLOCK BUTTON 7 VOLUME UP 8 STANDBY BUTTON 9 VOLUME DOWN 10 ALARM BUTTON 11 SNOOZE 12 SELECT PLAY PAUSE BUTTON 13 OPEN CLOSE BUTTON 14 SCROLL TUNE SKIP UP BUTTON 15 STOP SCAN 16 SCROLL TUNE SKIP DOWN BUTTON 17 HEADPHONE JACK 18 BUTTON BUTTON iPod DOCKING BAYWITH CONNECTOR CONTROLS AND FEATURES 3 FRONT VIEW TOP VIEW ...

Page 6: ...ttery When replacing the battery in the remote control refer tothediagrambelow 1 Pressthecatchacross 2 Whileholdingthecatch openthebatterydoor 3 Fit the battery observing polarity as shown When replacing the battery use only the same CR2025 typespecified Dispose of used batteries with regard to the recycling regulationsinyourarea DoNOTshortcircuitbatteriesor throwthemintowater thegeneralrubbishori...

Page 7: ...IGHTCURSORBUTTONS 17 ENTERBUTTON 18 PLAY PAUSEBUTTON 19 SCROLLDOWNBUTTON 20 MENUBUTTON 21 PRESET BUTTONS 22 SCAN BUTTON 23 SCROLLUPBUTTON 24 SNOOZEBUTTON 25 OPEN CLOSEBUTTON 26 CDSELECTBUTTON 27 DISPLAYMODEBUTTON 28 EQBUTTON 29 BBSBUTTON 30 VOLUP DOWNBUTTONS 31 FASTSEARCHUPBUTTON 32 STOPBUTTON 33 ALBUM SELECTBUTTONS 34 PLAYLIST SELECTBUTTONS REMOTE CONTROL FUNCTIONS 5 1 2 3 4 5 6 7 8 9 10 11 12 13...

Page 8: ...toadjust Press the buttons to set the selecteddigittothecorrectvalue Repeatthelasttwostepstosetallthedigitstothe correcttime Pressthe buttontostarttheclockwhenyou havefinishedsettingthetime Press the button on the handset or the front panel to bring the unit in and out of Standby mode There are 5 sources you can listen to through your system ChoosefromDABradio FMradio CD iPodorAux an external sour...

Page 9: ... showninthelistwitha symbolbeforethename You can select an inactive station but if tuning cannot be completedanalternativestationwillbeselected Some stations have additional secondary services If secondary services are available a symbol will be shownnexttothestationname Secondaryserviceswill appearinthestationlistafterthemainstation You can store up to 10 DAB stations in presets for quick recall ...

Page 10: ... a scrolling message giving real timeinformation songtitles newsheadlines etc This describes when available thestyleoftheprogrammebeingbroadcast isthenameofthe DABMultiplexthatiscurrentlytuned Shows the current Time Time is updated by broadcastedinformation Shows the Multiplex channel identifier and frequency for the station currentlyplaying DABallowsbroadcasterstovarytheBITRATE or the amount by w...

Page 11: ...ually Selectthe ManualTune optionfromthemenu Press the buttons to move through the DAB channels Press the button to show a signal strength bargraphforthisstationmultiplex You can change the position of the aerial to get the best signallevelforthischannel Press the button again to return to normal operation The display will show each channel number with its associated frequency If there is a multip...

Page 12: ...epending on the mode in which the programmeisbeingbroadcast You can change the information displayed while listeningtoFM Tochangethedisplaymode Press the button repeatedly to cycle through theoptionslistedbelow You can store up to 10 FM stations in presets for quick recall Tostoreapresetstation Selectthe stationtostore Pressthe button Choose the preset location you wish to store with the buttons T...

Page 13: ...itablecompositevideo CVBS inputofyourTV monitortowatchthevideo If you own an early model iPod that doesn t have a docking connector or a different brand of MP3 player youcanstillconnectthesoundoutputtoyoursystemvia theAUXjackonthebackpanel Using a 3 5mm stereo plug to twin phono cable notsupplied connectoneendofthecabletothe headphonejack oftheiPodorMP3player andthe otherendtotheAUXjacksonthebackp...

Page 14: ...el To start playback press the button Topauseplayback pressthe buttonagain Toskipbackorforwardtoothertracks pressthe or buttonsrepeatedly Tofastsearchthroughtracks pressand the or buttons YoucanchangethealbumplayingonyouriPodfromthe remotecontrol Press the or buttons repeatedly to selectthealbumyouwanttohear YoucanalsoselectPlayliststhatyouhavestoredinyour iPod Press the or buttons repeatedly to s...

Page 15: ...CDReading Pressthe buttontoopentheCDtray Place the disc onto the tray with the printed label sidefacingup Pressthe buttonagaintoclosetheCDtray To pause the disc Press the button To resume playback Press the buttonagain To stop playback Press Togoforwardorbackatrackortracks Press the buttons repeatedly to move backorforwardatrack TosearchtheCDforwardorbackathighspeed From the remote control press a...

Page 16: ...tem and connector s at the other end suitable for the personal audioplayer computer Connect the cable between the headphone or LINE AUX output of the personal audio player and theAUXinputsonthebackpanelofyoursystem With the cable connected select the AUX input by pressingthe buttonuntil Aux isshownonthe display Setyourpersonalaudioplayer computertoPLAY Setthelisteningvolumetothelevelyouwantwith th...

Page 17: ...ogramthesystemtoswitch itselfoffafterasetperiodoftimein10minutestepsbetween 10minutesand120minutes Press and the button until the sleep display appears Now press the button repeatedly to set the requiredsleeptime TochecktheSleeptimeremainingwhenset Pressthe button To cancel the Sleep function once set you can either set to Standbyor Pressand the button untilthesleepdisplay appears Nowpressthe butt...

Page 18: ...otherm cloth available from opticians Loudspeakergrillescanbebrushedcarefullywithasoft brush Do NOT clean the inside of the CD tray with a cloth Lightlyblowoutanydust CompactDiscs Ifadiscbecomessoiled wipethesurface gentlywithasoftcloth Thediscshouldbecleanedfrom thecentretotheedge After play remove the CD from the disc tray and store it initspacking YourTechnika appliance is covered by a warranty...

Page 19: ......

Page 20: ...Tesco Stores Ltd Delamare Road Cheshunt Herts EN8 9SL MC 807 V0 2 ...

Reviews: