dropped.
that to which the receiver is connected.
Warning: To reduce the risk of fire or electrical shock, do not expose
- Consult the dealer or an experienced radio/TV technician for help.
this product to rain or moisture. The product must not be exposed to
ELECTRICAL INFORMATION
dripping and splashing and no object filled with liquids such as a
Mains Supply:
The mains operating voltage of this unit is on the
vase of flowers should be placed on the product.
rating plate on the rear. In the UK this is 230/240 V.
No naked flame sources such as candles should be placed on the
T
he appliance cord is terminated with a UK approved mains plug
product.
fitted with a 3A fuse. If
Caution:
Changes or modifications not expressly approved by the
manufacturer could void the user's authority to operate this device.
Caution:
Usage of controls or adjustments or performance of
procedures other than those specified herein may result in
hazardous exposure.
These labels tell you that the unit contains a Laser component. Do
Read these instructions.
not stare at the laser lens.
Keep these instructions.
Heed all warnings.
Follow all instructions.
Do not use this apparatus near water.
Clean only with a slightly damp cloth.
IMPORTANT
DO NOT connect either of these wires to the terminal marked E, or
Do not block any ventilation openings.
This equipment generates, uses and can radiate radio frequency
coloured green or green and yellow, or marked by the earth symbol.
Install in accordance with the manufacturer's instructions.
energy and, if not installed and used in accordance with the
Do not install or operate near any heat sources such as radiators,
instructions, may cause harmful interference to radio ommunication.
stoves, or other apparatus that produce heat.
However, this is no guarantee that interference will not occur in a
Unplug this apparatus during lightning storms or when unused for
particular installation. If this equipment does cause harmful
long periods of time.
interference to radio or television reception, which can be determined
Refer all servicing to qualified service personnel. Servicing is
by turning the equipment off and on, the user is encouraged to try to
required when the apparatus has been damaged in any way, such as
correct the interference by one of the following measures:
the power-supply cord or plug is damaged, liquid has been spilled or
- Reorient or relocate the receiving antenna.
objects have fallen into the apparatus, the apparatus has been
- Increase the separation between the equipment and receiver.
Class II construction double insulated. This product must
exposed to rain or moisture, does not operate normally, or has been
not be connected to earth.
- Connect the equipment into an outlet on a circuit different from
the fuse needs to be replaced, an ASTA or BSI
approved BS1362 fuse rated at 3A must be used. If you need to
change the mains plug, remove the fuse and dispose of this plug
safely immediately
after cutting it from the cord.
The wires in the mains lead are coloured in accordance with the
code: Blue: NEUTRAL; Brown: LIVE:
As these colours may not correspond to the coloured markings
identifying the terminals in your plug, proceed as follows:
The BLUE wire must be connected to the terminal marked with the
letter N or coloured BLUE or BLACK. The BROWN wire must be
connected to the terminal marked with the letter L or coloured
BROWN or RED.
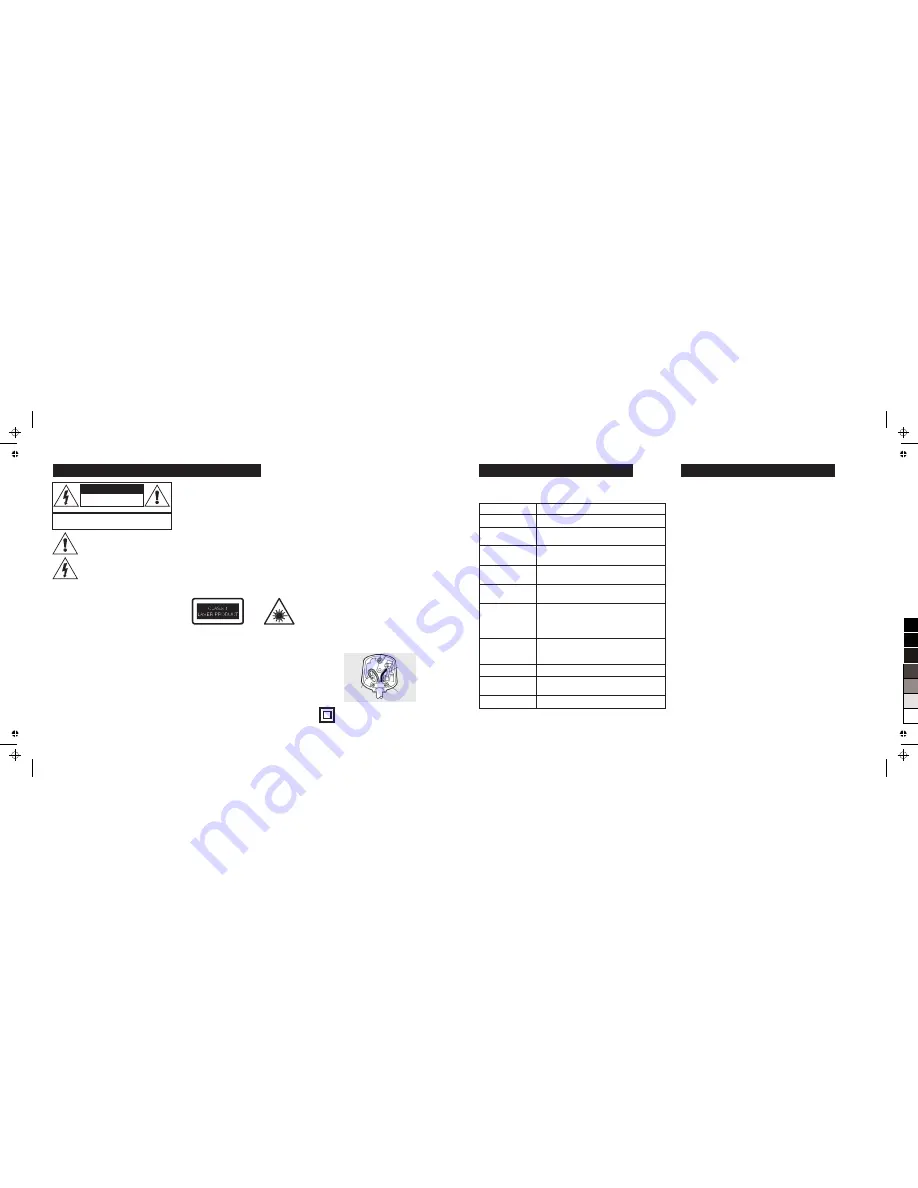
CAUTION!
RISK OF ELECTRIC SHOCK
DO NOT OPEN
TO REDUCE THE RISK OF ELECTRIC SHOCK DO
NOT REMOVE COVER (OR BACK)
This symbol indicates that there are important
operating and maintenance instructions in the
literature accompanying this unit.
This symbol indicates that dangerous voltage
constituting a risk of electric shock is present within
this unit.
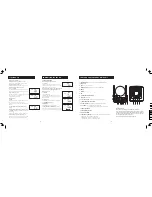
3A FUSE
BS 1362
BROWN
(Live)
BLUE
(Neutral)
IMPORTANT SAFETY INFORMATION
If your system is not performing as well as you might expect please check
through this list before returning the unit to Tesco for attention.
SYMPTOM
POSSIBLE CAUSE AND CORRECTIVE ACTION
No power
Poor plug connection, re-insert plug, switch power on
No sound
Volume too low
Headphone plugged in
Distorted sound
Turn Volume down, CANCEL EQ.
Faulty format on CD/CDR
Muddled bass
Bass too high - Cancel EQ
CD will not play
Wrongly loaded CD
;
re-load CD
Wrong format; load another CD
CD skips
Dirty or scratched CD; clean the CD
Faulty formatting on CDR; try another disc
Lens dirty; clean lens
Player is being vibrated or shaken, relocate
Noisy FM reception
Reposition aerial
You are not tuned to the correct BBC station for your
area. Re-tune to the correct station.
Noisy AM reception
Re-position the system
No handset response
Do commands from the main unit operate?
Replace batteries in handset, reposition handset
Humming noise
Faulty AUX cable; re-insert, replace
TROUBLESHOOTING GUIDE
9
Disconnect the unit from the mains supply before cleaning.
MAIN UNIT
Wipe the housing gently with a soft, dry cloth. If the unit is heavily stained or
soiled, wipe with a moistened cloth. To avoid damage, do not use any cleaning
agents or abrasive cleaners.
SPEAKERS
Wipe the speakers gently with a
clean, very slightly damp
soft
cloth. To avoid
damage, NEVER use any cleaning agents or abrasive cleaners.
CDS AND CD COMPARTMENT
DO NOT
remove a CD from the compartment until after the disc has stopped
spinning.
Do NOT
force a CD onto the spindle.
Keep the CD compartment closed when not in use to prevent dirt and dust from
settling inside.
Do NOT leave a CD in the compartment when you have finished using the
system. Remove it and pack it safely in its proper packing.
CD LENS
When the lens gets dirty, malfunctions may occur. Switch off and unplug the
system from the mains before cleaning. NEVER clean the lens with the system
connected to the mains.
Blowing on the lens with a camera blower will get rid of most dust. Only in
exceptional cases will further cleaning be needed. The lens should be cleaned
using a commercially available CD lens cleaner. Follow the instructions explicitly.
When you have cleaned the lens, re-connect the system to the mains.
You will now need to reset the clock.
CARE AND CLEANING
0
5
25
75
95
100