
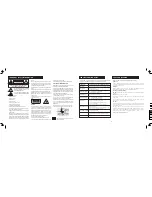
GETTING STARTED
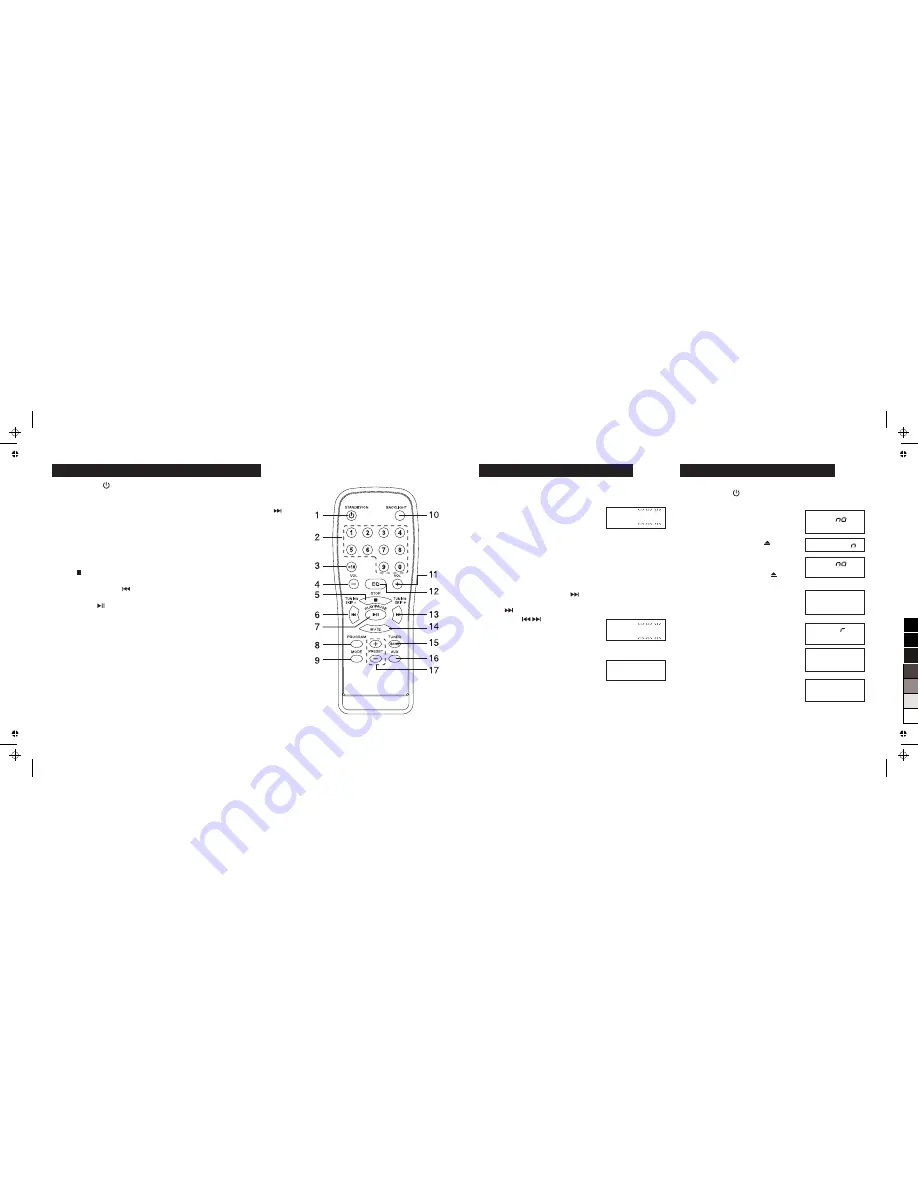
Plug in the mains plug and switch the system on at
the mains point.
The system will respond and go into Standby. In
standby mode the display is off and only the clock
time shows. The RED Standby light will come on.
Press
BACKLIGHT
on the remote handset to
switch the screen illumination on and off.
The backlight key operates only in Standby mode.
When the system is operational the back light will
be permanently on.
SETTING THE CLOCK
The clock can only be set from STANDBY mode.
Press the
MODE
key on the handset or the player.
t
he time will begin flashing.
Press the
key to
decrease the hour.
• Press the
key to increase the hour.
Press and hold the
keys to scan up or down
the hours. Release when the hour is reached.
• Press the
VOLUME –
key to decrease the minutes
• Press
key to increase the minutes.
Press and hold the
/-
keys to scan up
or down the minutes. Release when the minute is
reached.
When the desired time has been set:
Press the
MODE
key to confirm and revert to Standby mode.
If there is no activity for 10 seconds, the unit will
automatically exit CLOCK SETTING Mode and
revert to Standby mode.
The clock is a 24 hour clock: Enter 8:25 pm as
18:30.
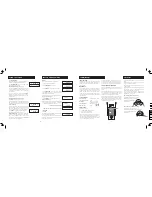
SWITCHING ON
Press
STANDBY/ON:
The unit switches on and
the backlight comes on.
In normal use the system will revert to the
mode and volume it was in when last used.
Playing a CD
1. Press
CD:
If no disc is in the player:
2. Press
PUSH/OPEN
on the player
to open the
compartment door.
3. Place a CD into the tray with the label facing
opwards.
4. Press
PUSH/OPEN
on the player
to close
the compartment door.
5.The player will now read the disc.
The display will briefly register the total no. of
tracks and then start play from track 1. The time
elapsed will briefly indicate. The player will then
show the track being played and the clock time.
6. If the disc is a standard audio CD the display will
show “CD”. Other formats may not be recognised
- the player will indicate
Er Disc
and then revert to
display the Error message and the time.
6.
When the disc reaches the end :
The display
shows the number of tracks and the time.
During Disc play:
Press
PRESET
to display the time elapsed in the
track currently being played; the elapsed time will
briefly display and then the display will revert to
show the clock time.
20:25
00:00
CD
OPERATION
PLAYING A CD
5
20:25
OPE
O1
20:07
isc
P
isc
P
isc
PE
CD
15
20:07
CD
05
03:12
1. STANDBY/ON
12. EQ
Switches the unit in and out of Standby.
Selects equalizer mode (Rock; Jazz; Pop;
2. Number Keypad
Classic and Off)
Select a number from 1-9
13. *TUNING/SKIP FORWARD
3. +10 button
* See Note
Press once followed by a number key to select
14. MUTE
tracks/presets from 10-19
Toggle mute/unmute.
Press twice for numbers between 20-29, etc.
15. TUNER/BAND
4. VOL-
Switch to Radio and select AM/FM mode.
Press to reduce volume
16. AUX
5. STOP
Select and play the auxiliary input
Stop a CD
17. PRESET:
6. *TUNING/SKIP BACK
Preset and select up to 20 radio stations.
* See Note
7.PLAY/PAUSE
*Note: TUNING/SKIP/SEARCH
Press to select, play a CD; Press to pause a CD
Skip a track back or forward (CD mode);
8. PROGRAM
Skip backwards or forwards through radio
Program a CD play sequence in CD mode or
stations (Tuner mode);
sets radio stations.
Skips through hours (Clock mode).
9. MODE:
Press and hold for faster advance or reverse.
FM Radio: switch between Mono/ Stereo
CD: Set repeat functions
10. BACKLIGHT
Switch the backlight on/off in Standby mode.
11. VOL+
Press to increase volume
CONTROLS AND FUNCTIONS - REMOTE HANDSET
4
0
5
25
75
95
100


