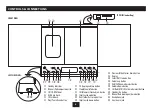
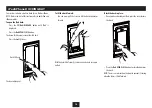


18
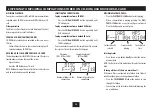
SETTING THE TIMER
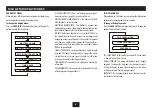
Your system includes a timer that enables you to set times for
the system to switch on and switch off automatically.
To set the timer:
Set the unit to Standby.
•
Press and
•
hold
the
TIMER
button on the remote control.
‘On Timer’ is displayed with the hours digits flashing.
You can now set in the sequence below the times for timer
on and timer off operation, also the timer source mode and
volume level.
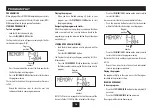
SLEEP MODE
THE SLEEP FUNCTION
The Sleep function allows you to program your system to
switch itself off after a set period in 10 minute steps from 90
minutes down to 10 minutes.
To activate the Sleep function:
Press the
•
SLEEP
button.
The display will show SLEEP-OFF.
Now press the
•
SLEEP
button repeatedly until your
required sleep time appears on the display.
When sleep mode is set, the display will regularly switch to
show a count-down of the sleep time remaining.
Your system will continue to play, then will set to Standby
when the sleep time expires.
To cancel Sleep mode:
Now press the
•
SLEEP
button repeatedly until the display
shows ‘SLEEP-OFF’.
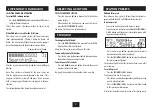
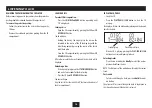
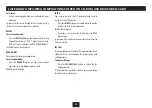
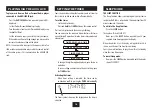
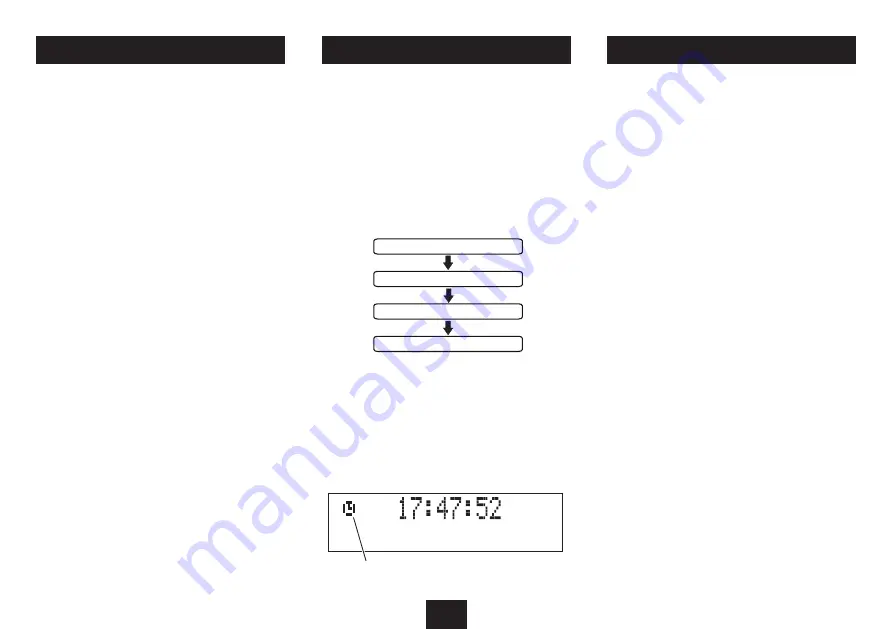
TIMER SWITCH ON TIME
TIMER SOURCE
TIMER VOLUME
TIMER SWITCH OFF TIME
To change the digits or option displayed, press the
•
}
or
{
button.
To save a setting and move on to the next setting, press
•
the
TIMER
button.
Activating the timer:
When timer setting is complete, the timer can be
•
switched on or off by pressing the
TIMER
button
briefly
.
The Timer symbol shows on the display when the timer is
activated.
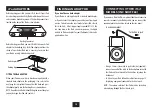
To play music from an iPod or Personal Audio player
connected to the AUX/LINE IN jack -
Press the
•
DAB/FM/AUX
button repeatedly until AUX is
displayed.
Set the iPod or Personal Audio player to play.
•
Turn the volume level on your Personal Audio player up
•
to about half level.
Set the volume on your system to the level you require.
•
If the volume will not set high enough you may need to
increase the volume setting on the player.
NOTE:- It is not possible to navigate the menu system of an
iPod or other personal audio player with the remote control
of the audio system if it is connected via the AUX/LINE IN
jack.
PLAYING VIA THE AUX JACK


