

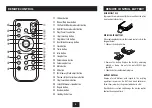


7
SELECTING A STATION
LISTENING TO DAB RADIO
SELECTING DAB RADIO OPERATION
To select DAB radio operation:
Press the
•
DAB/FM/AUX
button repeatedly until ‘Welcome
to Digital Radio’ is displayed.
After a few seconds, the radio will tune to the last-used
station.
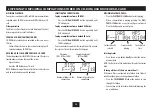
When DAB radio is used for the first time:
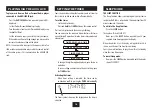
The system scans all usable stations (full scan) and stores
them alphanumerically -1 Radio, 2 Radio, AA Radio, AB
Radio... The initial scan will take a few minutes and a progress
bar will be displayed with the number of services found.
After the scan, the clock will be set, and the system will begin
playing.
Note: If no stations are found after the scan, it may be
that the signal in your current location is too weak. If this
happens, switch the system off and move it to a location
with a stronger signal. Repeat the scan process in the new
location.
The stations found will be stored in an alphanumeric list.
To change to the FM band:
Press the
•
DAB/FM/AUX
button repeatedly until ‘Radio
Initialize Please Wait’ is displayed.
After a short delay, the system will tune to FM radio.
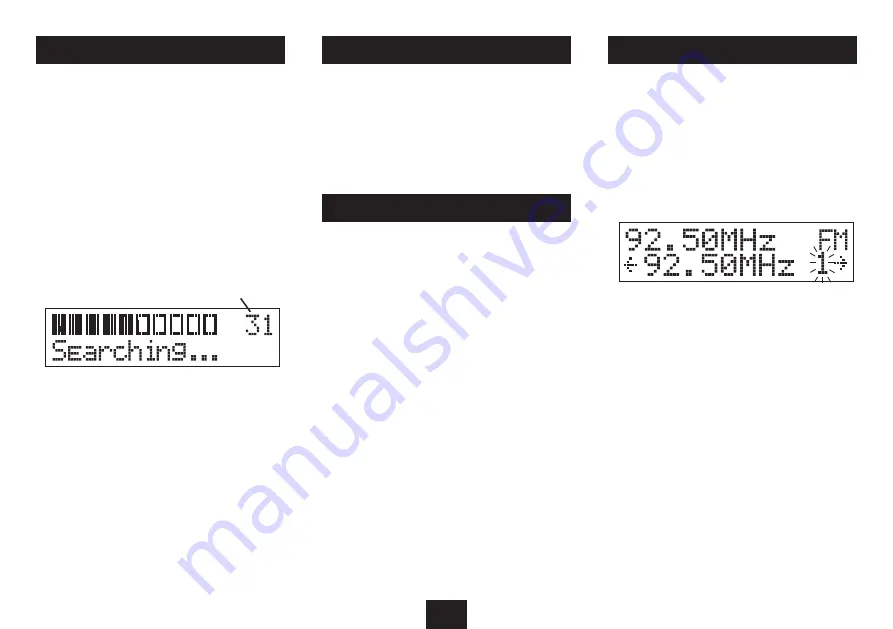
To manually tune to FM stations
Press
•
the
}
or
{
button repeatedly to tune up or down
the band one frequency step at a time.
To auto-tune to FM stations
Press and
•
hold
the
}
or
{
button to tune to the next or
previous station in the band.
Tuning will stop automatically when the station is reached.
STATION PRESETS
TO SELECT ANOTHER STATION
Press the
•
}
or
{
button to browse the list of stations
on the display.
When you find the station name you want to listen to,
•
press the
SELECT/MONO/ST.
button.
The radio will re-tune to the station displayed.
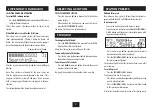
Number of services found
DAB and FM presets
Your radio can store up to 30 of your favourite stations as
presets on both the DAB and FM bands for quick recall.
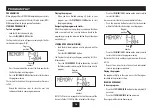
To store a preset
Tune to the station you want to store as a preset.
•
From the remote control, press and
•
hold
the
ID3/MEM./
C-ADJ.
button until the preset store display shows with
the preset number flashing.
Press
•
the
}
or
{
button repeatedly until the preset
location you want to store is displayed.
Press the
•
ID3/MEM./C-ADJ.
button to store the station in
this preset number location.
The display will confirm that the station has been stored in this
preset number.
To recall a preset
Press the
•
ID3/MEM./C-ADJ.
button.
The display will switch to show presets.
Press
•
the
}
or
{
button repeatedly until the preset you
want to play is displayed.
Press the
•
ID3/MEM./C-ADJ.
button to recall the station
in this preset number location.
After a short delay the radio will re-tune to the selected preset.
FM RADIO


