PG 6
PG 7
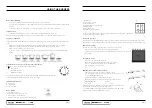
PRODUCT DESCRIPTIONS
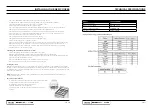
Description of Gas Cooker
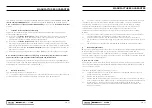
Controls
Front Control Panels
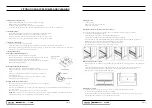
INSTALLATION CLEANING AND SERVICING
•
An authorised person must install this appliance. (Certificate of Compliance to be retained).
•
Before using the appliance, ensure that all packing materials are removed from the appliance.
•
In order to avoid any potential hazard, the Installation Instructions must be followed.
•
In order to avoid accidental tipping of the appliance (for example, by a child climbing onto the open oven
door), the anti tilt bracket and stability bolt must be installed propoerly and securely to the floor.
•
The cooker must not be placed on a base or plinth.
•
The appliance must not be installed behind a decorative door in order to avoid overheating.
•
Where the appliance is installed next to cabinets, the cabinet material must be capable of withstanding 85º.
•
Only authorised personnel should carry out servicing (Certificate of Compliance to be retained).
•
WARNING - Always ensure the appliance is switched off before cleaning or any maintenance is carried out
such as changing of light globes.
•
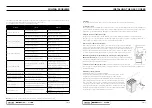
DO NOT use abravise type cleaner or caustic sodabased cleaners. Using warm soapy water after the
appliance has cooled somewhat, followed by a dry cloth is suitable.
•
DO NOT use sharp metal scrapers to clean oven door as they can scratch the surface , which may result in
shattering of the glass.
•
DO NOT use steam cleaners as a method to clean this appliance.
•
Always clean the appliance immediately after any food spillage.
•
To be serviced only by an authorized person.
•
Appliances requiring connection to 220-240V and must be earthed.
•
Means for disconnection must be incorporated in the fixed wiring in accordance with the wiring rules.
•
Gas models are NOT APPROVED for installation in marine craft, caravans or mobile homes.
1
3
2
1. Cast Iron Trivets
2. Gas burners
3. Control Panel
4. Oven Door
5. Front panel
6. Anti slip feet
7. Splashback
8. Battery igniter
9. Burning baffle
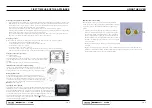
1. Burner Control Knob
• Sets the burner cooking temperature.
2. The oven temperature control valve .
• Control the oven temperature
3. Battery igniter
NOTE:
The oven burner control knob has to be pressed and turned first.
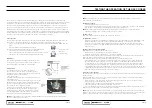
For the first time use the appliance
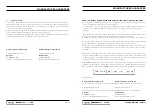
Fitting oven shelves
•
Ensure shelf orientation is correct (refer picture).
•
Slide into oven at an angle until raised back of shelf is past the stop on
side runners.
•
Lower front of shelf and push in until stop is reached.
NOTE:
The top ledge is not a shelf position


