PG 12
PG 13
USING THE BURNERS
Choosing Cooking Pots
Burner Safety Warnings
•
Do not use pots and pans which are unsteady, as these could overbalance.
•
Do not use mats, heat diffusers or wok stands. These will cause a temperature build-up which can damage the
cook top.
•
Do not let cooking pots overhang sides or front of hob get too close to the burner control knobs.
Ceramic burners
•
Do not leave aluminium foil on the hot ceramic burners (permanent damage will occur)
Note: Stored heat in the burner can be used for the last few minutes of cooking. Simply turn off the control.
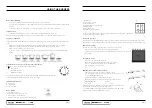
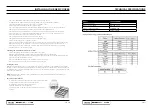
Look at this diagram below which shows you which utensils to use on the burners and whih utensils should not be
used.
•
Always use pots and pans with flat bottoms. Uneven or thin bottoms will waste energy and cook slowly.
•
Always use pots and pans which are slightly larger than the burner. Small pans waste energy.
•
Always put dry pots and pans on the burners.
•
Do not use pots and pans whih are too large. Pans whih overhang the burner more than 50mm can damage
the hob.
Using the Burners of your gas cooker (The hob control knobs)
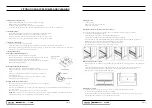
The symbols on the control knobs mean the following:
No gas flow
Maximum gas flow
Minimum gas flow
All operating positions must be set between the maximum and minimum flow settings, and
never between the maximum setting and the closed position.
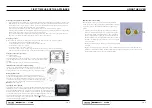
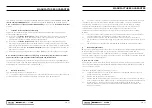
Introduction to the burner
A- Burner cap
B- Lighting plug
C- Thermocouple
Burner ignition
To light these burners:
1. Choose the burner you want to use.
2. Turn the burner control knob to “ “
3. Press the body release spark burner switch Burner
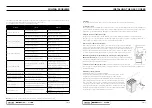
1. Rapid Burner
Used for normal cooking.
2. Semi-rapid Burner
Used with middle size pots and pans.
3. Auxiliary Burner
Used for simmering.
Used with small pots and pans.
To conserve gas, place the pan centrally over the burner and adjust the flame so that it does
not go past the edges of the cookware
Get to know your oven
The appliance is tested with Natural gas at the pressure of 10 mbar. If it is to be used with other types of gas, the
burner nozzle has to be changed and the gas valve adjusted. To replace the nozzle, proceed as described below.
Adjust the oven burner
To adjust the oven burner, open the oven door and proceed as follows:
•
Remove all accessories (pans, shelves and any steel runners):
•
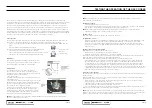
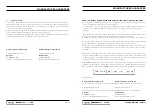
Lift the oven bottom plate and extract it so that the inside of the oven is as shown in
the picture.
Changing the nozzle
•
Undo the oven burner fixing screws A.
•
Move the burner B outwards until the nozzle is accessible.
•
Use a 7 socket wrench to change the nozzle, fitting the
•
One for the type of gas to be used.
Adjusting the oven burner primary air flow
•
Undo the adjuster screw “A” of the air regulator sleeve;
•
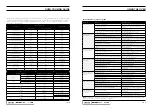
Turn the regulator sleeve “B” into the position for the type of gas to be
used, consulting the table below;
•
Tighten the adjuster screw and restore the seals;
•
When the operation is complete, reassemble the burner correctly.
NATURAL GAS (N)
ULPG
X= 3mm
X=
8mm
When the operation is complete, replace the nameplate on the back of the
oven with the one provided for the new type of gas.
In compliance with current safety standards, adapting gas from NG to LPG
must be carried out by a qualified trades person.


