24
The LCD contrast can be set within 8 levels, from LCD 0 to LCD7 (Default setting is LCD 4):
1.
Press and hold the SET key until the digit starts flashing.
2.
Use the OUT/+ key to view all levels of contrast.
3.
Select the desired LCD contrast. Confirm with the SET key and enter in the
Time Zone
setting
.
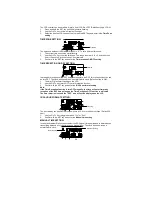
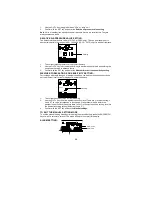
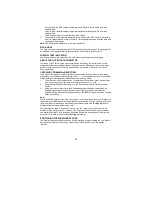
TIME ZONE SETTING:
The time zone default of the Weather Station is “0”. To set a different time zone:
1.
The current time zone value starts flashing.
2.
Use the OUT/+ key to set the time zone. The range runs from 0 to -12 and then runs
from +12 back to 0 in consecutive 1-hour intervals.
3.
Confirm with the SET key and enter the
Time reception ON/OFF setting
.
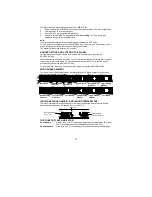
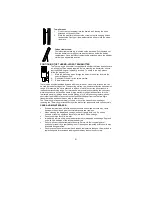
TIME RECEPTION ON/OFF SETTING:
In area where reception of the DCF time is not possible, the DCF time reception function can
be turn OFF. The clock will then work as a normal Quartz clock. (Default setting is ON).
1.
The digit “ON” will start flashing on the LCD.
2.
Use the OUT/+ key to turn OFF the time reception function.
3.
Confirm with the SET key and enter the
12/24-hour format setting
.
Note:
If the Time Reception function is turn OFF manually, the clock will not attempt any
reception of the DCF time as long as the Time Reception OFF function is activated.
The time reception icon and the “DCF” icon will not be displayed on the LCD.
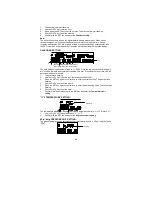
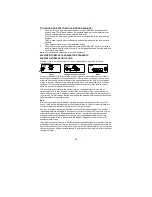
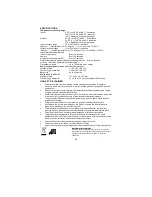
12/24-HOUR FORMAT SETTING:
The hour display can be selected to show hours in 12-hour or 24-hour settings. (Default 24-
Hour)
1.
Use the OUT/+ key to toggle between “12H” or “24H”.
2.
Confirm with the SET key and enter the
Manual time setting
.
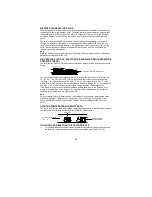
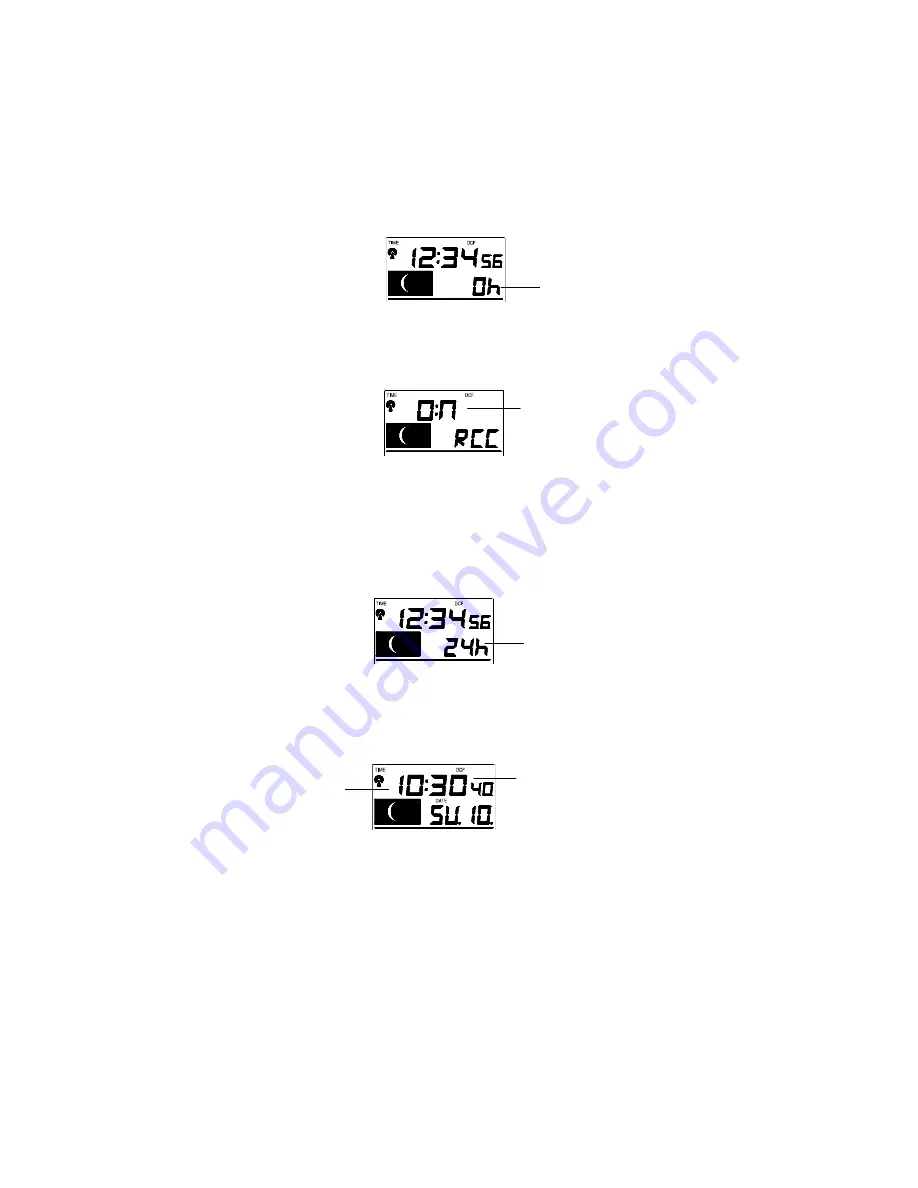
MANUAL TIME SETTING:
In case the Weather Station cannot detect the DCF-signal (for example due to disturbances,
transmitting distance, etc.), the time can be manually set. The clock will then work as a
normal Quartz clock.
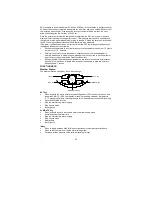
Flashing
Hour flashing
Minutes flashing
Flashing
Flashing


