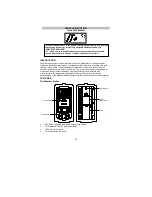
25
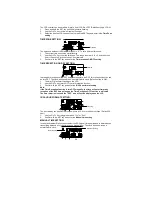
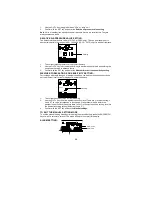
1.
The hour digit will start flashing.
2.
Use the OUT/+ key to set the hour.
3.
Press again the SET key to set the minutes. The minute digits start flashing.
4.
Use the OUT/+ key to set the minutes.
5.
Confirm with the SET key and enter the
Calendar setting
.
Note:
The unit will still try and receive the signal despite it being manually set. When it does
receive the signal, it will change the manually set time into the received time. During
reception attempts the DCF tower icon will flash. If reception has been unsuccessful, then
the DCF tower icon will not appear but reception will still be attempted the following day.
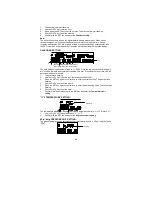
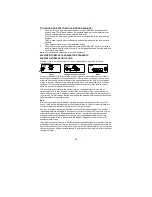
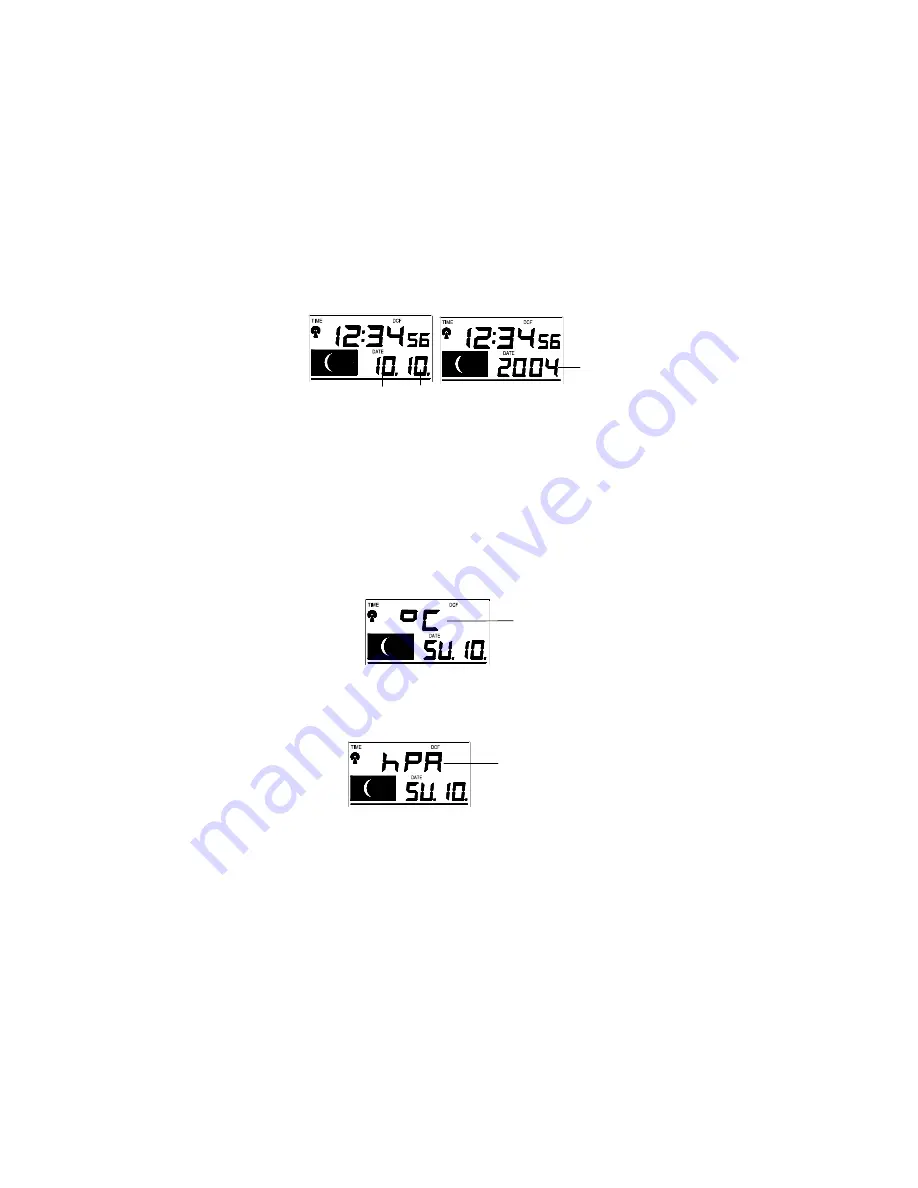
CALENDAR SETTING:
The date default of the Weather station is 1. 1. 2006. Once the radio-controlled time signals
are received, the date is automatically updated. However, if the signals are not received, the
date can also be set manually.
1.
The year starts flashing.
2.
Use the OUT/+ key to set the year (between year 2003-2029).
3.
Press the SET key again to confirm and to enter the month setting. The month starts
flashing.
4.
Use the OUT/+ key to set the month.
5.
Press the SET key again to confirm and to enter the date setting mode. The date starts
flashing.
6.
Use the OUT/+ key to set the date.
7.
Confirm all calendar settings with the SET key and enter the
Temperature unit
setting
.
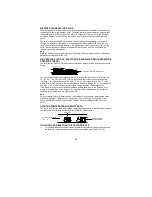
°C/°F TEMPERATURE SETTING:
The temperature display can be selected to show temperature data in °C or °F (Default °C).
1.
Use the OUT/+ key to toggle between “°C” or “°F”.
2.
Confirm with the SET key and enter the
Air pressure unit setting.
hPa / inHg PRESSURE UNIT SETTING:
The pressure display can be selected to show relative air pressure in hPa or inHg ( default is
“hPa”).
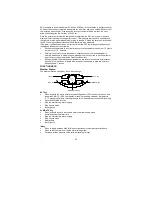
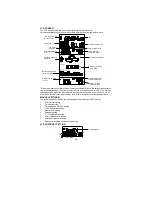
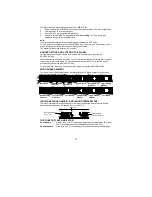
Year
Date and month (24hr time format)
Month and date (12hr time format)
Flashing
Flashing


