background image

27

english

28

english

OPERATING THE INSTRUMENT

OPERATING THE CHRONOGRAPH

Enduro instruments are equipped with a 24-hour, 100-lap Chronograph with 1/100-
second resolution. 

In Chronograph mode:

1. 

PRESS

 the 

START/LAP

 key to 

BEGIN TIMING

2. 

To 

ACTIVATE A LAP

PRESS

 the 

START/LAP

 key.

3. 

To 

STOP TIMING

PRESS

 the 

STOP/NEXT

 key.

4. 

To 

RESUME TIMING

PRESS

 the 

START/LAP

 key. 

5. 

To 

SAVE CHRONOGRAPH DATA

, when chronograph is stopped, 

PRESS & 

HOLD

 the 

STOP/NEXT

 key. File will be saved to memory and chronograph will 

reset to 00:00:00.

6. 

To 

RESET CHRONOGRAPH

 (without saving data), 

PRESS & HOLD

 the 

SET/

CLEAR

 key. 

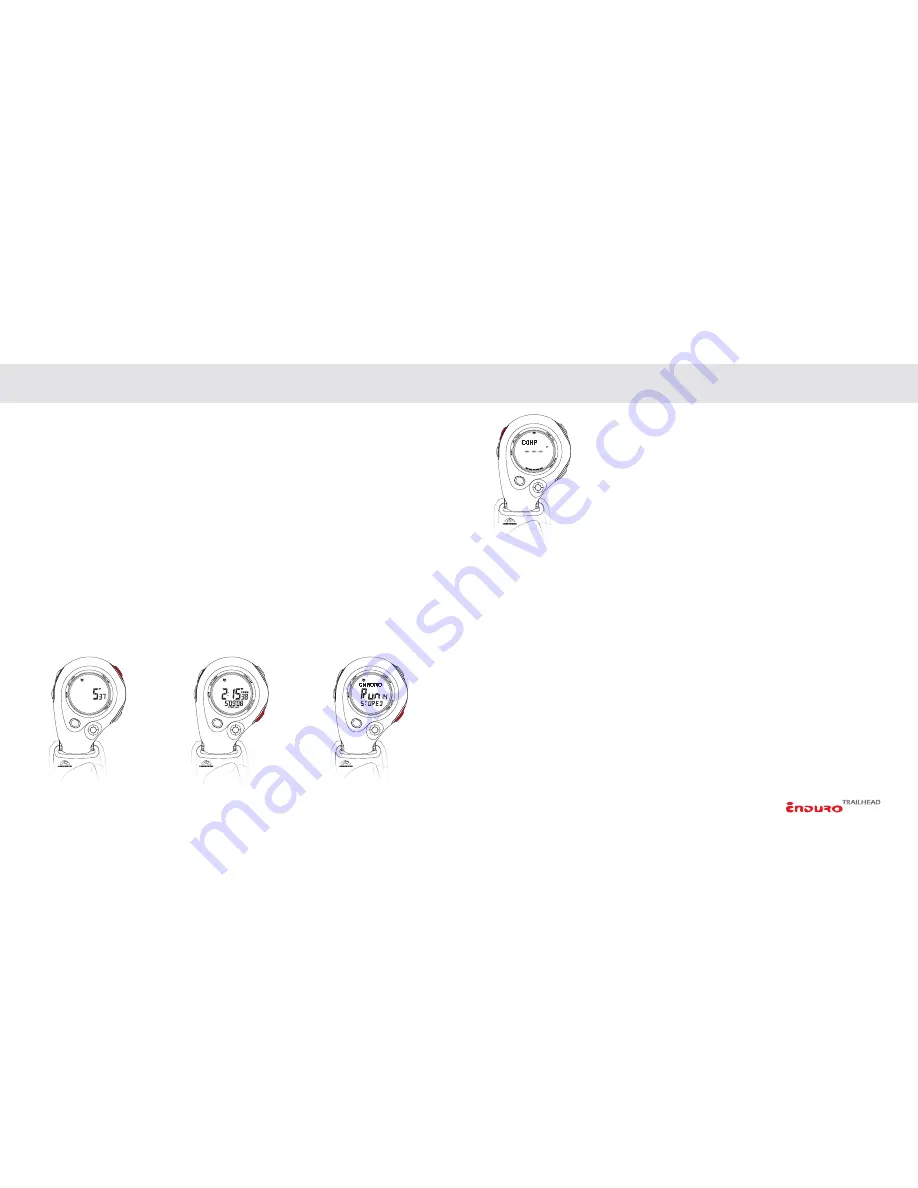
COMPASS QUICKACCESS 

When Chronograph is running, you can access the compass by 

PRESSING

 the 

SET/CLEAR

 key. Compass will display for 10 

seconds then return to Chronograph screen.

NOTE: 

When chronograph is running, and Time mode is 

active: 

CHRONO

 icon is displayed. The 32-segment ring around 

the outer portion of the display will indicate the chronograph is 
running. 

CHRONOGRAPH DATA REVIEW MEMORY

Enduro instruments have a memory that allows you to store up to 20 runs/workouts. 
Information recorded includes time and split for each lap, best (fastest) lap, average lap 
time and total time for workout. When you store a Run/Workout it is captured by the 
Chronograph Data Review memory. 

MANAGING THE CHRONOGRAPH DATA LOG

Runs are stored in chronological order (earliest to latest). The 

center line

 of the 

display will indicate the number 

1-20

 and the 

lower line

 will display the 

DATE

 the 

run/workout was recorded.

(

CONTINUED


NEXT


PAGE

OPERATING THE INSTRUMENT

Summary of Contents for Enduro TrailHead

Page 1: ......

Page 2: ...ield Proper setup and operation will greatly enhance the instruments usefulness and your enjoyment WARNINGS AND CAUTIONS WARNING Before starting any exercise program or performing any vigorous physica...

Page 3: ...THE INSTRUMENT FUNCTIONS 14 EL BACKLIGHT SYSTEM 14 VIEW TIME ZONE 1 TIME ZONE 2 15 SETTING TIME DATE 16 SETTING THE CHRONOGRAPH 18 SETTING THE TIMERS 19 CALIBRATING THE COMPASS 22 SETTING DAILY ALARMS...

Page 4: ...PRESS The steps for the programming or operation are adjacent to the screen illustration Key points and important information are shown in highlighted blocks The instrument itself is an important part...

Page 5: ...ps should have replacement O ring seals 6 Replace battery door and fasten the 4 screws NOTE Extreme care should be taken when replacing the battery to ensure the unit remains fully water resistant Fai...

Page 6: ...ion what it means SPLIT INIDCATOR Displays when Chronograph is running and Lap Detail in Chronograph memory LAP INDICATOR Displays when Chronograph is running and Lap Detail in Chronograph memory CHRO...

Page 7: ...ing in Chronograph or Timer modes START LAP KEY View Select Time 1 Time 2 in Time mode Increases variable in Setting sequence Start Lap Split action in Chronograph mode Starts recall and scrolls throu...

Page 8: ...r a period of 2 seconds AUTO EL BACKLIGHT Auto EL mode automatically illuminates the backlight for 2 seconds whenever any key is pressed This is convenient when operating the instrument at night or in...

Page 9: ...or decrease a variable that is being set NOTE If no key is pressed for 60 seconds while in setting mode setting mode automatically exits and changes will not be saved NOTE PRESS SET CLEAR key to exit...

Page 10: ...2 PRESS the SET CLEAR key to exit the setting sequence and return to Time of Day screen NOTE You can exit the setting sequence at any time by PRESSING the SET CLEAR key SETTING THE INSTRUMENT FUNCTION...

Page 11: ...up to 9 settable segments The length of each segment can be set independently Each segment counts down to 00 00 00 and automatically advances to the next segment which begins counting down immediatel...

Page 12: ...egments 5 PRESS SET CLEAR to exit the setting sequence at any time CALIBRATING THE COMPASS The Enduro Trailhead is equipped with a digital magnetic compass with reading in one degree increments The co...

Page 13: ...If you do not know the Magnetic Declination for your area leave this setting at zero 5 Set DECLINATION by PRESSING the START LAP key for EASTERN or STOP NEXT key for WESTERN 6 PRESS SET CLEAR to exit...

Page 14: ...N OFF In Alarm mode 1 Select ALARM 1 2 or 3 by PRESSING the STOP NEXT key 2 Toggle between ON and OFF by PRESSING the START LAP key SETTING THE INSTRUMENT FUNCTIONS SETTING THE INSTRUMENT FUNCTIONS TO...

Page 15: ...PRESSING the SET CLEAR key Compass will display for 10 seconds then return to Chronograph screen NOTE When chronograph is running and Time mode is active CHRONO icon is displayed The 32 segment ring a...

Page 16: ...es ALL ERASED OPERATING THE INSTRUMENT OPERATING THE COUNTDOWN TIMERS Enduro instruments are equipped with 3 independent 24 hour Timers with enhanced functionality In Timer mode you can scroll through...

Page 17: ...ESS the START LAP or STOP NEXT key OPERATING THE INSTRUMENT GENERAL Operational Temperature 10 C to 50 C 14 F to 120 F 50 Meter Water Resistant Watch Battery CR 2032 3v Lithium EL Backlight System wit...

Page 18: ...ease try a second battery from another source just to be certain If the battery on the instrument is failing it may show itself in several ways Indications of a weak battery are A fading or blank disp...

Page 19: ...EAR USA TECHTRAIL INC web www highgear com www techtrail com email contacts highgear com 2006 HighGear USA TechTrail Inc All Rights Reserved SET CLEAR KEY MODE KEY EL LIGHT KEY STOP NEXT KEY START LAP...

Reviews: