background image

IMPORTANT SAFETY INSTRUCTIONS

2

CAUTION:
• Read all of these instructions.
• Save these instructions for later use.
• Follow all warnings and instructions marked on the audio

equipment.

1) Read instructions - All the safety and operating instruc-
tions should be read before the product is operated.
2) Retain instructions - The safety and operating instructions
should be retained for future reference.
3) Heed Warnings - All warnings on the product and in the
operating instructions should be adhered to.
4) Follow Instructions - All operating and use instructions
should be followed.
5) Cleaning - Unplug this product from the wall outlet before
cleaning. Do not use liquid cleaners or aerosol cleaners. Use a
damp cloth for cleaning.
6) Attachments - Do not use attachments not recommended
by the product manufacturer as they may cause hazards.
7) Water and Moisture - Do not use this product near water-
for example, near a bath tub, wash bowl, kitchen sink, or laun-
dry tub; in a wet basement; or near a swimming pool; and the
like.
8) Carts and Stands - The product should be used only with a
cart or stand that is recommended by the manufacturer.
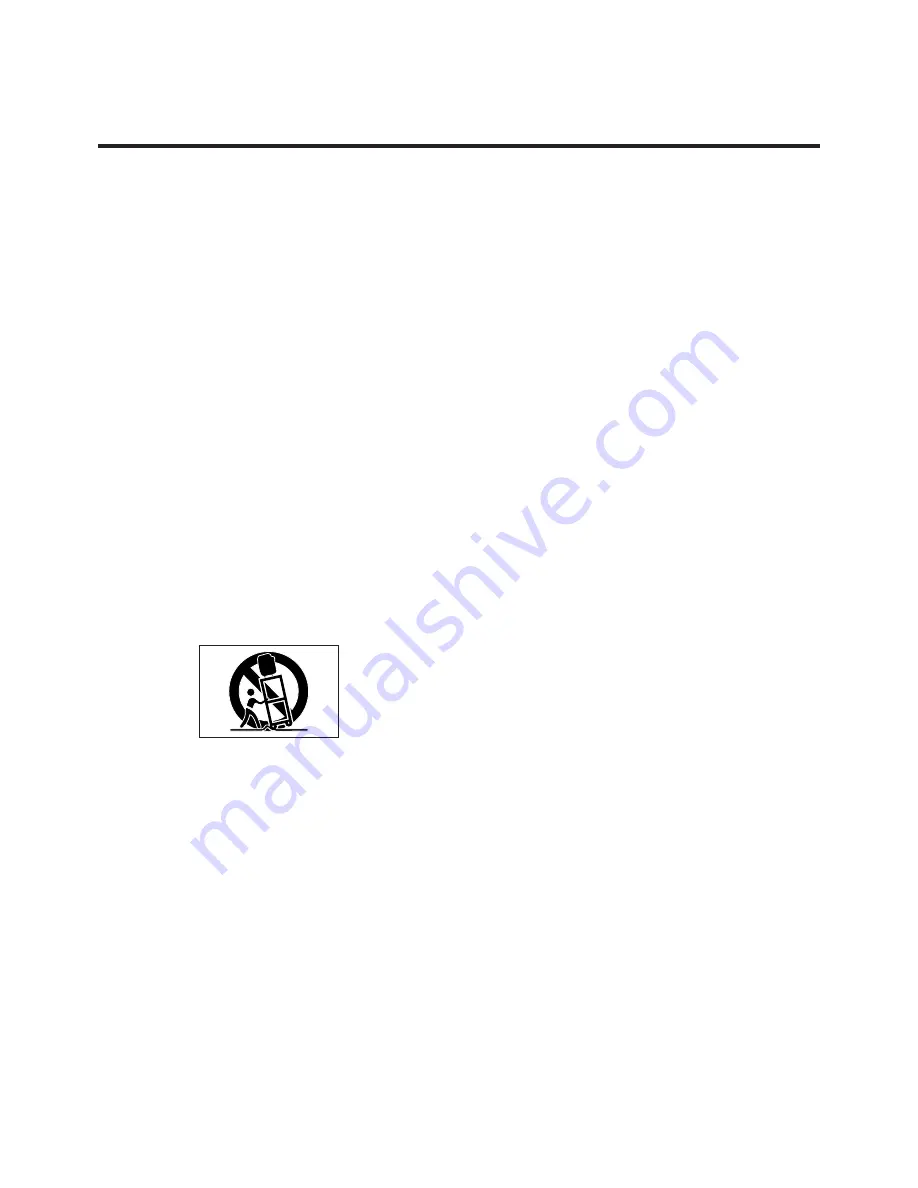
9) A product and cart combination should be moved with care.
Quick stops, excessive force, and uneven surfaces may cause
the product and cart combination to overturn.

10) Wall or Ceiling Mounting - The product should be mount-
ed to a wall or ceiling only as recommended by the manufac-
turer.
11) Accessories - Do not place this product on an unstable
cart, stand, tripod, bracket, or table. The product may fall,
causing serious injury to a child or adult, and serious damage
to the product. Use only with a cart, stand, tripod, bracket, or
table recommended by the manufacturer, or sold with the
product. Any mounting of the product should follow the manu-
facturer’s instructions, and should use a mounting accessory
recommended by the manufacturer.
12) Ventilation - Slots and openings in the cabinet are provid-
ed for ventilation and to ensure reliable operation of the prod-
uct and to protect it from overheating, and these openings
must not be blocked or covered. The openings should never
be blocked by placing the product on a bed, sofa, rug, or other
similar surface. This product should not be placed in a built-in
installation such as a bookcase or rack unless proper ventila-
tion is provided or the manufacturer’s instructions have been
adhered to.

13) Ventilation - The product should be situated so that its
location or position does not interfere with its proper ventila-
tion. For ob a bed, sofa, rug, or similar surface that may block
the ventilation openings: or, placed in a built-in installation,
such as a bookcase or cabinet that may impede the flow of air
through the ventilation openings.
14) Power Sources - This product should be connected to a
power supply only of the type described in the operating
instructions or as marked on the appliance.
15) Grounding or Polarization - This product may be
equipped with a polarized alternating-current line plug (a plug
having one blade wider than the other). This plug will fit into
the power outlet only one way. This is a safety feature. If you
are unable to insert the plug fully into the outlet, try reversing
the plug. If the plug should still fail to fit, contact your electrician
to replace your obsolete outlet. Do not defeat the safety pur-
pose of the polarized plug.
Alternate Warnings - This product is equipped with a three-
wire grounding-type power oltlet. This is a safety feature. If
outlet, contact your electrician to replace your obsolete outlet.
Do not defeat the safety purpose of the grounding- type plug.
16) Power-Cord Protection - Power-supply cords should be
routed so that they are not likely to be walked on or pinched by
items placed upon or against them, paying particular attention
to cords at plugs, convenience receptacles, and the point
where they exit from the product.
17) Protective Attachment plug - The product is equipped
with an attachment plug having overload protection. This is a
safety feature. See Instruction Manual for replacement or
resetting of protective device. If replacement of the plug is
required, be sure the service technician has used a replace-
ment plug specified by the manufacturer that has the same
overload protection as the original plug.
18) Cleaning - The product should be cleaned only as recom-
mended by the manufacturer.
19) Power Lines -An outdoor antenna should be located
away from power lines.
20) Outdoor Antenna Grounding - If an outside antenna or
cable system is connected to the product, be sure the antenna
or calbe system is grounded so as to provide some protection
against voltage surges and built-up static charges. Article 810
of the National Electrical Code, ANSI/NFPA 70, provides infor-
mation with regard to proper grounding of the mast and sup-
porting structure, grounding of the lead-in wire to an antenna
discharge unit, size of grounding conductors, location of anten-
na-discharge unit, connection to grounding electrodes, and
requirements for the grounding electrode.

“Note to CATV system installer:
This reminder is provided to call the CATV system installer’s
attention to Section 820-40 of the NEC which provides guide-
lines for proper grounding and, in particular, specifies that the
cable ground shall be connected to the grounding system of
them building, as close to the point of cable entry as practical.

Summary of Contents for CDC-85

Page 1: ...age within the product s enclosure that may be of sufficient magnitude to constitute a risk of electric shock to persons The exclamation point within an equilateral triangle is intended to alert the user to the presence of important operating and maintenance servicing instructions in the litera ture accompanying the appliance WARNING TO PREVENT FIRE OR SHOCK HAZARD DO NOT EXPOSE THIS APPLIANCE TO ...

Page 2: ...ngs or placed in a built in installation such as a bookcase or cabinet that may impede the flow of air through the ventilation openings 14 Power Sources This product should be connected to a power supply only of the type described in the operating instructions or as marked on the appliance 15 Grounding or Polarization This product may be equipped with a polarized alternating current line plug a pl...

Page 3: ... used replacement parts specified by the manufacturer or have the same charac teristics as the original part Unauthorized substitutions may result in fire electric shock or other hazards 29 Safety Check Upon completion of any service or repairs to this product ask the service technician to perform safety checks to determine that the product is in proper operating condition 30 Heat The product shou...

Page 4: ...d This Before Operating 5 Handling the Discs 5 CONNECTIONS 6 CONTROLS AND INDICATORS 7 Front Panel 7 Display 8 OPERATIONS 9 Basic Operations 9 Repeat Play 9 Program Play 10 Time Display 11 Search function 12 Direct access to a track 12 TROUBLESHOOTING 13 SPECIFICATIONS 14 ...

Page 5: ...compact discs bearing the mark No other discs can be reproduced Always place the compact disc in the disc tray with the label facing upward compact discs can be played only on one side To remove a disc from its storage case press down on the center of the case and lift the disc out holding it care fully by the edges Fingermarks and dust should be carefully wiped off the disc s recorded surface wit...

Page 6: ...control cable to the REMOTE CONTROL jacks as shown in the above diagram Connect the other end of the cable to the rear of the matching STR 84 or PLR 85 receiver The remote control functions of this tape deck will only operate when connected to a matching Techwood STR 84 or PLR 85 receiver 3 AC power cord Plug this AC power cord into a 120 Volt 60 cycle grounded AC wall socket or the AC OUTLETS on ...

Page 7: ...isc compartment opens for disc loading With another touch the compart ment closes 11 Disc Skip button The Disc Skip button located inside on top of the disc tray is used to rotate the disc tray to its next disc playing position in a clockwise direction With each press of this button the tray will advance one disc position Ex 1 2 3 4 5 1 12 Play button Pressing the Play button will start playback o...

Page 8: ...d track time remaining on the disc or total time of the disc being played What type of time indica tion is selected by the time button 7 REPEAT play indicator ONE This lights up when repeat play of a single track is engaged This lights up when repeat play of one entire disc is engaged TTL This lights up when repeat play of all discs in the tray is engaged 8 OVER MARK This indicator lights up when ...

Page 9: ...s the button once more to cancel the repeat play function 1 Press the open close button The disc tray will slide out 2 Load a disc with its label side facing up 3 Press Disc Skip button to select another Tray 4 Load another disc to Tray Repeat as desired for up to 5 discs 5 Press the open close button to close the DISC TRAY 6 Press the Disc Skip button to select a disc 7 Select the track you want ...

Page 10: ...The programmed play sequence is not lost even if the unit is turned off The unit will stop automatically when all programmed tracks have finished playing and the programmed con tents disappear from the display It is possible to program with the disc tray opened Note If you press the program button while programming pro gramming will cease and change into the program recall mode If you stop playbac...

Page 11: ... disappears from the display Adding to any position 1 Select the program number which you want to add a new track to by pressing the program button 2 Enter the new track in the same way as normal programming Time Display Status of the display This unit can display four types of time mode on the time counter in the display 1 The elapsed time of the current track is automatically displayed when play...

Page 12: ...t 1 4 of the current volume Search is possible during pause mode but no sound is heard The CD changer will not search beyond the beginning or the end of the disc 2 Press the stop button to end normal play The play indicator goes off The time display shows total time of the disc Note The unit will stop when the last track on disc number 5 has finished playing Direct access to a Track Select a disc ...

Page 13: ...cable connections Incorrect amplifier operation The CD changer is subject to vibration or physical shock Defective or deeply scratched disc The CD changer is in the normal play mode Loose cable connections Remote cable is not connected to changer and or receiver Changer is not being used with compatible receiver Insert the power plug firmly into the AC outlet Reload the disc with the label side up...

Page 14: ... CIRC Demodulation 1 bit Pick up Section Type Non contact optical reading Lighting Source Semi conductor laser Wave Length 780 nm General Power Requirements 120 V AC 60 Hz Power Consumption 13 W Dimensions W x H x D 435 x 132 x 396 mm Weight net 6 8 kg Standard Accessories Audio Connection Cord x 1 Owner s manual x 1 Remote Control connection Cable x 1 Improvements may result in specifications and...

Page 15: ...WELTON U S A 11625 COLUMBIA CENTER DR SUITE 100 DALLAS TEXAS 75229 PHONE 972 243 5602 FAX 972 243 5958 KQX1A445Z ...

Reviews: