42
10
FIRST START UP PROCEDURE
10.1
Start-up Procedure
For a correct start-up of the ECOmar S STP perform the following procedure:
•
Check that the black switch button of the switch circuit breaker, installed inside the Main Control Box (refer to
Alarms
Description
section) is in ON position (pressed inside the breaker);
•
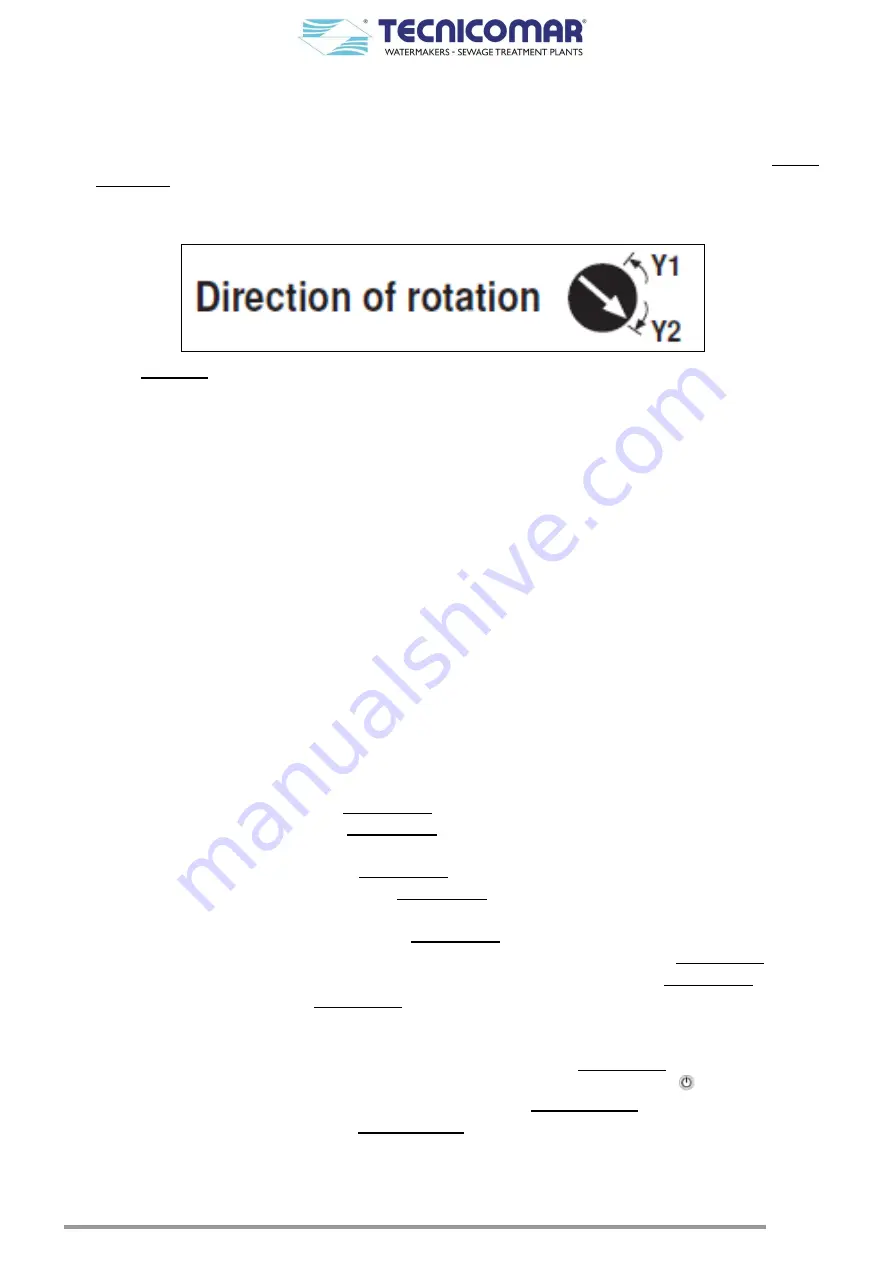
Verify that the direction of rotation of each motorized actuator, the one installed on the Discharge Valve (V1) and that on
the Sludge Discharge Valve (V2) is set in Y2 (refer to figure below);
Fig. 10.1-1 – Indicator for the sense of rotation on actuator
*
of the motorized valves (V1) & (V2)
•
Verify the correct installation of each supplied anti-siphon valve set;
•
Control that the H2O2 Dosing System complete with injector and piping is correctly installed and that its tank is full;
•
Check that the ECOFLOC Dosing System complete with injector and piping is correctly installed and that its tank is full;
•
Verify that the U.V. Sterilizing System is correctly installed with the U.V. lamps inside;
•
Check that all valves along the system filling, seawater, dosing, sludge discharge and outboard discharge piping are
correctly installed and set in the proper operation position (refer to attached P&ID Diagram);
•
Control that a max level sensor (your supply) is installed on sludge tank and rightly connected to the Main Control Box;
•
Verify that the Multimedia Filter Station is correctly installed and filled with the proper media;
•
Set all the head valves of the Multimedia Filter Station into the “
RINSE
” position (refer to attached P&ID diagram);
•
Set all 3-way manual valves of the Multimedia Filter Station into the “
RINSE
” position (refer to attached P&ID diagram);
•
Rinse for few minutes all the tanks of the Multimedia Filter Station (checking that there is no water leaks or air
infiltrations), by opening the isolation valve (your supply) installed on the fresh not-chlorinated water inlet; thus letting
fresh not-chlorinated water pass throughout Multimedia Filter Station;
•
Stop the water flow throughout the Multimedia Filter Station, by closing the isolation valve (your supply);
•
Reset all the Multimedia Filter Station valves into the
“OPERATION”
position (refer to attached P&ID diagram);
•
Connect all the require external power supply and check that the displays of the Main Control Box, Level Probe Control
Box and U.V. Sterilizer Control Box correctly lights on;
•
Verify that the Management system of the level signals from the collecting tank sensors is correctly installed and send
the correct level signaling to the system Main Control Box;
•
Set the unit in
manual mode
(refer to the
Manual mode
section) by pressing the ▼/F2-MAN key;
•
Activate the sea water pump (refer to the
Manual mode
section), control its rotation direction, verify that it is correctly
primed (otherwise prime it manually), and check that there no water leaks or air infiltration in the seawater line;
•
De-activate the seawater pump (refer to the
Manual mode
section);
•
Activate each supplied filling pump (refer to the
Manual mode
section), control its rotation direction, verify that it is
correctly primed (otherwise prime it manually), and check that there no water leaks or air infiltration in the filling line;
•
De-activate teach supplied filling pump (refer to the
Manual mode
section);
•
Activate the Discharge Valve (V1) to check its correct functioning and then de-activate it (refer to
Manual mode
section);
•
Activate Sludge Discharge Valve (V2) to check its correct operation and deactivate it (refer to
Manual mode
section);
•
Activate the Dosing Pumps (refer to
Manual mode
section) and check that both dosing pumps start running, if not startup
them pushing the START BUTTON on the panel of each dosing pump;
•
Let the Dosing pumps run for few minutes to fill the dosing pipes, checking that there are no water leaks neither air
infiltration all along the dosing lines, then deactivate the dosing pumps (refer to
Manual mode
section);
•
Check that the U.V. Sterilizer is running, otherwise start it up by pressing the System On Button
on its control box;
•
Exit from the
manual mode
by pressing the STOP/ESC key (refer to the
Automatic mode
section);
•
Set the unit in
automatic mode
(refer to the
Automatic mode
section
) by pressing the ▲/F1-AUTO key;
•
Start-up the system by pushing the START/ENTER key;
•
Check that the system works correctly without any water leaks or air infiltration in all the connected piping;
•
Check and record the reading value of the inlet pressure measured by the pressure gauge of the Multimedia Filter Station;


