52
13
COMMON PROBLEMS AND TROUBLESHOOTING
This section deals with the most common faults that may occur for an ECOmar S STP.
NOTE:
This section concern only the standard supply configuration of the ECOmar S STP for the optional items
troubleshooting, refer to the specific item manual.
Some occurrences may have many different causes. For each symptom, one or more causes are given. In turn, each cause has
one or more corresponding tests to help to identify whether the occurrence cause is the correct one. When the tests have
confirmed the source of the problem, the appropriate remedies are given to correct it.
There may be more than one cause of a problem. The tests given are designed to determine whether or not the cause of the
problem is the correct one. When diagnosing the causes of a problem in this case, eliminate the listed causes one by one until
the correct cause is found. Then the appropriate remedy has to be performed.
Diagnosing and correcting the various faults in this manner, makes troubleshooting easier and less time consuming.
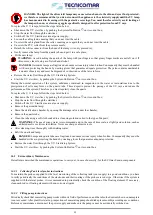
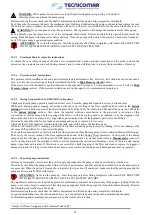
Warning: before opening any electrical box remember to un-power the unit.
If it is necessary, stop the unit by the Emergency Stop button located on control panel. Before re-starting the system,
turn clockwise the Emergency Stop button to release it.
However remember that the shut-down of the unit implies the reset of any cycle and relative timers in progress. So
in case of failures you can stop the system but on re-starting it, you have to re-enter the operation mode. If it was in
automatic mode the unit will start again by itself from the interrupted step, but the timers will be anyway reset.
13.1
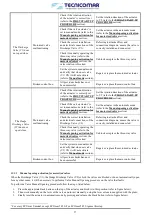
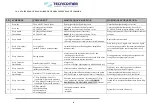
Troubleshooting Table
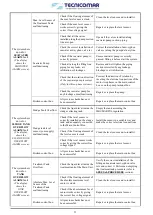
SYMPTOM
POSSIBLE CAUSES
VALIDATION CHECKS
REMEDY
Excessive noise
and vibrations.
System pulsation.
Filling/Seawater pump
cavitation.
Check the Filling /Seawater pump
correct priming and the presence of any
leaks or restrictions on their suction
piping, and correct it.
Worn seals of any pump (filling,
seawater, macerating).
Replace pumps (filling, seawater,
macerating) seals.
Air presence inside any
plant circuit.
Check the presence of any air
inlet all along the piping lines
(
filling
,
seawater
,
sludge
discharge
,
clarified water
discharge
) connected to system.
Pressurize the affected circuit (
filling
,
seawater
,
sludge discharge
,
clarified
water discharge
), by filling it activating
the relative pump (refer to
Manual
mode
section). This operation will help
to eliminate the infiltrated air.
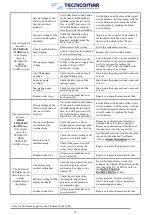
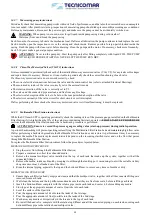
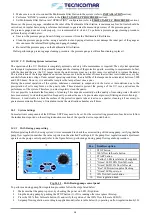
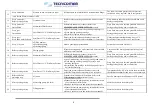
The system shuts
down for
FILLING
ALARM
fault.
(
The display
shows the
FILLING ALARM
screen
).
Min. Level Sensor of
the Treatment Tank
malfunctioning.
Check if the floating element of
the min. level sensor is stuck.
Clean the level sensor and re-install it.
Check if the min. level sensor
works correctly giving the
correct free voltage signal.
Repair or replace the level sensor.
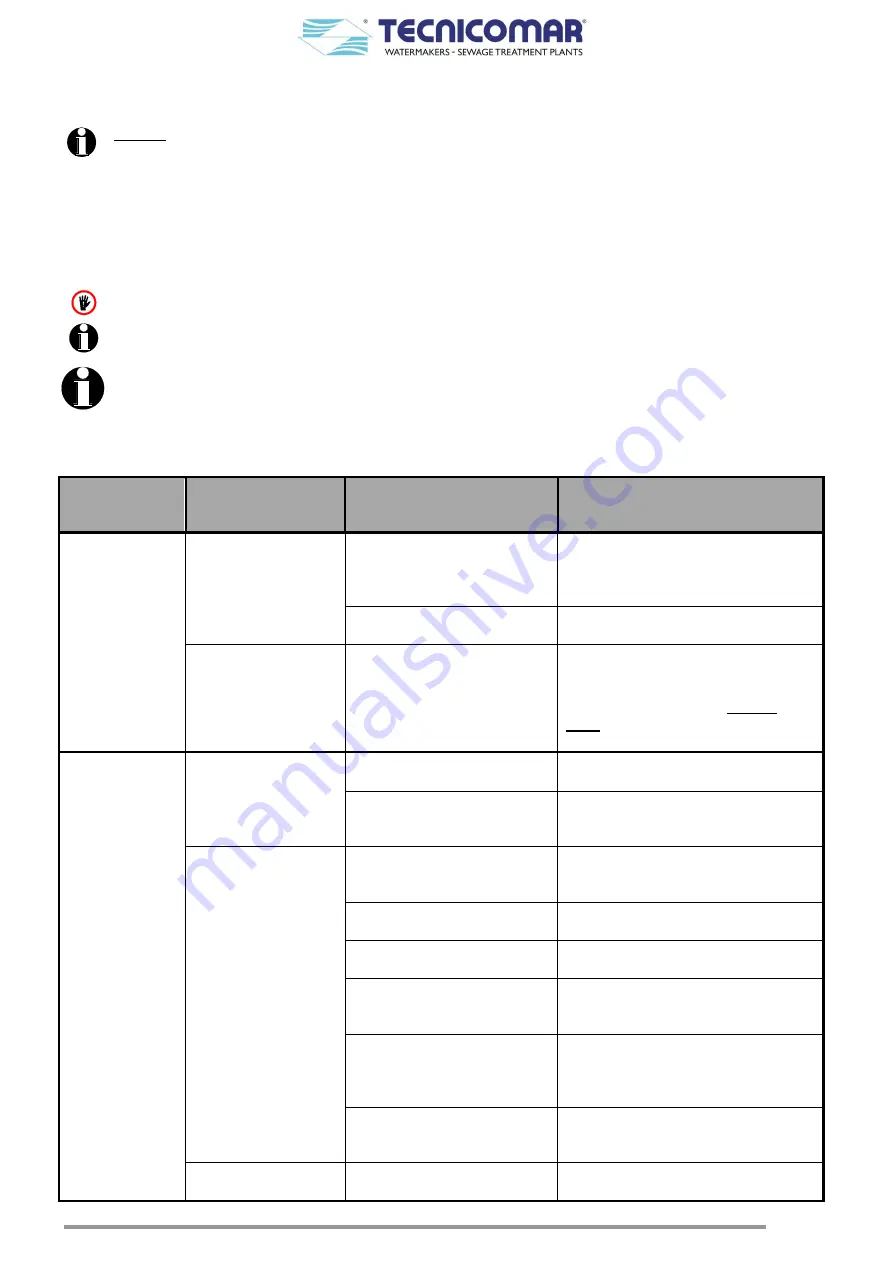
Each supplied Filling
Pump malfunctioning.
Check that all the valves
installed along each pump
suction / delivery line are open.
Open all the valves installed along each
filling pump suction / delivery piping.
Check the correct installation of
filling anti-syphon valve sets.
Correct the installation of anti-syphon
valve sets along each pump delivery line.
Check if each filling pump is,
correctly primed.
Ensure each filling pump is correctly
primed, filling it before start the system.
Check all along each filling line
piping for any leaks, air
infiltration or blockages.
Restore and well tighten the piping
section interested by any leakage,
blockage or air infiltration.
Check that the rotation direction
of each filling pump is correct.
(
Only for three-phase systems
).
Correct the rotation direction by
inverting the electrical connections of the
motor two phases on the main control
box or on each pump terminal box.
Check each supplied filling
pump for any blockage or
malfunctioning.
Repair or replace each supplied pump.
Broken control box.
All previous checks have not
been successful.
Repair or replace the main control box.


