English
6
BLAST CHILLER ISTRUCTION
4. PROGRAMMING AND OPERATION INSTRUCTIONS
4.1
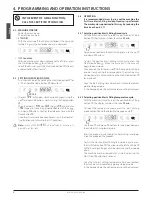
MACHINE STARTUP
Power the machine up
The machine can be in:
•
STAND-BY.
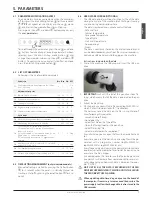
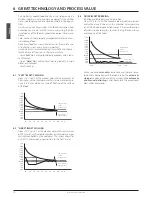
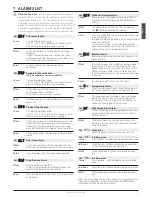
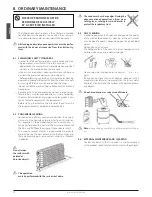
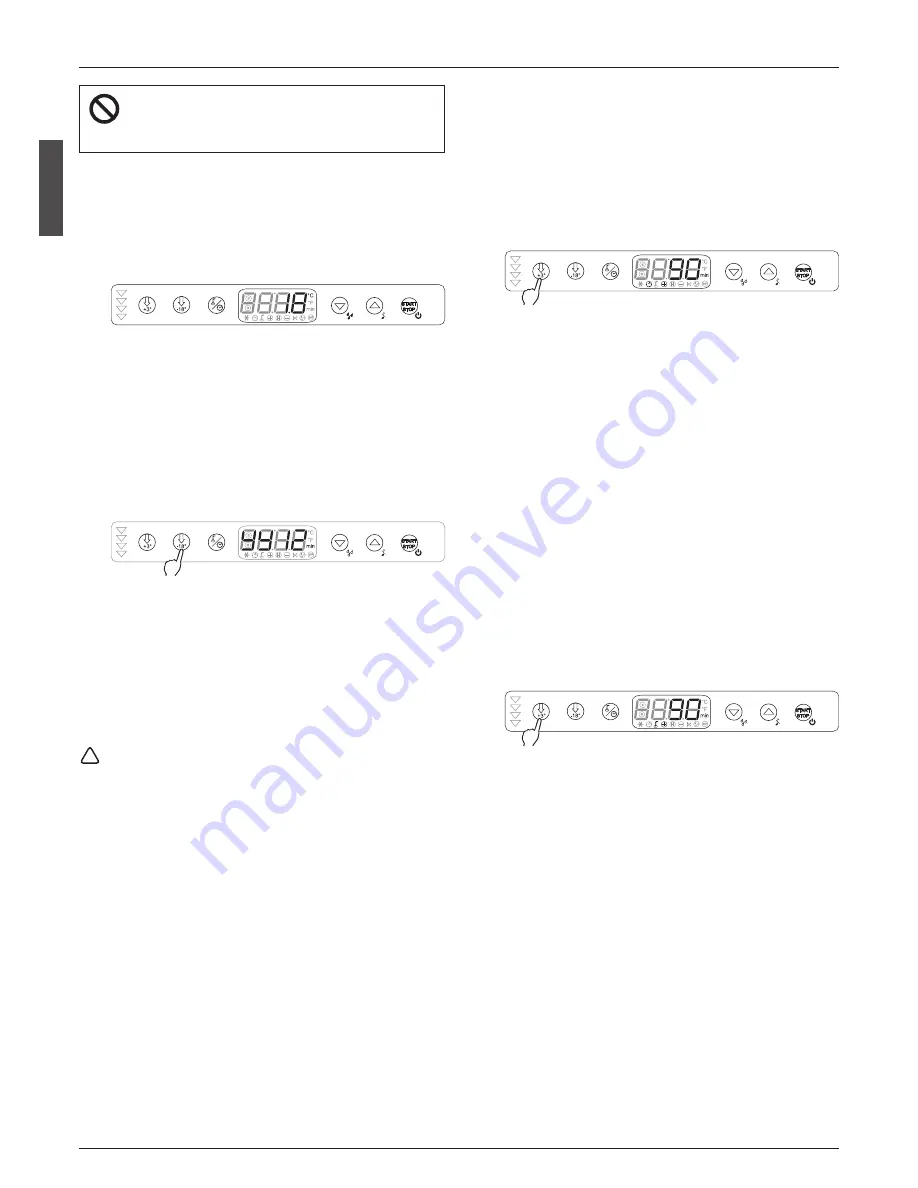
With the machine off, the display is as follows (the keys/unlit
symbols in gray), the cell probe values are displayed:
•
OFF Condition
With the machine shut down, to move to the off status, press
the Start/Stop button
q
for at least 3".
•
to exit the off status press the Start/Stop button
q
(the only
enabled button) for at least 3".
4.2
SETTING THE DATE AND TIME
Turn the machine off by holding the Start/Stop button
q
for
3". Then hold the freeze button
r
down for 3".
•
The year (
YY
) will appear, which can be changed using the
up
u
and down
y
buttons. Confirm using the freeze button
r
.
•
Then the month (
nn
), day (
dd
), hour (
hh
) and minutes
(
no
) appear in succession, also modifiable with the up
u
and down
y
buttons. Confirm the data each time with the
freeze button
r
.
•
Once the minutes have been confirmed, it exits the clock set-
ting function and returns to the OFF condition.
Note:
in case of ALARM
RTC
on the display it’s necessary to
provide to set the time.
4.3
OPERATION
It is recommended always to pre-cool the machine the
first time blast-chilling or deep freezing is performed.
The work cycle is optimized in this way by reducing the
time (see chap. 4.3.7).
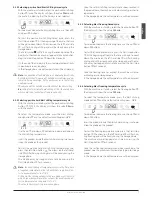
4.3.1 Selecting positive blast chilling timed cycle
With the machine in standby, select the positive blast chilling
button
e
; the display will show the value
90 min.
To increase or decrease the blast chilling time, use the up
u
and down
y
buttons.
To start the positive blast chilling timed cycle, press the
Start/Stop button
q
. When the cycle starts, the time will
begin to count down.
The arrows on the left hand side
w
flash during blast chilling
and are steady during the storage phase. The machine may
be stopped at any time by pressing the Start/Stop button
q
for 3 seconds.
Once the blast chilling time has expired, it will automatically
go into storage mode.
In the storage phase the cell temperature will be displayed.
4.3.2 Selecting positive blast chilling temperature cycle
With the machine in standby, select the positive blast chilling
button
e
. The display will show the value
90 min.
To select the temperature mode press the blast chilling
mode button
e
and the default value appears:
+3°C
Use the up
u
and down
y
buttons to increase or decrease
the end blast chilling temperature.
Insert the product inside the blast chiller making sure to po-
sition the probe on the product.
To start the positive blast chilling temperature cycle, press
the Start/Stop button
q
. The arrows on the left hand side
w
will flash during chilling and will be steady during the storage
phase.
The machine may be stopped at any time by pressing the
Start/Stop
q
button for 3 seconds
Once the set blast chilling temperature has been reached,
the machine will automatically go into storage mode.
In the storage phase the cell temperature will be displayed
i
IN THE EVENT OF A MALFUNCTION,
CALL THE CERTIFIED TECHNICIAN
3 sec


