II_DigiTech_01_eng
11 of 20
Installation instructions
DigiTech
The maximum load applicable to the bolt must not exceed 1KN. Contact Tecnosicurezza in case
of heavier loads.
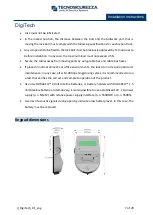
Connect the keypad cable to the lock connector "ENT", making sure it is fully inserted and
locked.
Any alarm interface or battery holder will be connected to the lock connector “BAT”.
To remove the cable, bring the connector upwards and carefully pull it out.
StraightBolt and SpringBolt locks installation instructions
StraightBolt and SpringBolt locks are locks with, respectively, a dead bolt and a spring bolt,
whose block is carried out by a motor.
By entering a valid code, the lock electronic removes the blocking for 3 seconds and the
boltwork can be moved into open position by turning the spindle inserted in the lock.
The spindle can be connected to a knob, a handle or directly to the keypad if equipped with a
rotation kit. When the spindle is brought to the locked position, the bolt comes out ensuring
the lock is locked.
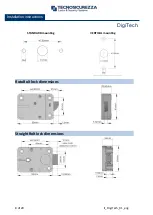
The StraightBolt and SpringBolt locks can be mounted in all four mounting directions.
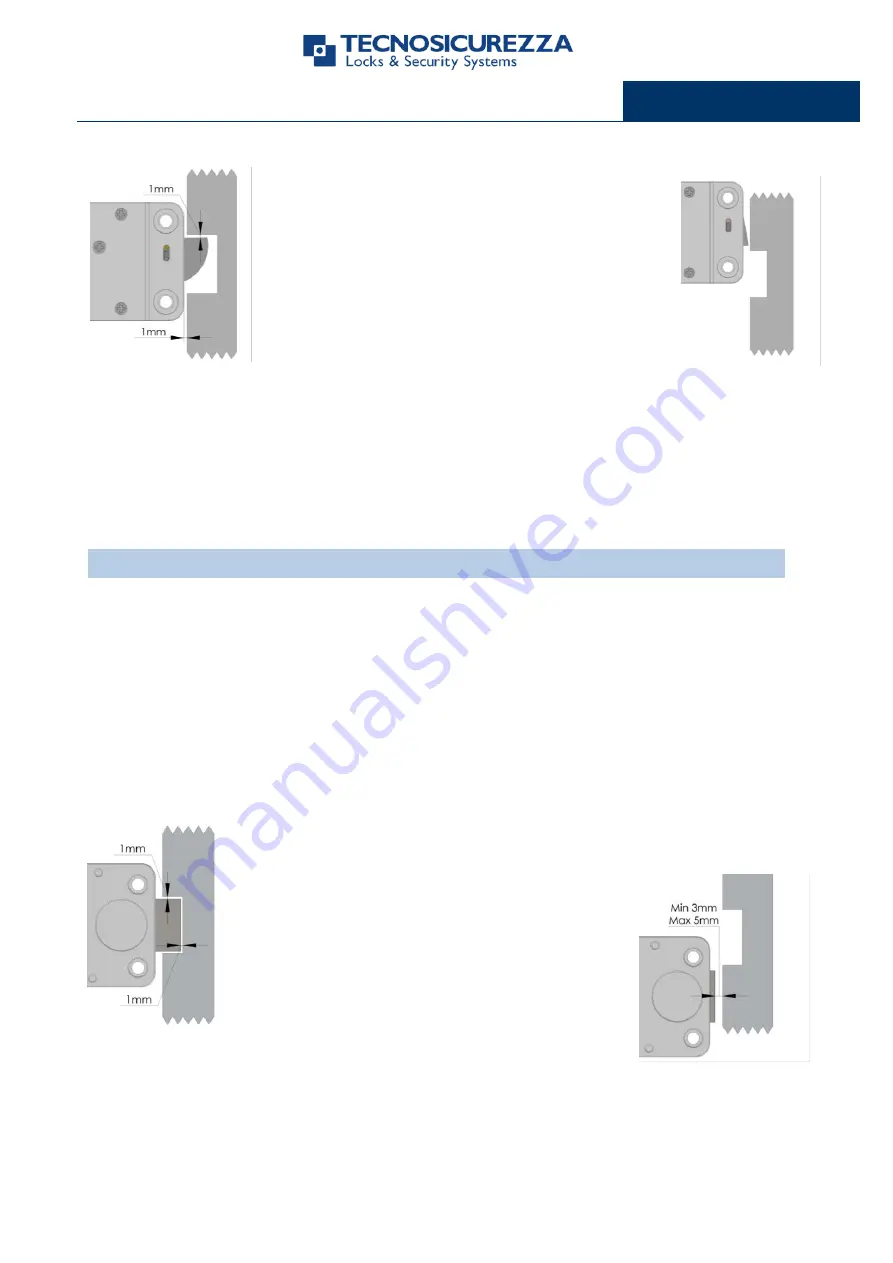
In the locked position, there should be approximately 1 mm
clearance between the lock bolt and the cavity in the blocking
bar of the boltwork. The bolt must be able to move freely
without force being applied to it.
In open position, there should be
minimum 3mm and maximum 5 mm
clearance between the lock bolt and
the blocking bar of the boltwork.
The maximum load applicable to the bolt must not exceed 1KN. Contact Tecnosicurezza in case of
heavier loads.
The spring-latch version (SpringBolt) is specially designed to ensure self locking when the door
closes.
In the locked position the distance between the RotoBolt
bolt and the RotobBolt part that is moving the lock bolt
should be approximately 1 mm.
The bolt must be able to move freely without force
being applied to it.
Summary of Contents for DigiTech Series
Page 1: ...DigiTech Installation instructions ...
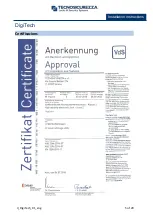
Page 5: ...II_DigiTech_01_eng 5 of 20 Installation instructions DigiTech Certificazions ...
Page 17: ...II_DigiTech_01_eng 17 of 20 Installation instructions DigiTech NOTES ...
Page 18: ...18 of 20 II_ DigiTech_01_eng Installation instructions DigiTech NOTES ...
Page 19: ...II_DigiTech_01_eng 19 of 20 Installation instructions DigiTech NOTES ...


