26
ELECTRIC STARTERS
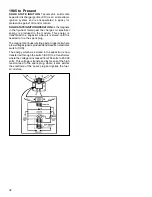
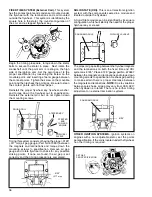
DRIVE ASSEMBLY SERVICE
. Pinion gear parts should
be checked for damage or wear. If the gear sticks on
the shaft, it should be washed in solvent to remove
dirt and grease, then dried thoroughly. If damaged,
replace with new parts.
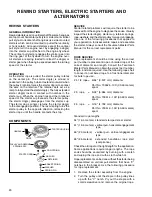
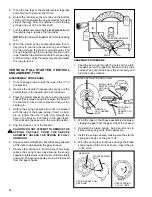
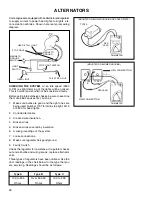
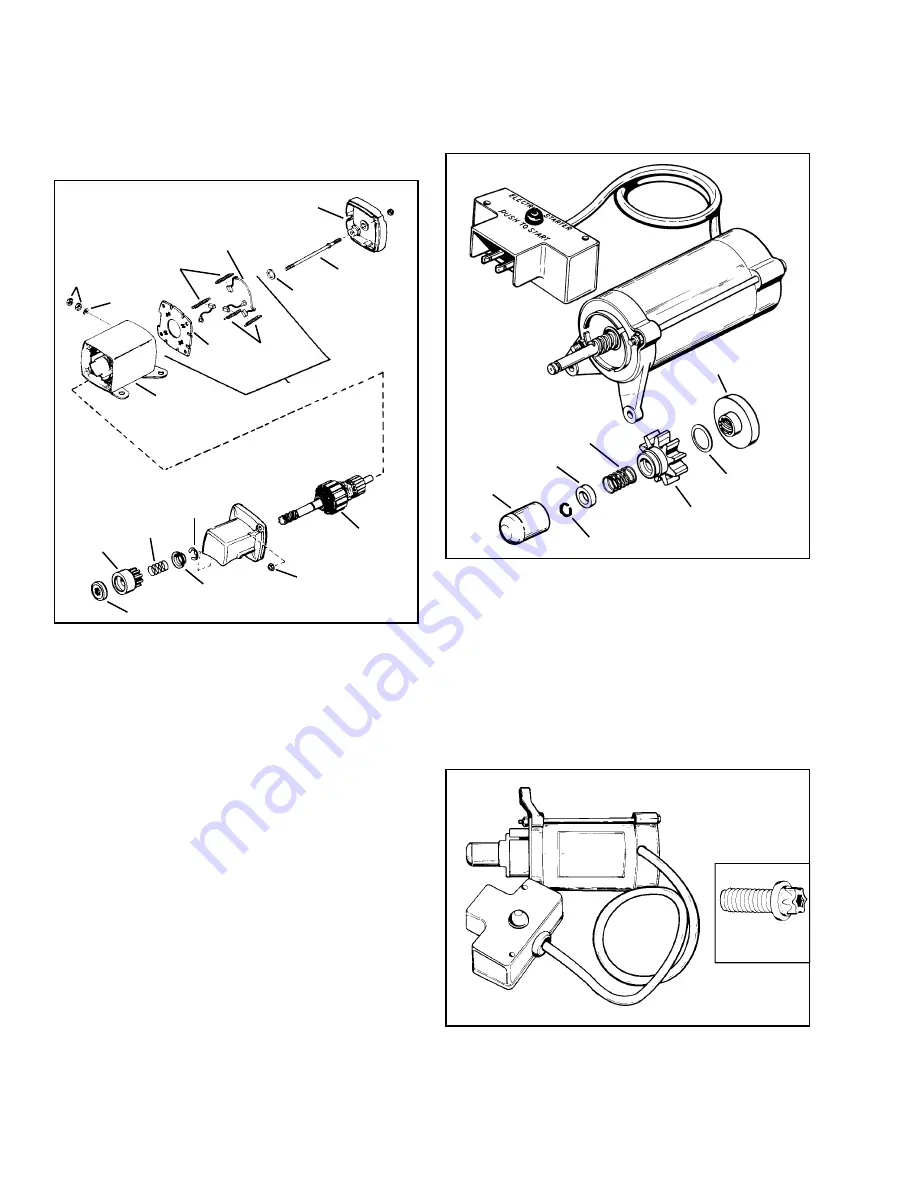
On units with the gear under the cap assembly, use
the following procedure for disassembly:
1. Remove retainer ring from armature shaft.
2. Remove the two nuts from the through bolts holding
on the cap assembly.
3. Slide off the cap assembly. The engaging nut,
gear, spring and spring retainer will remain in the
cap assembly.
4. Remove, inspect, and replace as necessary.
Use reverse procedure for assembly.
BRUSH SPRINGS
NUTS
ARMATURE
LOCKNUT
RETAINER
RING
SPRING RETAINER
SPRING
ENGAGING NUT
GEAR
HOUSING
WASHER
BRUSH
CARD
BRUSH
SPRINGS
BRUSHES
BRUSH CARD ASSY
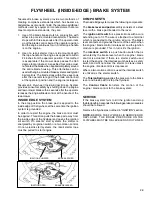
.
THRUST WASHER
BOLT
END CAP
RETAINER RING
SPRING RETAINER
ANTI DRIFT SPRING
GEAR
FRICTION
WASHER
ENGAGING NUT
DUST COVER
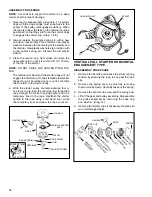
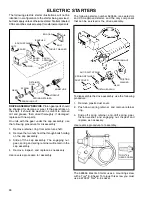
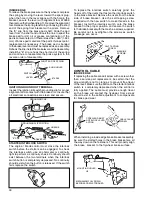
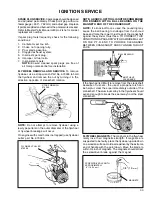
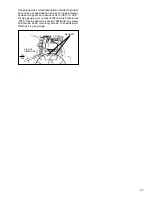
The 590556 Electric Starter uses a mounting screw
with a Torx
®
E-8 head. To torque this screw you must
use a 670307 Torx
®
E-8 socket.
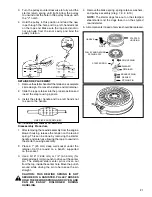
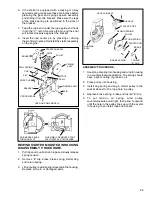
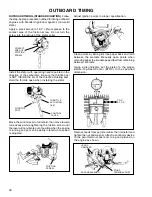
To disassemble the drive assembly, use the following
procedure:
1. Remove plastic dust cover.
2. Push down spring retainer and remove retainer
ring.
3. Slide off spring retainer, anti-drift spring, gear,
friction washer, and engaging nut. Inspect and
replace as necessary.
Use reverse procedure for assembly.
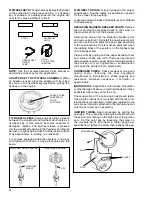
TORX
®
E8
HEAD SCREW
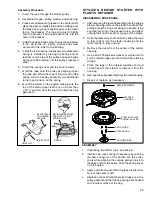
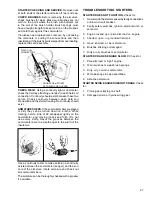
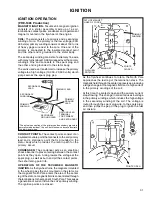
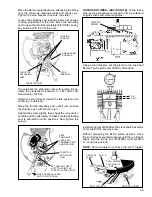
The following starter, number 590556, is a sealed UL
and CSA approved starter, and the only component
that can be serviced is the drive assembly.
The following electric starter illustrations will not be
identical in configuration to the starter being serviced,
but tests apply unless otherwise stated. Starters labeled
CSA cannot be serviced, except for external components.
Summary of Contents for AH520 -
Page 67: ...64...

