73
DE
EN
FR
NL
IT
DA
NO
SV
FI
TR
EL
PL
CS
SK
HU
RU
UK
ET
LT
LV
73
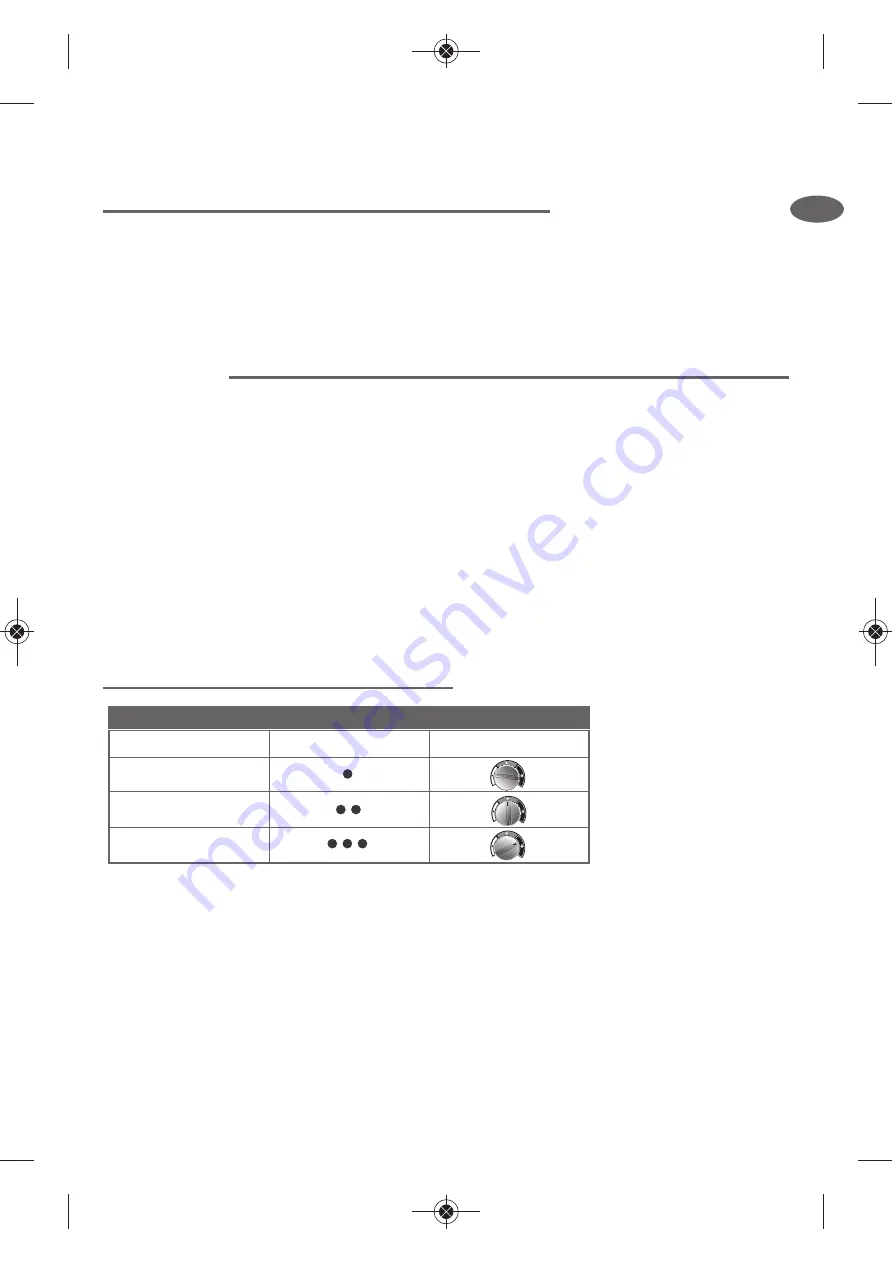
T
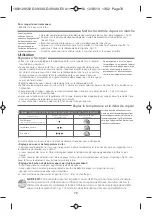
YPE OF FABRICS
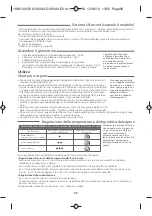
SETTING TEMPERATURE
CONTROL
SETTING STEAM OUTPUT CONTROL
DIAL
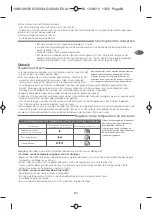
Linen, cotton
Silk, Wool
Synthetics
(polyester, acetate, acrylic, polyamide)
SETTING THE TEMPERATURE AND STEAM OUTPUT ACCORDING TO TYPE OF FABRIC TO BE IRONED:
- Each time you put the iron back on its base, the Ultracord system fits into the heel of the iron and opens back up
automatically when you use the iron.
Storing the generator:
- Fold the connector back onto the heel.
Using your steam generator
• Completely unwind the power cord and the steam cord from its storage space– 25.
• Press the unlock button on protective cover and shut it by pulling forwards. fig. 3.
• Plug in your steam generator to an earthed socket.
• Press on the on / off switch. The green light (located on the control panel)
flashes and the boiler heats up – fig.15.
When the green “steam ready” light stops flashing (after 2 minutes approximately), the
appliance is ready.
Use
Steam ironing
• Place the iron's temperature control slide according to the type of fabric to be
ironed (see table below).
• The iron’s light will come on. Important: whenever you start using your iron
and whenever you reduce the temperature during use, the iron is ready for use
when its indicator light goes out and when the green light located on the
control panel comes on and remains on. During use, when you increase the
temperature of the iron, you can start ironing immediately, but make sure you
only increase your steam flow once the iron’s light has gone out.
• Adjust the steam output control dial (located on the control panel).
• When the iron is in use, the iron thermostat light on the iron comes on and
goes off according to the soleplate temperature requirement without this having any effect on the use of the
appliance.
• To obtain steam, press on the steam control button under the iron handle and keep it pressed – fig.10. The steam
will stop when you release the button.
• When starting, and regularly while it is being used, your steam generator's electric pump injects water into the
boiler. It makes a noise but this is quite normal. You may also hear a clicking noise which is the steam valve
opening. Again this is normal.
• Always spray starch onto the reverse side of the fabric to be ironed
Set the temperature and steam control
Check the garment label if you are not sure what type of fabric it is made of.
• Iron temperature setting:
- Start with the fabrics to be ironed at a low temperature (•) and finish with
those which need higher temperatures (••• or Max).
- For mixed fibre fabric: set the ironing temperature to the setting for
the most delicate fabric.
- Woollen garments: press repeatedly on the steam control button – fig.10 to obtain short bursts of
steam, without placing the iron on the garment itself.
• Steam output setting:
- Thick fabric: increase the steam setting.
- If you intend to iron at low temperature, set the steam control button to MINI and press the
steam button whenever needed.
• If you put your thermostat in the “min” position, the iron does not become hot.
Do not place the iron on a metal
support.When taking a break from
ironing, always place the iron on the iron
rest plate of the unit. It is
equipped with non-slip pads and has
been designed to withstand high
temperatures.
Always use a vented/mesh ironing board
and be careful of hot steam when ironing
close to the edges of the board.
To prime the steam circuit, either
before using the iron for the first
time, or if you have not used the
steam function for a few minutes,
press the steam control button several
times in a row, holding the iron away
from your clothes. This will enable any
cold water to be ejected from the
steam circuit.
The first time the
appliance is used, there
may be some fumes and
smell but this is not
harmful. They will not
affect use and will
disappear rapidly.
1800129550 GV93XX-GV94XX E0 A11_110x154 12/03/13 13:52 Page73
Summary of Contents for ANTI-CALC AUTOCLEAN
Page 6: ...1800129550 GV93XX GV94XX E0 A11_110x154 12 03 13 13 51 Page6...
Page 37: ...31 EL 1800129550 GV93XX GV94XX E0 A11_110x154 12 03 13 13 51 Page31...
Page 38: ...32 8 8 8 1 2 1800129550 GV93XX GV94XX E0 A11_110x154 12 03 13 13 51 Page32...
Page 39: ...33 2 220 240 V 16A 1800129550 GV93XX GV94XX E0 A11_110x154 12 03 13 13 51 Page33...
Page 52: ...46 RU 1800129550 GV93XX GV94XX E0 A11_110x154 12 03 13 13 51 Page46...
Page 53: ...47 8 8 8 1 1800129550 GV93XX GV94XX E0 A11_110x154 12 03 13 13 51 Page47...
Page 54: ...48 2 2 1800129550 GV93XX GV94XX E0 A11_110x154 12 03 13 13 51 Page48...
Page 55: ...49 220 240 V 16 1800129550 GV93XX GV94XX E0 A11_110x154 12 03 13 13 51 Page49...
Page 56: ...50 UK 1800129550 GV93XX GV94XX E0 A11_110x154 12 03 13 13 51 Page50...
Page 57: ...51 8 8 8 1800129550 GV93XX GV94XX E0 A11_110x154 12 03 13 13 51 Page51...
Page 58: ...52 1 2 1800129550 GV93XX GV94XX E0 A11_110x154 12 03 13 13 51 Page52...
Page 59: ...53 2 220 240 16 1800129550 GV93XX GV94XX E0 A11_110x154 12 03 13 13 51 Page53...
Page 174: ...168 1800129550 GV93XX GV94XX E0 A11_110x154 12 03 13 13 52 Page168...
Page 175: ...169 1800129550 GV93XX GV94XX E0 A11_110x154 12 03 13 13 52 Page169...
Page 176: ...170 1800129550 GV93XX GV94XX E0 A11_110x154 12 03 13 13 52 Page170...
Page 178: ...172 03 21012 1800129550 GV93XX GV94XX E0 A11_110x154 12 03 13 13 52 Page172...

