.
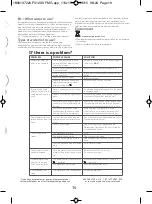
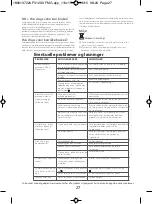
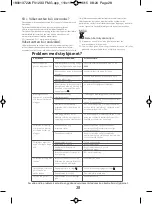
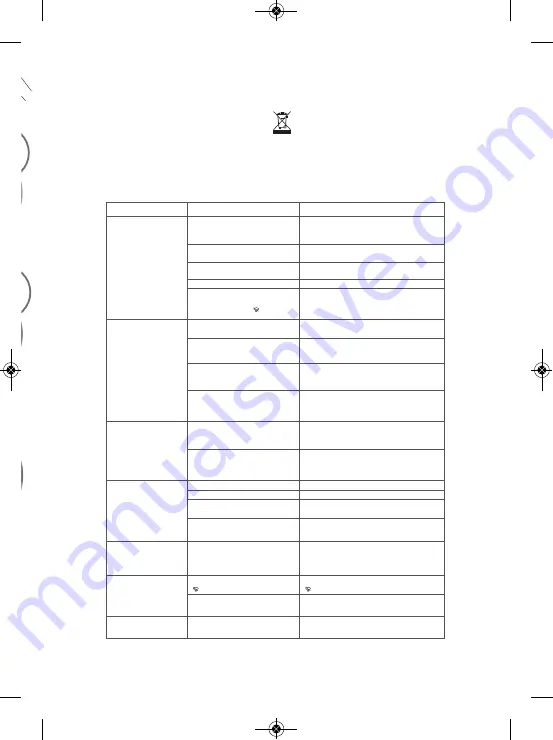
PROBLEM
POSSIBLE CAUSE
SOLUTION
Water drips from the
holes in the soleplate.
The chosen temperature is too
low and does not allow for the
formation of steam.
You are using steam while the iron
is not hot enough.
You are using the Shot of Steam
button too often.
There is too much steam.
You have stored the iron horizon-
tally, without emptying it and
without setting it to
.
Position the thermostat in the steam range
(from •• to
MAX
).
Wait until the thermostat light goes out.
Wait a few seconds between each use of the
button.
Reduce the steam.
See the section "Storing your iron".
Brown streaks come
through the holes in the
soleplate and stain the
linen.
You are using chemical descaling
agents.
You are not using the right type of
water.
Fabric fibres have accumulated in
the holes of the soleplate and are
burning.
Your linen has not been rinsed
sufficiently or you have ironed a
new garment before washing it.
Do not add any descaling agents to the water
in the water tank.
Perform a self-cleaning operation and consult
the chapter "What water should I use?".
Perform the self-cleaning operation and clean
the soleplate with a damp sponge. Vacuum
the holes of the soleplate from time to time.
Make sure that your laundry is rinsed
sufficiently so as to remove any deposits of
soap or chemical products on new clothes.
The soleplate is dirty or
brown and can stain the
linen.
Your are ironing with an inappro-
priate program (temperature too
high).
You are using starch.
Clean the soleplate as indicated above. Select
the appropriate program.
Clean the soleplate as indicated above.
Always spray starch onto the reverse side of
the fabric to be ironed.
There is little or no
steam.
The water tank is empty.
The anti-calc valve is dirty.
Your iron has a build-up of scale.
Your iron has been used dry for too
long.
Fill it.
Clean the anti-calc valve.
Clean the anti-calc valve and carry out a self-
clean.
Carry out a self-clean.
The soleplate is scrat-
ched or damaged.
You have placed your iron flat on a
metallic rest-plate or ironed over a
zip.
Always set your iron on its heel.
Do not iron over zips.
Steam or water come
from the iron as you
finish filling the tank.
The steam control is not set to the
position.
The water tank is overfilled.
Check that the steam control is set to the
position.
Never exceed the Max level.
The spray does not
spray.
The water tank is not filled enough.
Fill up the water tank.
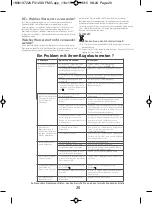
If you have any problem or queries, please contact our
Customer Relations team first for expert help and advice.
0845 602 1454 - UK / (01) 677 4003 - ROI
or consult our website - www.tefal.co.uk
If there is a problem?
14
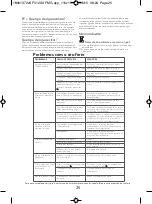
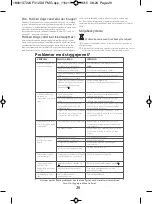
EN • What water to use?
Your appliance has been designed to function with untreated tap water.
However, it is necessary to operate the Self-Clean function regularly in
order to eliminate hard water deposits from the steam chamber.
If your water is very hard (check with your local water authority), it is
possible to mix untreated tap water with store-bought distilled or
demineralised water in the following proportions:
- 50% untreated tap water, - 50% distilled or demineralised water.
Types of water not to use?
Heat concentrates the elements contained in water during
evaporation.The types of water listed below contain organic waste or
mineral elements that can cause spitting, brown staining, or premature
wear of the appliance: water from clothes dryers, scented or softened
water, water from refrigerators, batteries or air conditioners, pure
distilled or demineralised water or rain water should not be used in your
Tefal iron. Also do not use boiled, filtered or bottled water.
Environment
Environment protection first!
i
Your appliance contains valuable materials which can be recovered
or recycled.
‹
Leave it at a local civic waste collection point.
1800137224 FV12XX FMG.qxp_110x154 30/06/15 08:24 Page19
Summary of Contents for inicio FV12 Series
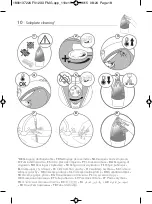
Page 5: ...First use 1800137224 FV12XX FMG qxp_110x154 30 06 15 08 23 Page5 ...
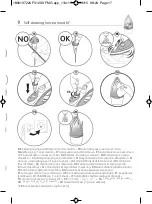
Page 16: ...Self cleaning once a month 1800137224 FV12XX FMG qxp_110x154 30 06 15 08 24 Page16 ...
Page 47: ...16A 47 RC 1800137224 FV12XX FMG qxp_110x154 30 06 15 08 24 Page47 ...
Page 48: ...48 RC 1800137224 FV12XX FMG qxp_110x154 30 06 15 08 24 Page48 ...
Page 55: ...55 1800137224 FV12XX FMG qxp_110x154 30 06 15 08 24 Page55 ...
Page 56: ...1800137224 26 15 FMG 1800137224 FV12XX FMG qxp_110x154 30 06 15 08 24 Page56 ...


