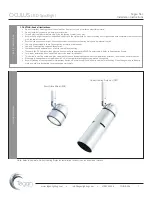
OCULUS
LED
Spotlight
•
• 415-504-3536 TG-INS-09a
info@teganlighting.com
www.teganlighting.com
2
Tegan Trac
Installation Instructions
vaa
Oculu
s Ins
tall
ati
o
n
CLICK
PAN
TILT
HOT
3.
1.
2.
4.
5.
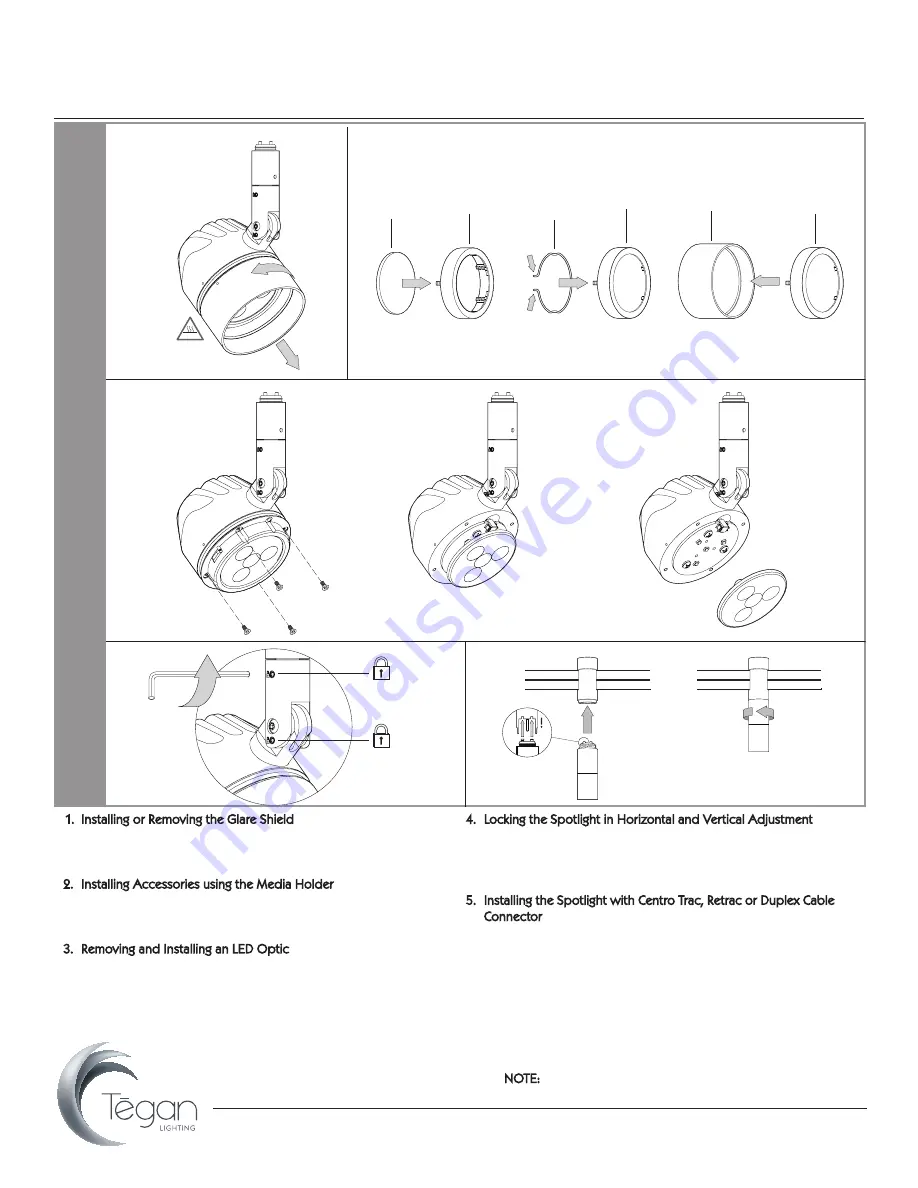
1. Installing or Removing the Glare Shield
• Twist glare shield counter clockwise and remove.
• To reattach glare shield, align indicators as shown and twist
clockwise until you hear a “click.”
2. Installing Accessories using the Media Holder
• Fit up to 2 accessories into Media Holder.
• Secure accessories in place using retaining clip.
• Insert Media Holder into glare shield until it “clicks” into place.
3. Removing and Installing an LED Optic
• Remove the 4 hex screws from the bayonet mechanism.
• Carefully remove the blacok bayonet to expose the optic and in-
stall an alternative optic. Line up the optic’s “pegs” with indents
on LED board.
• Replace the bayonet, insert 4 hex screws and tighten.
4. Locking the Spotlight in Horizontal and Vertical Adjustment
• Adjust Spotlight to desired position, using angle gauge if
required.
• Lock spotlight position using Allen key provided.
• NOTE: Only adjust position when unlocked.
5. Installing the Spotlight with Centro Trac, Retrac or Duplex Cable
Connector
• Insert Centro Trac, Retrac, or Duplex Cable Connector into Trac
System, ensuring locking screws are aligned (Centro Trac shown
in diagram; refer to specific System Installation Sheets for
details). No connector is required for Monopoints.
• Rotate connector collar until spotlight is securely fastened.
• The Spotlight connects to the Connector with the Twist & Click
mechanism. The Spotlight “clicks” into the the jack plug socket,
then twists into position to lock the connection in place.
NOTE: Do not exceed maximum number of Spotlights per
driver wattage rating, doing so will damage system.
Horizontal
Adjustment
Vertical
Adjustment
Oculus Media Holder 2 -16
(OMH2-16)
Oculus Glare Shield
Retaining Clip
Media
Oculus Media Holder 2 -16
(OMH2-16)
Oculus Media Holder 2 -16
(OMH2-16)


