background image

36

If the equipment does not work, please
contact the Technical Ser vice Depar tment and
advise them of the problem, indicating: 

1

Serial number (S-No)

2

Appliance model. (Model)

You will find this information on the rating
plate on the lower par t of the oven when the
door is opened.

The item that you have bought meets the

European directives on electrical material
safety (73/23/CEE) and electromagnetic com-
patibility (89/336/CEE). 

AENOR certifies the aptitude of this appliance
for the function and guarantees the truthful-
ness of all data shown in the energy card.

Technical Information

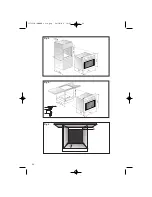
• To fit multifunction ovens in their locations,

the back par t of the unit corresponding to
the shaded area of figure 3, must not have
any projections (reinforcements, pipes,
sockets, etc). (See the page 38).

• The adhesive used for the plastic covering

of kitchen furniture must be able to
withstand temperatures up to 85ºC. 

The installer must check that:

• The voltage and cycles of the mains supply

correspond to that indicated on the rating
plate.

• The electrical installation can stand the

maximum power indicated on the rating
plate.

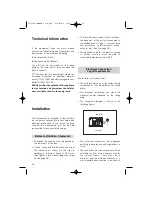
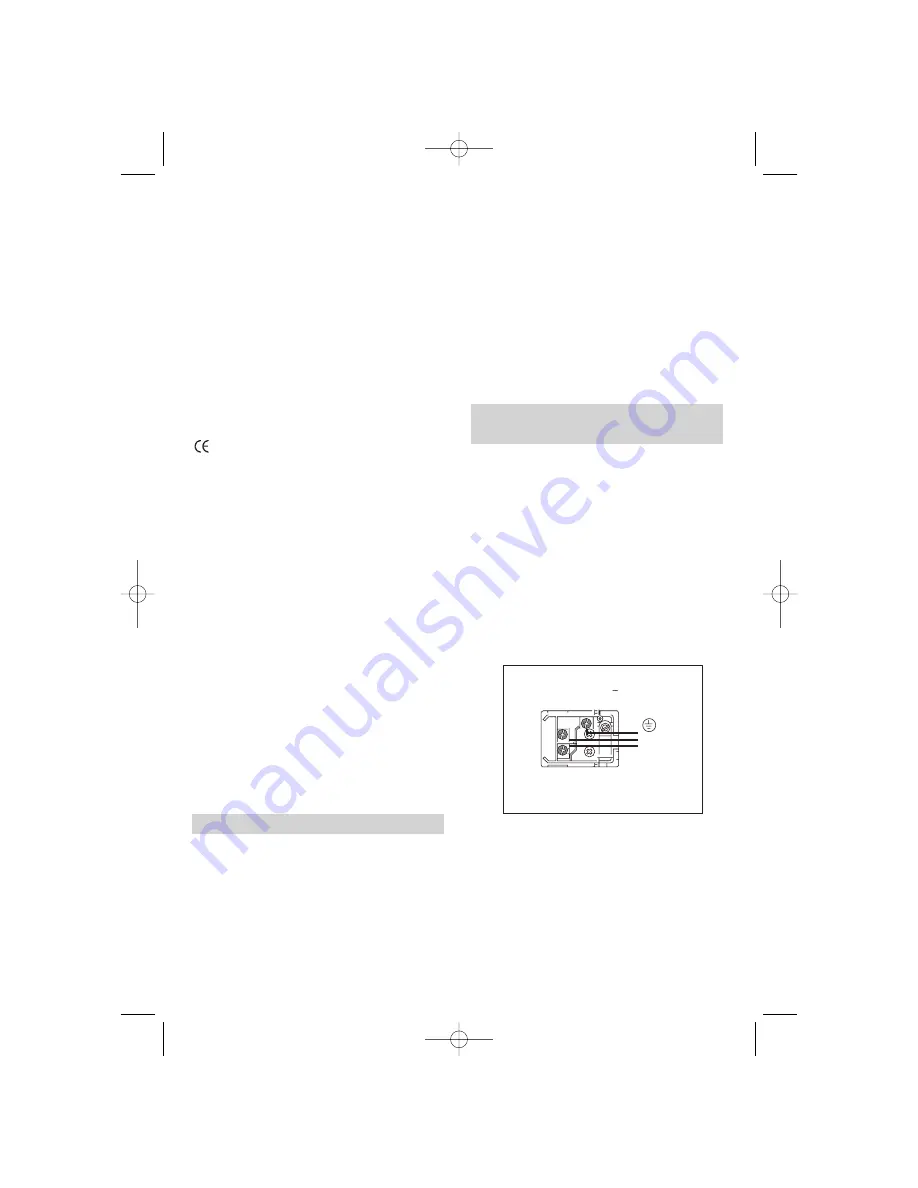
• The connection diagram is shown in the

following figure:

• The electrical connection has adequate

ear thing in accordance with regulations in
force.

• The connection must be carried out with an

omnipolar switch, of an adequate size for
the current drawn. There must be a
minimum aper ture between contacts of 3
mm to enable disconnection in the case of

Electrical Connection.

Legal Requirements

Installation

This information is intended for the installer,
as the person responsible for assembly and
electrical connection. If you install the oven
yourself, the manufacturer will not be held
responsible for any possible damage.

• To unpack the oven, pull the tab located on

the lower par t of the box.

• A niche is required in the kitchen unit as per

the dimensions shown on the figure,
providing a minimum depth of 580 mm.
(See figures 1 and 2 describing oven fitting
on the page 38).

Before Installation. Comments

3 x 1,5mm

2

N
L

230 V  1

3172110-ABB00 icon peq  24/10/05  16:43  Página 36

Summary of Contents for HK-800

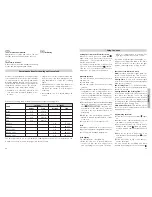
Page 1: ...no Médio Grande Tempo de cozedura da carga padrão Convencional Convecção forçada de ar Zona de cozedura Nível de ruído dB A re 1 pW Energy efficiency class on a scale of A more efficient to G less efficient Heating function Conventional Forced air convection Energy consumption Conventional Forced air convection Usable volume litres Size Small Medium Large Time to cook standard load Conventional Fo...

Page 2: ...er cooling clean the oven and the accessories During the first use fumes and odours may occur and the kitchen should therefore be well ventilated Ecological Packaging The packaging materials are completely re cyclable and can be used again Check with your local authority on the regulations for disposing of this material CAUTION The symbol on the product or on its packaging indicates that this prod...

Page 3: ...amage the door and be dangerous for you Important Safety Instructions Do not cover the bottom of the oven with aluminium foil as it could affect cooking and damage the interior enamelling of the oven To use the oven insert the tray or rack supplied onto the side guides inside the oven The trays and racks are fitted with a system to facilitate partial extraction and make handling easier Do not put ...

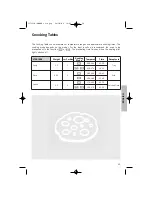
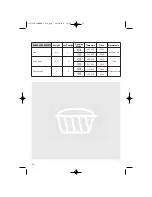
Page 4: ...end the oven to be preheated with the function or The preheating time finishes when the heating pilot light switches off Pasty Tray Pizza Quiche Quiche Mould Grid 1 5 1 5 1 1 160 180 180 200 170 190 45 50 150 170 30 35 20 25 0 65 160 180 15 20 45 50 1 150 170 45 50 STARTERS Weight Tray Position Cooking Mode Temperat Time Receptacle 3172110 ABB00 icon peq 24 10 05 16 42 Página 29 ...

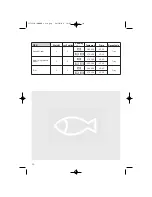
Page 5: ... 25 30 1 1 170 190 25 30 Salmon in greased paper Tray 170 190 20 25 1 1 160 180 15 20 Trout Tray 180 200 20 25 1 1 170 190 15 20 Weight Tray Position Cooking Mode Temperat Time Receptacle 3172110 ABB00 icon peq 24 10 05 16 42 Página 30 ...

Page 6: ...e Temperat Time Receptacle MEAT Chicken Tray Lamb Tray 190 210 190 210 50 55 1 5 1 170 190 45 50 180 200 50 55 50 55 1 5 1 170 190 45 50 Rabbit Tray 180 200 60 65 1 5 1 160 180 45 50 170 190 45 50 3172110 ABB00 icon peq 24 10 05 16 42 Página 31 ...

Page 7: ...5 155 60 65 0 5 145 155 55 60 Cup Cakes Tray 145 165 25 30 0 5 1 135 155 25 30 Cheesecake Cheescake Mould 45 50 1 1 155 175 35 40 165 185 Weight Tray Position Cooking Mode Temperat Time Receptacle 3172110 ABB00 icon peq 24 10 05 16 42 Página 32 ...

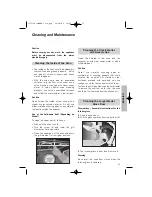
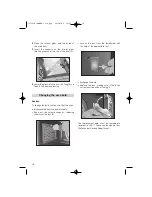
Page 8: ...Turn the screw A and lower the grill element as far as possible Clean the upper part of the oven and return the grill element to its original position Cleaning the Inside of the Oven Clean the outside of the oven and the accessories with warm soapy water or with a mild detergent Caution Never use metallic scouring pads or commercial or scouring powders that could scratch the enamel For stainless s...

Page 9: ...cal Service Department Caution To change the bulb first ensure that the oven is disconnected from the power supply Ease out the chrome supports releasing them from the bolt E Changing the oven bulb 4 Clean the interior glass and the inside of the oven door 5 Insert the supports on the interior glass into the grooves at the top of the door C 6 Lower the glass into the door D The glass is fixed to t...

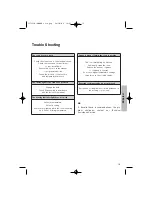
Page 10: ...ulb Check its assembly in accordance with the instruction manual The heating indicator light does not work Select a temperature Select a setting It should only light up while the oven is heating up to its set working temperature Smoke is given off while the oven is working This is normal during its first use Periodically clean the oven Reduce the amount of grease or oil added to the tray Do not us...

Page 11: ...ge and cycles of the mains supply correspond to that indicated on the rating plate The electrical installation can stand the maximum power indicated on the rating plate The connection diagram is shown in the following figure The electrical connection has adequate earthing in accordance with regulations in force The connection must be carried out with an omnipolar switch of an adequate size for the...

Page 12: ...rying out the electrical connection 1 Introduce the oven into the kitchen unit taking care not to trap the cable 2 Fix the oven to the unit by means of the 2 screws supplied via the holes that can be seen when the door is opened 3 Check that the oven housing is not in contact with the sides of the unit and that there is at least 2 mm separating the neighbouring units Installing the Oven 3172110 AB...

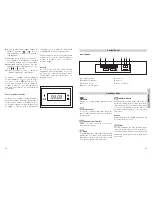
Page 13: ...ep prolongado Atenção No caso de um corte da corrente eléctrica apagar se á toda a programação do seu reló gio electrónico e aparecerá a piscar a indica ção 12 00 no relógio Deverá acertá lo e pro gramá lo de novo 1 Cooking Functions 2 Temperature Indicator 3 Electronic Clock 4 Oven on Interior light 5 Sensor 6 Sensor 7 Oven off Block Model HK 800 Control Panel 1 2 3 4 7 5 6 Oven Functions Pizza S...

Page 14: ...rature indicator Symbol flashes Then touch or to select the desired temperature 4 The oven begins to heat up The fast preheating function is activated for a few minutes when the functions are selected Note the turbo motor located at the rear of the oven switches itself on for preheating 5 While the oven is heating up indicator flashes to indicate the transmission of heat to the food 6 To turn the ...

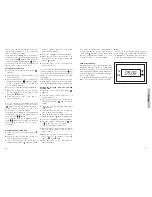
Page 15: ...y sensor on the control panel to silence the alarm You can consult the finishing time when requi red by touching the clock screen until flas hes You can also modify it at this point by tou ching or The clock beeps twice to confirm the change This function can be used even when you are already using the oven To do this follow the ins tructions indicated above except point number 4 Setting the Cooki...

Page 16: ...62 60 100 min 580 540 22 558 568 455 min 450 595 490 558 568 min 580 22 595 455 min 460 Mín 40 4 9 0 85 Fig 3 Fig 1 Fig 2 540 3172110 ABB00 icon peq 24 10 05 16 43 Página 62 ...

Page 17: ...te utilizamos papel reciclado Our contribution to enviromental protection we use recycled paper Notre contribution à la protection de l environnement nous utilisons du papier recyclé Unser Beitrag zum Umweltschutz wir verwenden umweltfreundliches papier Cod 3172110 83172110 ABB00 3172110 ABB00 icon peq 24 10 05 16 43 Página 100 ...

Page 18: ...al de Mantenimiento e Instalación Manual da Manutenção e Instalação Maintenance and Installation Manual Manual d Entretien et Installation Instandhaltung Buch 3172110 ABB00 icon peq 24 10 05 16 43 Página 101 ...

Reviews: