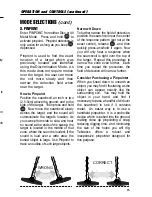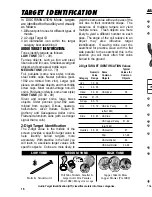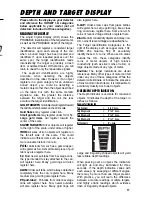
7
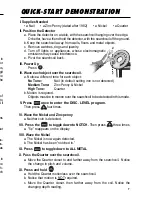
QUICK-START DEM ONSTRATION
I. Supplies Needed
• a Nail • a Zinc Penny (dated after 1982) • a Nickel • a Quarter
II. Position the Detector
a. Place the detector on a table, with the searchcoil hanging over the edge.
Or better, have a friend hold the detector, with the searchcoil off the ground.
b. Keep the searchcoil away from walls, floors and metal objects.
c. Remove watches, rings and jewelry.
d. Turn off lights or appliances, whose electromagnetic
emissions may cause interference.
e. Pivot the searchcoil back.
III. Power Up
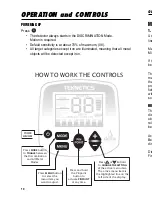
Press .
IV. Wave each object over the searchcoil.
a. Notice a different tone for each object:
No Tone:
Nail (in default setting iron is not detected)
Medium Tone:
Zinc Penny & Nickel
High Tone:
Quarter
b. Motion is required.
Objects must be in motion over the searchcoil to be detected in this mode.
V. Press
once to enter the DISC. LEVEL program.
Then press
four times.
VI. Wave the Nickel and Zinc penny
a. Neither coin is detected.
VII. Press the
to toggle down to NOTCH. Then press
three times
a. “5¢” reappears on the display
VIII. Wave the Nickel
a. The Nickel is now again detected.
b. The Nickel has been “notched in.”
IX. Press
to toggle down to ALL METAL
X. Pass the Quarter over the searchcoil.
a. Move the Quarter closer to and farther away from the searchcoil. Notice
the change in pitch and volume.
XI. Press and hold
a. Hold the Quarter motionless over the searchcoil.
b. Notice that motion is NOT required.
c. Move the Quarter closer, then farther away from the coil. Notice the
changing depth reading.
14
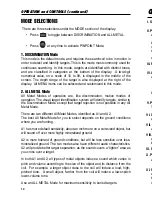
MODE SELECTIONS
There are three selections under the MODE section of the display.
• Press
to toggle between DISCRIMINATION and ALL METAL.
• Press
at any time to activate PINPOINT Mode.
1. DISCRIMINATION Mode
This mode is the default mode, and requires the searchcoil to be in motion in
order to detect and identify targets. This is the mode most commonly used for
continuous searching. In this mode, targets are identified with distinct tones,
and are classified in categories at the bottom of the display. A two-digit
numerical value, on a scale of 10 to 99, is displayed in the middle of the
screen. The depth range of the target is also displayed at the right of the
display. All MENU items can be selected and customized in this mode.
2. ALL METAL Mode
All Metal Modes of operation are, like discrimination, motion modes of
operation. The visual target identification system will identify targets, similar to
the Discrimination Mode, except that target rejection is not possible in any All
Metal Mode.
There are two different All Metal Modes, identified as A1 and A2.
The best All Metal Mode for you to select depends on the ground conditions
where you are hunting.
A1 has more default sensitivity, about an inch more on a coin-sized object, but
will sound off over more highly mineralized ground.
A2 is more tolerant of ground conditions, but will be less sensitive over less-
mineralized ground. The two modes also have different audio characteristics.
A2 will provide better target separation, as the sound covers a “tighter” area as
you cross over a target.
In both A1 and A2, all types of metal objects induce a sound which varies in
pitch and volume according to the size of the object and its distance from the
coil. For example, a larger object close to the coil will induce a loud, high-
pitched tone. A small object, farther from the coil will induce a lower-pitch
lower-volume tone.
Use an ALL METAL Mode for maximum sensitivity to buried targets.
OPERATION and CONTROLS (continued)


