å
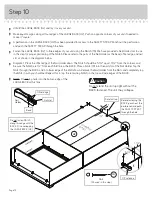
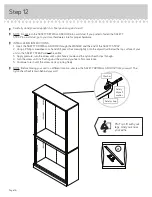
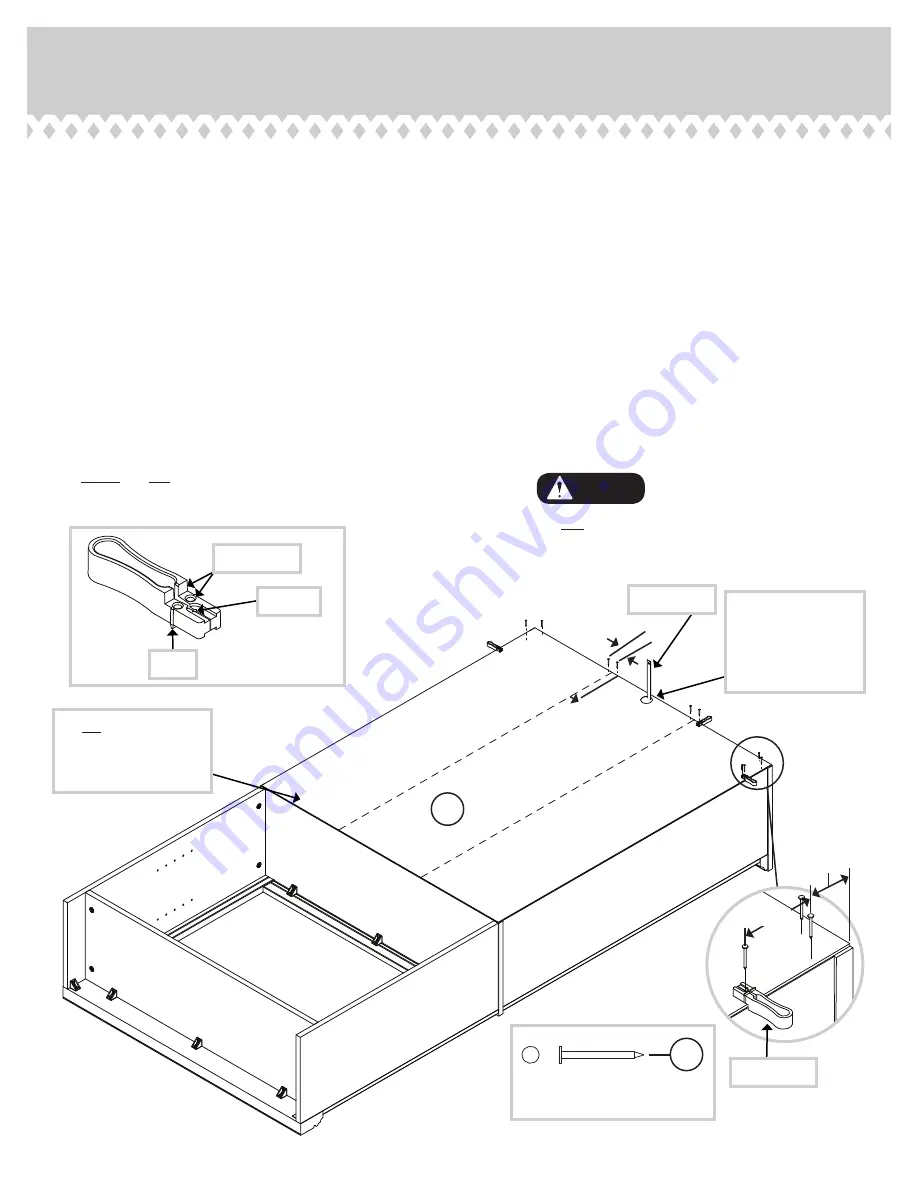
Unfold the LARGE BACK (H2) and lay it over your unit.
å
Make equal margins along all four edges of the LARGE BACK (H2). Push on opposite corners of your unit if needed to
make it "square".
å
A perforation in the LARGE BACK (H2) has been provided for access to the SAFETY STRAP. Punch out the perforation
and push the SAFETY STRAP through the hole.
å
Fasten the LARGE BACK (H2) to three edges of your unit using the NAILS (1N). We have provided a Nail Holder tool to use
in this step for proper positioning of the NAILS. Please refer to the parts of the Nail Holder as the bead, off set edge, and nail
slot as shown in the diagrams below
å
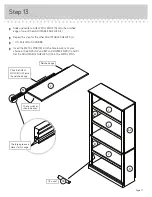
Diagram 1. Place the off set edge of the Nail Holder down. The NAILS should be 5-1/2" apart, 1-1/2" from the corners. and
be sure the NAILS are 1/2" from each fold line in the BACK. Place a NAIL (1N) into the nail slot of the Nail Holder. Tap the
NAIL through the BACK and into lower edge of the END shown. Remove the Nail Holder from the NAIL and completely tap
the NAIL in with your hammer. Repeat this to tap the remaining NAILS in the top and side edges of the BACK.
å
NOTE: Do not tap nails into the bottom edge of the
LARGE BACK at this time.
Step 10
1"
1/2"
Unfi
nished
sur
face
H2
Do not fasten NAILS
along this edge until the
BACK (I) is overlapping
the LARGE BACK (H2).
NAIL
(24 used in this step)
1N
Before fastening the
BACK, punch out the
perforation and push
the SAFETY STRAP
through the hole.
Safety strap
1.
Bead
Nail slot
Nail
Holder
Off set edge
Do not stand the unit upright without the
BACK fastened. The unit may collapse.
Caution
5-1/2"
1-1/2"
Off set edge
Page 14

