background image

Step 1

 å

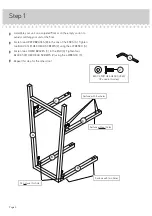
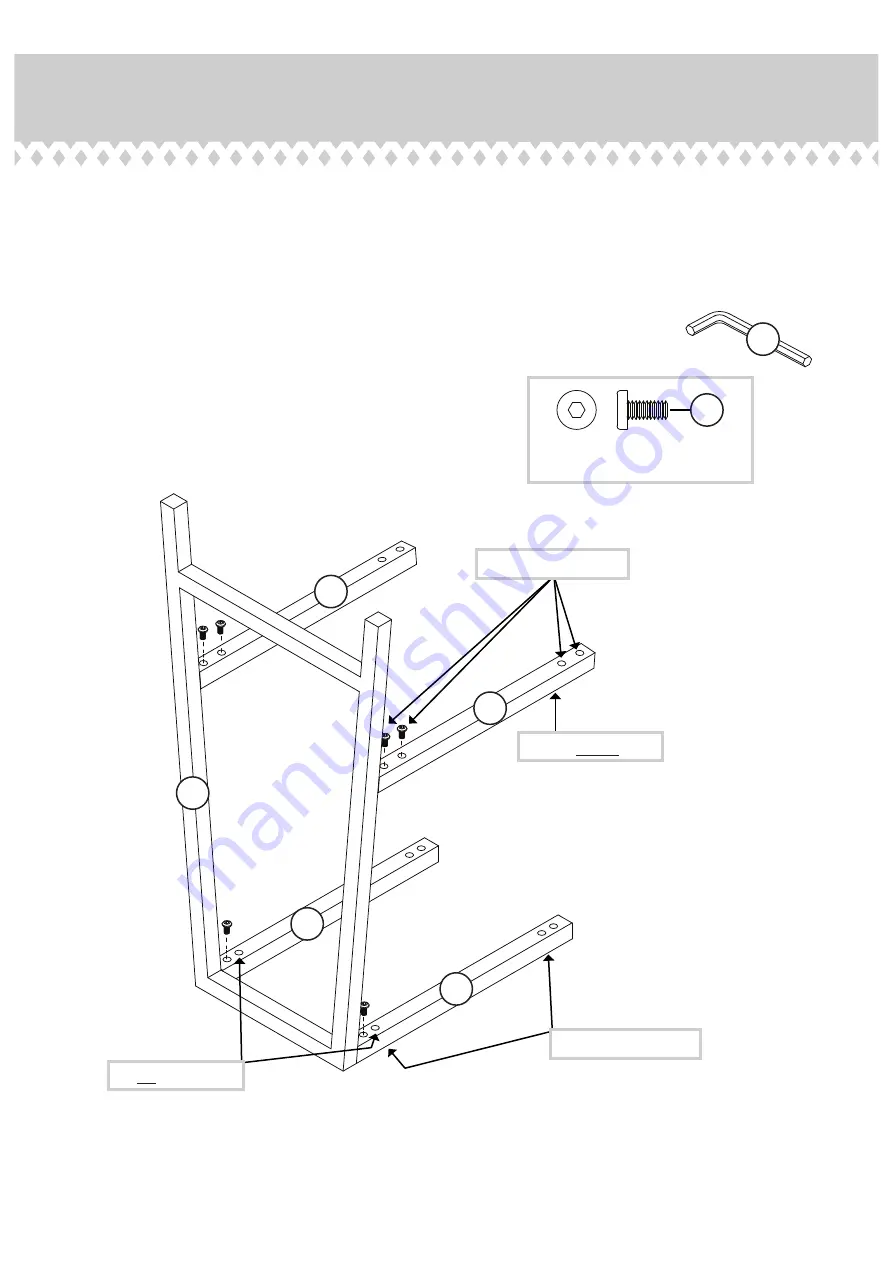
Assemble your unit on a carpeted fl oor or on the empty carton to
avoid scratching your unit or the fl oor.

 å

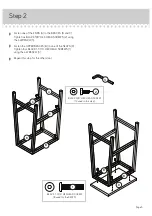
Fasten two UPPER BRACES (B) to the one of the ENDS (A). Tighten
two BLACK 3/8" HEX HEAD SCREWS (2) using the L-WRENCH (3).

 å

Fasten two LOWER BRACES (C) to the END (A). Tighten four
BLACK 3/8" HEX HEAD SCREWS (2) using the L-WRENCH (3).

 å

Repeat this step for the other stool.

Page 4

3

B

C

A

B

C

BLACK 3/8" HEX HEAD SCREW

(12 used in this step)

2

Surface without holes

Surface with four holes

Surface with two holes

Do not use this hole.

Summary of Contents for 5424944

Page 1: ...www teknikoffice co uk Industrial Style High Stool set of 2 Model 5424944 Keep your options open Teknik ...

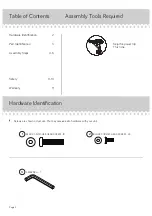
Page 2: ...ntification Part Identification Assembly Steps Safety Warranty Skip the power trip This time Page 2 Hardware Identification å Screws are shown actual size You may receive extra hardware with your unit BLACK 3 8 HEX HEAD SCREW 24 2 L WRENCH 1 3 BLACK 1 3 16 HEX HEAD SCREW 8 1 ...

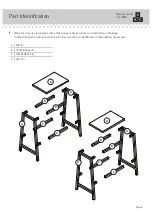
Page 3: ...arts will have a label or an inked letter on the edge to help distinguish similar parts from each other Use this part identification to help identify similar parts Now you know our ABCs A END 4 B UPPER BRACE 4 C LOWER BRACE 4 D SEAT 2 Page 3 A B C D A B C A B C D A B C ...

Page 4: ...S A Tighten two BLACK 3 8 HEX HEAD SCREWS 2 using the L WRENCH 3 å Fasten two LOWER BRACES C to the END A Tighten four BLACK 3 8 HEX HEAD SCREWS 2 using the L WRENCH 3 å Repeat this step for the other stool Page 4 3 B C A B C BLACK 3 8 HEX HEAD SCREW 12 used in this step 2 Surface without holes Surface with four holes Surface with two holes Do not use this hole ...

Page 5: ...he L WRENCH 3 å Fasten the UPPER BRACES B to one of the SEATS D Tighten four BLACK 1 3 16 HEX HEAD SCREWS 1 using the L WRENCH 3 å Repeat this step for the other stool Step 2 Page 5 BLACK 1 3 16 HEX HEAD SCREW 8 used for the SEATS 1 3 BLACK 3 8 HEX HEAD SCREW 12 used in this step 2 D B C A B C B B ...

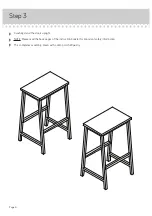
Page 6: ... Carefully stand the stools upright å NOTE Please read the back pages of the instruction booklet for important safety information å This completes assembly Clean with a damp cloth Wipe dry Step 3 Page 6 ...

Page 7: ...ol to slip out from under you cause structural damage or can loosen important connections that can cause the chair or stool to fall apart Never stand on the seat of a chair or stool Don t lean so far back in your chair or stool that the legs lift up off the floor Loosening of parts or components Wear and Tear The normal use of a chair or stool can result in loosening of components The chair or stoo...

Reviews: