background image

 å

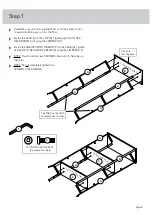
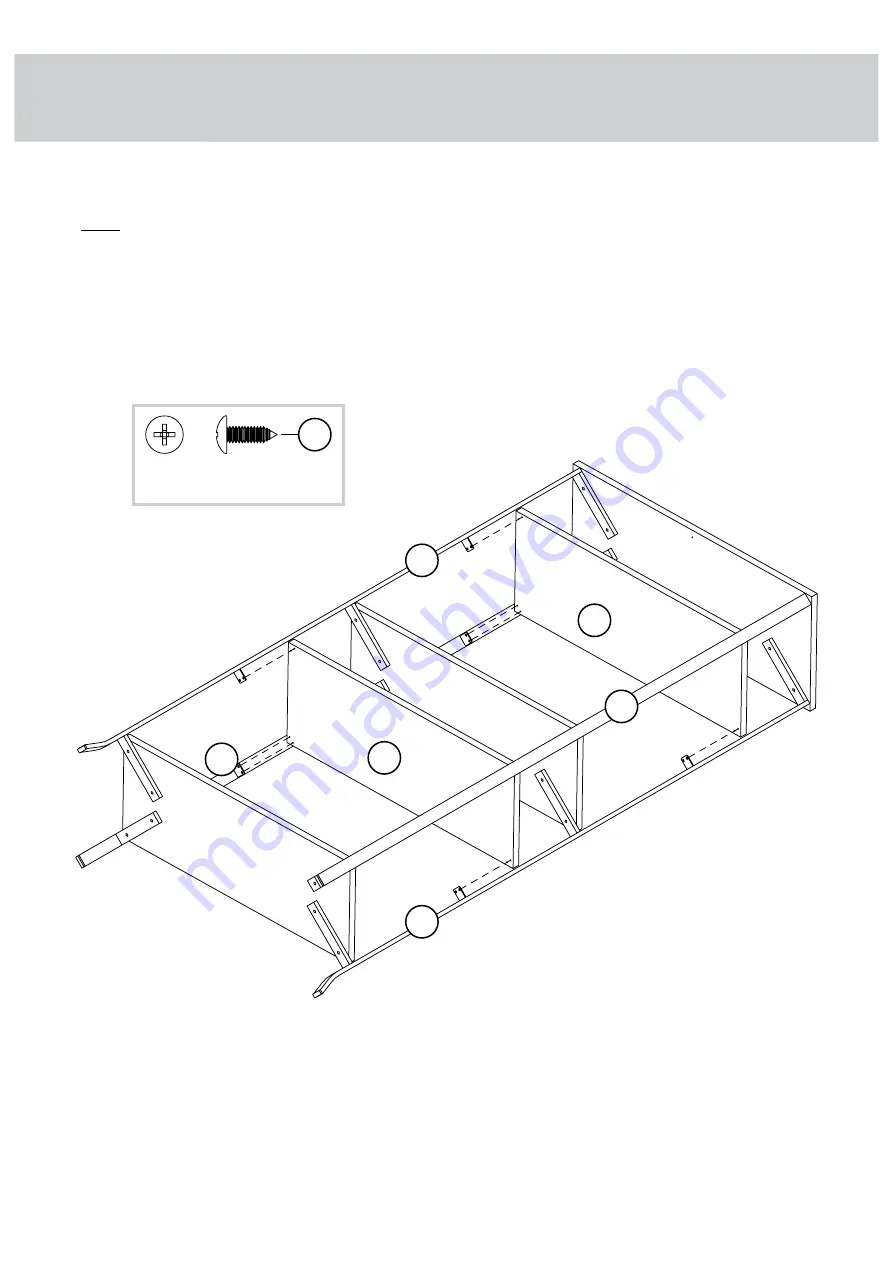
Fasten the SHELVES (D) to the TABS on the LEGS (A). Use

sixteen 1/2" PAN HEAD SCREWS (3).

 å

NOTE: You should start each SCREW a few turns to help

line up the holes.

 å

Completely tighten all of the SCREWS in your unit.

Step 2

Page 6

1/2" PAN HEAD SCREW

(16 used in this step)

3

D

A

A

A

A

Surface with ho

les

D

Surface with ho

les

Summary of Contents for City Center 5425658

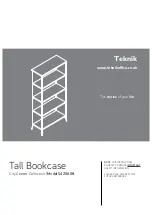
Page 1: ...IS INSTRUCTION BOOKLET CONTAINS IMPORTANT SAFETY INFORMATION PLEASE READ AND KEEP FOR FUTURE REFERENCE Tall Bookcase City Center Collection Model 5425658 The stories of your life Teknik www teknikoffice co uk ...

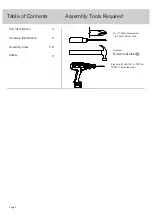
Page 2: ...re Identification Assembly Steps Safety Table of Contents Assembly Tools Required No 2 Phillips Screwdriver Tip Shown Actual Size Hammer Not actual size 3 4 5 8 9 Page 2 Electric drill with 1 8 or 3 8 bit ONLY in indicated step ...

Page 3: ...the parts will have a label or an inked letter on the edge to help distinguish similar parts from each other Use this part identification to help identify similar parts Now you know our ABCs A LEG 4 B TOP 1 C SHELF WITH INSERT 2 D SHELF 2 Page 3 A B C D D A A A C ...

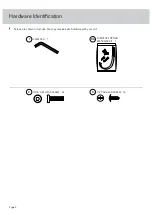
Page 4: ...dware Identification å Screws are shown actual size You may receive extra hardware with your unit Page 4 1 2 PAN HEAD SCREW 16 3 L WRENCH 1 1 FURNITURE TIPPING RESTRAINT KIT 1 96 2 13 16 HEX HEAD SCREW 24 ...

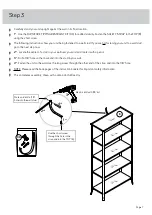
Page 5: ...VES WITH INSERTS C to the LEGS A Tighten sixteen 13 16 HEX HEAD SCREWS 2 using the L WRENCH 1 å NOTE You should start each SCREW a few turns to help line up the holes å NOTE Do not completely tighten the SCREWS in the SHELVES Page 5 13 16 HEX HEAD SCREW 24 used in this step 2 Surface with holes A B A A A A A A A C Surface with holes The TABS on the LEGS should face each other This hole must be her...

Page 6: ...teen 1 2 PAN HEAD SCREWS 3 å NOTE You should start each SCREW a few turns to help line up the holes å Completely tighten all of the SCREWS in your unit Step 2 Page 6 1 2 PAN HEAD SCREW 16 used in this step 3 D A A A A Surface with holes D Surface with holes ...

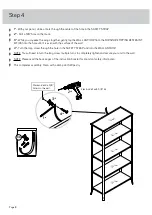
Page 7: ...the center of a stud in your wall near your unit and mark it with a pencil å 3rd Drill a 1 8 hole on the mark and into the stud in your wall å 4th Fasten the unit to the wall Use the long screw through the other end of the strap and into the 1 8 hole å NOTE Please read the back pages of the instruction booklet for important safety information å This completes assembly Clean with a damp cloth Wipe ...

Page 8: ...T 96 into the hole until it is even with the surface of the wall å 4th Turn the long screw through the hole in the SAFETY STRAP and into the WALL ANCHOR å NOTE You will need to turn the long screw multiple turns to completely tighten and secure your unit to the wall å NOTE Please read the back pages of the instruction booklet for important safety information å This completes assembly Clean with a ...

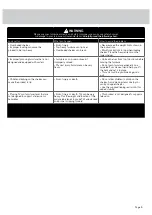
Page 9: ...ak if improperly moved Physical injury Furniture can be very heavy Unload shelves from top to bottom before moving the furniture Do not push furniture especially on a carpeted floor Have a friend help you lift the item and set it in place This unit must be positioned against a wall Children climbing on the shelves can cause the product to tip Risk of injury or death Do not allow children to climb ...

Reviews: