Step
å
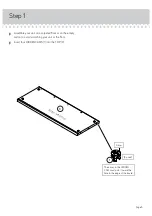
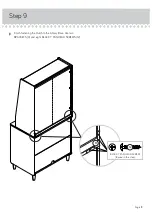
We recommend using the FURNITURE TIPPING RESTRAINT KIT (99) for added stability. Fasten a bracket to the back
edge of the TOP (C) using the 5/8" screw as shown.
å
Place your unit in its fi nal location against a wall.
å
Follow the instructions included in the KIT to fasten your unit to the wall.
å
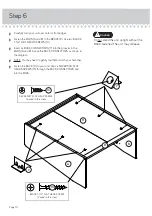
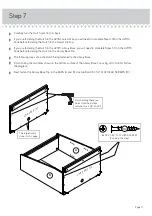
Push the RUBBER SLEEVES (6) over the METAL PINS (5). Insert the METAL PINS into the hole locations of your choice
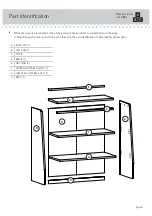
in the ENDS (A and B). Set the ADJUSTABLE SHELVES (F and G) onto the METAL PINS.
å
Peel the STICKERS from the APPLIQUE CARD (8) and stick one onto each visible HIDDEN CAM and SCREW.
å
NOTE: Please read the back pages of the instruction booklet for important safety information.
å
This completes assembly. Clean with your favorite furniture polish or a damp cloth. Wipe dry.
Step 10
Page 14
99
Use the 5/8" screw through the
small hole in a bracket and into
the back edge of the TOP (C).
Small hole
C
F
(8 used)
5
6
8
To cover visible
HIDDEN CAMS
and SCREWS
No load
25 lbs.
G
25 lbs.
A
B

