background image


å

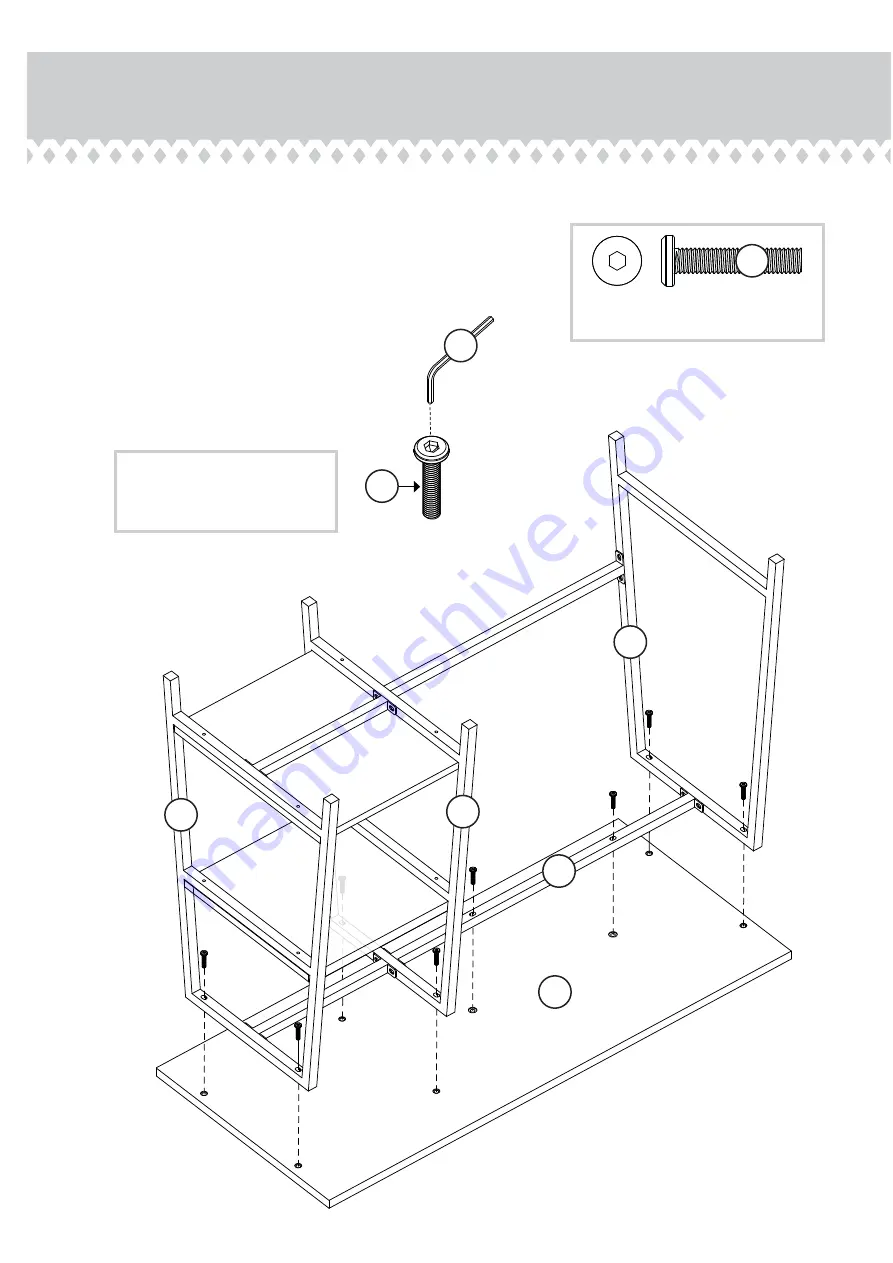
Flip your unit onto its TOP.


å

Fasten the TOP (A) to the ENDS (D and F), UPRIGHT (E)
and LONG TOP BRACE (G). Tighten eight 1-3/16" ALLEN 
SCREWS (1) using the ALLEN WRENCH (4). 


å

Tighten all ALLEN SCREWS with the ALLEN WRENCH.

Step 3

1

4

A

F

E

D

G

Page 7

IMPORTANT

: Tighten the 

ALLEN SCREWS before 
standing your unit upright.

1-3/16" ALLEN SCREW

(8 used in this step)

1

Summary of Contents for Industrial Style Bench Desk 5420032

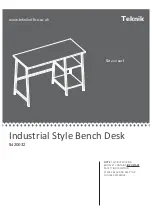
Page 1: ...www teknikoffice co uk Sit and surf Industrial Style Bench Desk 5420032 NOTE THIS INSTRUCTION BOOKLET CONTAINS IMPORTANT SAFETY INFORMATION PLEASE READ AND KEEP FOR FUTURE REFERENCE Teknik ...

Page 2: ...Table of Contents Assembly Tools Required Part Identification Hardware Identification Assembly Steps Safety 3 4 5 8 9 No 2 Phillips Screwdriver Tip Shown Actual Size Skip the power trip This time Page 2 ...

Page 3: ...ter on the edge to help distinguish similar parts from each other Use this part identification to help identify similar parts Now you know our ABCs A TOP 1 B SMALL SHELF 1 C LARGE SHELF 1 D LEFT END 1 E UPRIGHT 1 F RIGHT END 1 G LONG TOP BRACE 1 H BACK BRACE 1 I SHORT TOP BRACE 2 A B C D E F G H I I Page 3 ...

Page 4: ...Hardware Identification å Screws are shown actual size You may receive extra hardware with your unit 1 3 16 ALLEN SCREW 8 1 1 2 ALLEN SCREW 16 3 ALLEN WRENCH 1 4 1 1 8 PAN HEAD SCREW 8 2 Page 4 ...

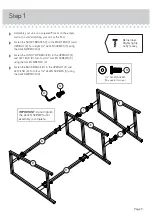
Page 5: ...e ALLEN WRENCH 4 å Fasten the LONG TOP BRACE G to the UPRIGHT E and LEFT END D Turn four 1 2 ALLEN SCREWS 3 using the ALLEN WRENCH 4 å Fasten the BACK BRACE H to the UPRIGHT E and LEFT END D Turn four 1 2 ALLEN SCREWS 3 using the ALLEN WRENCH 4 D E F I I G H 4 3 IMPORTANT Do not tighten the ALLEN SCREWS until assembly is complete Remember Righty tighty Lefty loosey Page 5 1 2 ALLEN SCREW 16 used i...

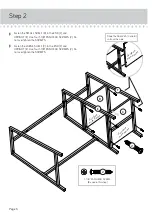
Page 6: ...ighten the SCREWS å Fasten the LARGE SHELF C to the END F and UPRIGHT E Use four 1 1 8 PAN HEAD SCREWS 2 Do not overtighten the SCREWS Step 2 2 Slide the SHELVES C and B in from the side B C E F Surface with holes Surface with holes Surface with holes Page 6 1 1 8 PAN HEAD SCREW 8 used in this step 2 ...

Page 7: ...GHT E and LONG TOP BRACE G Tighten eight 1 3 16 ALLEN SCREWS 1 using the ALLEN WRENCH 4 å Tighten all ALLEN SCREWS with the ALLEN WRENCH Step 3 1 4 A F E D G Page 7 IMPORTANT Tighten the ALLEN SCREWS before standing your unit upright 1 3 16 ALLEN SCREW 8 used in this step 1 ...

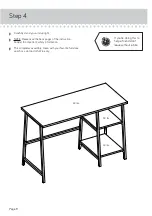
Page 8: ...d the back pages of the instruction booklet for important safety information å This completes assembly Clean with your favorite furniture polish or a damp cloth Wipe dry 60 lbs 30 lbs 30 lbs If you re doing this to help a friend don t leave without a bite Page 8 ...

Page 9: ...oving furniture that is not designed and equipped with casters Furniture can tip over or break if improperly moved Physical injury Furniture can be very heavy Breakage of tops particularly with double pedestal furniture drawers at both ends Unload shelves and drawers from top to bottom before moving the unit Do not push furniture especially on a carpeted floor Have a friend help you lift the item a...

Reviews: