17 |
P a g e
Earthing
The unit must be safety earthed whenever it is powered on, using the earth terminal as
pictured above. The cable cross section must be equal to or greater than 0.75 mm2 (18 AWG).
Mounting the NTS 02-G
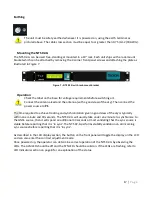
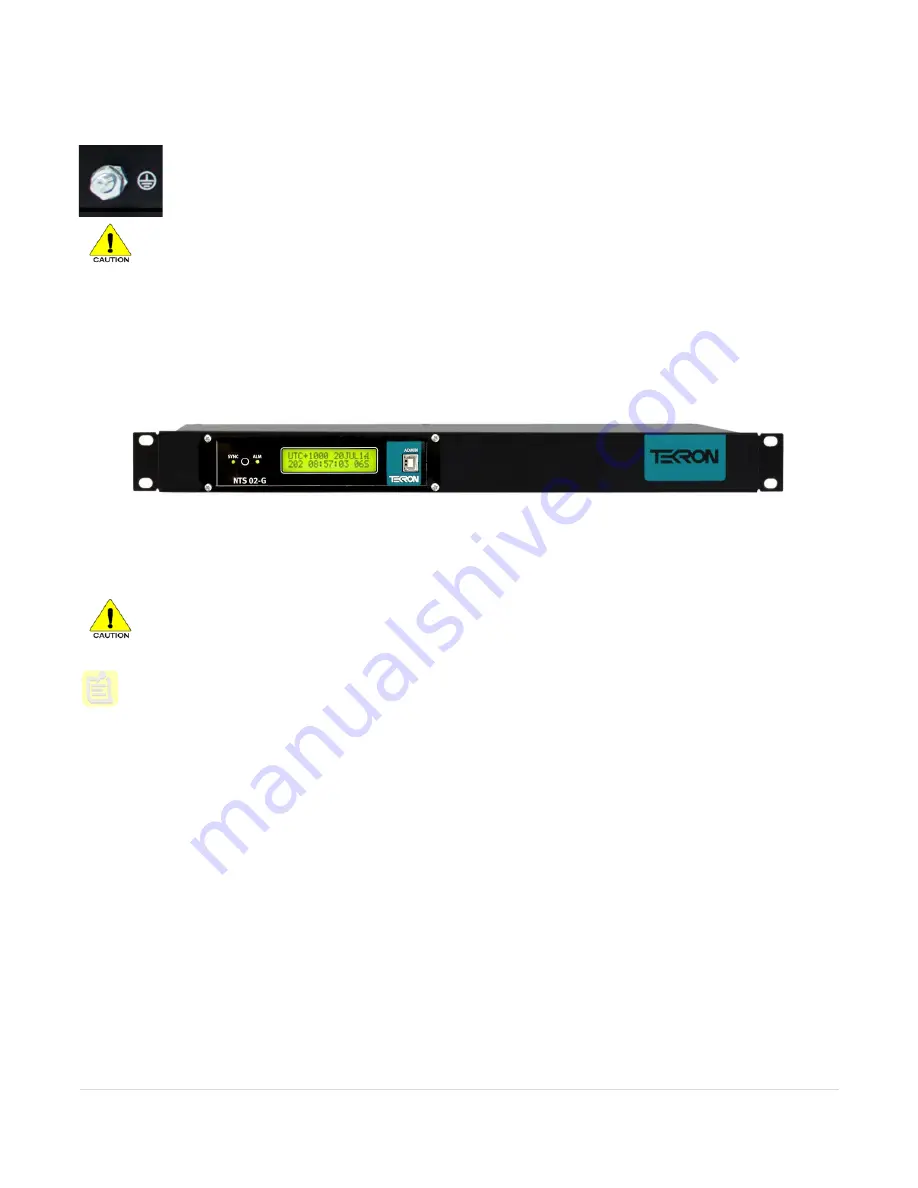
The NTS 02-G can be used free-standing or mounted in a 19” rack. Each unit ships with a rack-mount
bracket which can be attached by removing the 4 corner front panel screws and attaching the plate as
illustrated in Figure 7 .
Figure 7 – NTS 02-G with rack-mount bracket
Operation
Check the label on the base for voltage requirements before switching on!
Connect the antenna lead and the antenna (with a good view of the sky). Then connect the
power source to
P1
.
The time required to achieve tracking and synchronization given a good view of the sky is typically
within one minute and 30 seconds. The NTS 02-G will usually take under one minute to synchronize to
the GNSS source, then it will spend an additional 30 seconds at most validating that the sync source is
stable before reporting that it is ‘in sync’. The NTS 02-G performs stability validation on all incoming
sync sources before reporting that it is ‘in sync’.
As described in the LCD display section, the button on the front panel will toggle the display on the LCD
and can also enter the contrast adjustment mode.
Once powered up, the operator can determine correct operation of the NTS 02-G by observing the
LEDs. The ALM LED should be off and the SYN LED should be solid on. If the LEDs are flashing, refer to
LED Indicators section on page 8 for an explanation of the status.


