Panel Basics
Profile PRO Series
177
22. The
Go to Clip End
button jumps to the end of the current clip. You can also
press
e
.
23. The
Forward One Field
button moves the current clip position forward one
field. You can also press the
→
key. In addition,
Shift +
→
advances the clip
position 10 fields or 5 frames, and
Ctrl +
→
advances the clip position 100
fields or 50 frames.
24. The
Back One Field
button moves the current clip position backward one
field. You can also press the
←
key. In addition,
Shift +
←
reverses the clip
position 10 fields or 5 frames, and
Ctrl +
←
reverses the clip position 100
fields or 50 frames.
25. The
Go to Clip Beginning
button jumps to the beginning of the current clip.
You can also press
t
.
26. The
Shuttle Bar
sets the shuttle rate. Use the mouse to drag the pointer to
the desired shuttle rate (displayed in the
Shuttle Rate
box). When you click
on the shuttle bar, the disk recorder enters shuttle mode. You can also press
h.
27. The
Shuttle Rate
box displays the current shuttle rate. This number ranges
from –16.00 to +16.00, with the positive numbers indicating forward motion,
negative numbers reverse, and 0.00 still. This number can be set by clicking
on the
Shuttle Rate
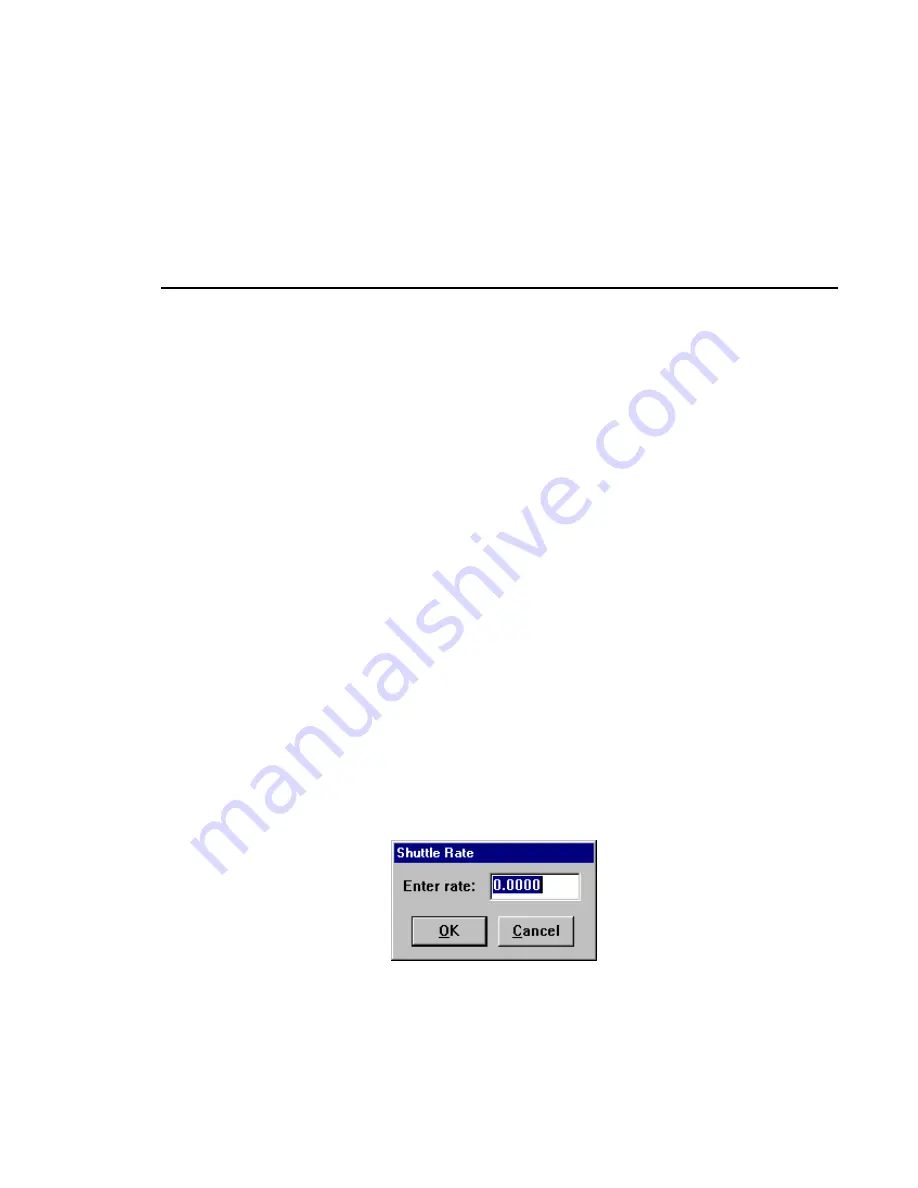
box to open the Shuttle Rate dialog box, entering a
shuttle rate and clicking
OK
. You can also drag the
Shuttle Bar
to a desired
position. If the shuttle rate is set faster than the maximum rate for the
controller, the maximum rate is displayed.
28. The
Clip Name
box lists the names of the clips in the current clip list.
Summary of Contents for Profile Pro II
Page 18: ...Preface 18 Profile PRO Series...
Page 34: ...Chapter 1 Introducing the Profile PRO Series 34 Profile PRO Series...
Page 96: ...Chapter 2 Using the Profile Configuration Manager 96 Profile PRO Series...
Page 115: ...Emptying the Recycle Bin Profile PRO Series 115 Figure 48 Recycle Bin properties dialog box...
Page 119: ...Viewing Properties Profile PRO Series 119 Figure 51 The transcode history page...
Page 158: ...Chapter 4 Using VdrPanel 158 Profile PRO Series Figure 76 Profile Options dialog box...
Page 183: ...Defining a New Clip Profile PRO Series 183 Figure 87 New Clip dialog box...
Page 202: ...Chapter 5 Using the Profile Disk Utility 202 Profile PRO Series...
Page 266: ...Chapter 8 Using the List Manager 266 Profile PRO Series Figure 131 A basic playback list...
Page 299: ...Configuring Video Resources Profile PRO Series 299 Figure 148 MPEG video track settings...
Page 302: ...Chapter 9 Using the Resource Manager 302 Profile PRO Series Figure 151 JPEG codec check boxes...
Page 311: ...Configuring Timecode Resources Profile PRO Series 311 Figure 158 Timecode Codec check boxes...
Page 316: ...Chapter 9 Using the Resource Manager 316 Profile PRO Series...
Page 342: ...Chapter 10 Using TimeDelay 342 Profile PRO Series...
Page 358: ...Glossary 358 Profile PRO Series...
Page 370: ...Index 370 Profile PRO Series...


