RD000519Rev A
AC-211N
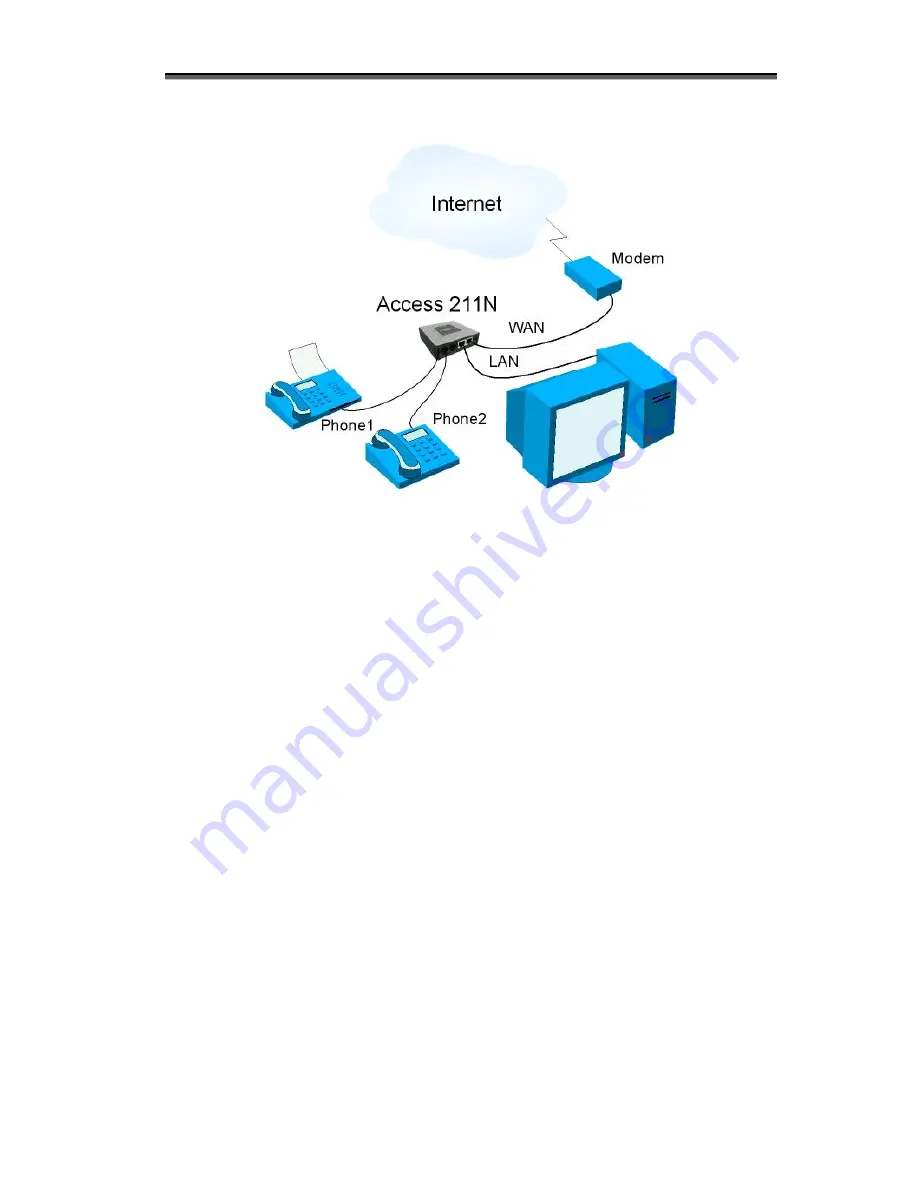
To install your Access 211N VoIP Gateway with a single PC:
1.
Unpack the Access 211N Gateway unit.
Place the Gateway on a desktop or other level surface, or mount it on a wall. Choose a
location that is near the devices to be connected and close to an electrical outlet.
2.
Connect the WAN port on the Gateway’s rear panel to the Ethernet socket on your
broadband modem with the Ethernet 10/100BaseT X (RJ-45) cable that was provided
with your modem.
3.
Optionally connect the LAN port on the Gateway’s rear panel to the network socket on
your PC with an Ethernet 10/100BaseT X (RJ-45) cable.
4.
Connect the phones to the PH1 and PH2 ports on the Gateway rear panel with RJ-11
Phone cables (if your provider enables only one phone line, connect the phone to the
PH1 port).
5.
Verify that all system components are properly installed. Make sure that all cable
connectors are securely positioned in the appropriate ports.
6.
Connect the power adapter to the power connector of the unit and to the power source.
7.
Check that the
Powe r
LED on the Gateway front panel glows steadily.
8.
T urn on your PC.
9a. If you are using a D SL modem, you will need to enable PPPoE on the Gateway and
disable PPPoE on your PC. To enable PPPoE on the Gateway:
1)
Open the web browser and put the IP of the gateway in the address field (the factory
default IP address of the LAN interface is 192.168.100.1).
2)
In the vertical menu bar on the left of the Gateway Web page, select
W AN
.
The
W AN Status
page appears.
3)
In the horizontal menu bar of the
W AN
page, select
PPPoE
.
T he
WAN PPPoE
Configuration
page appears.
4)
Select
Ye s
in the
Enable PPPoE
drop-down list box.
5)
Fill in the username and password in the
Authentication
fields as supplied by your
DSL provider. Optionally you can enter the service name for the requested service.


